Mehndi designs have a timeless charm. Whether it’s for weddings, festivals, or casual wear, a neat pattern instantly enhances your look. The best part? You don’t need complex techniques to create something beautiful. Simple designs with clean structure often look more polished and professional.
If you enjoy DIY beauty or want to improve your mehndi skills, focusing on easy patterns is a great place to start. These designs are beginner-friendly, budget-conscious, and perfect for practicing at home. With just a basic cone and a little patience, you can create designs that look carefully crafted.
Below are 26 easy mehndi patterns that help you achieve a clean, professional finish without stress.
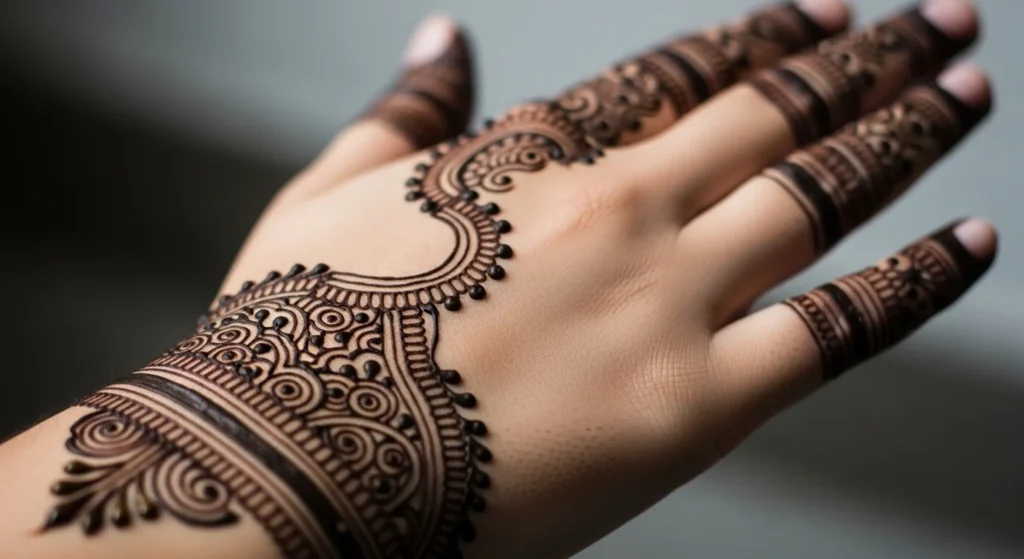
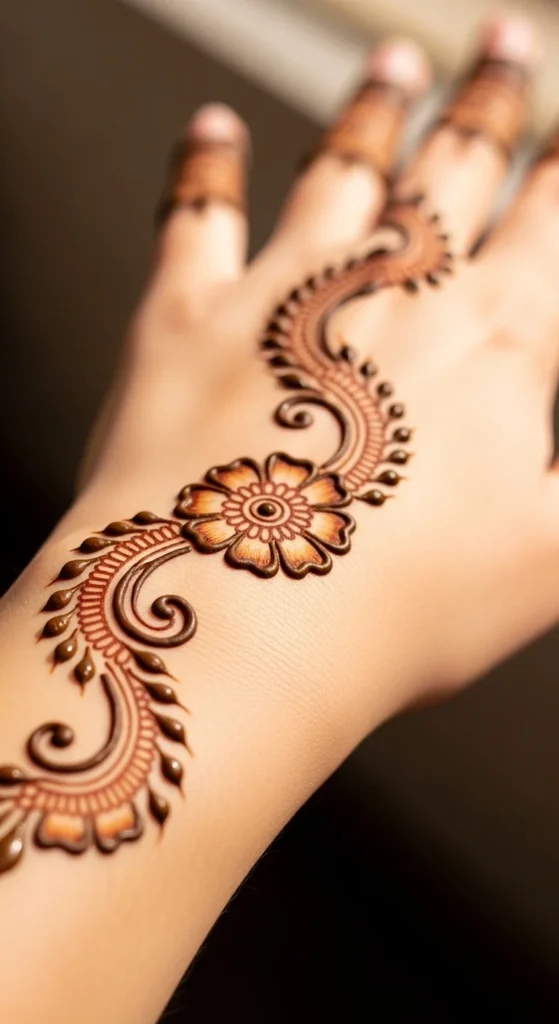
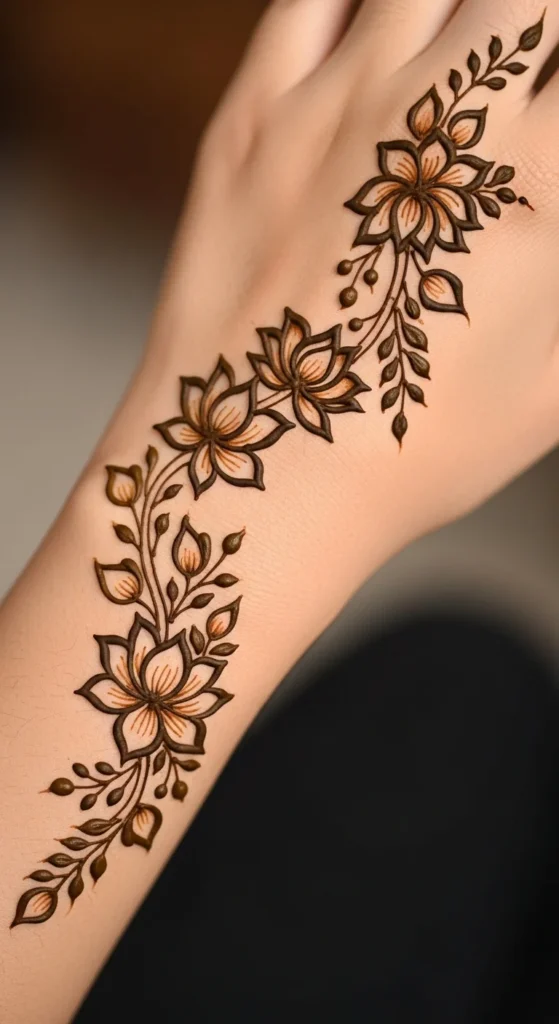
1. Simple Floral Trail
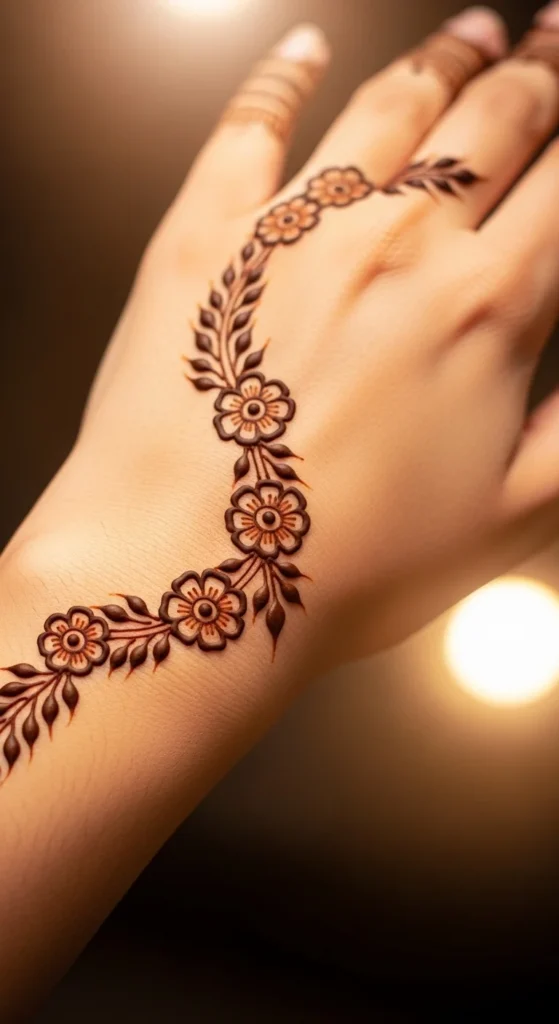
A floral trail is one of the easiest ways to get a neat look. It follows a simple path across the hand. You can start from the wrist and move toward the fingers.
Use small flowers connected by thin lines. Keep spacing even. This helps your design look tidy. Avoid overcrowding.
Try using a toothpick to correct small mistakes. This trick works well for beginners.
For a budget-friendly option, practice on paper first. Draw the same trail repeatedly. This builds muscle memory.
Stick to one flower style. Repeating the same shape keeps the design clean.
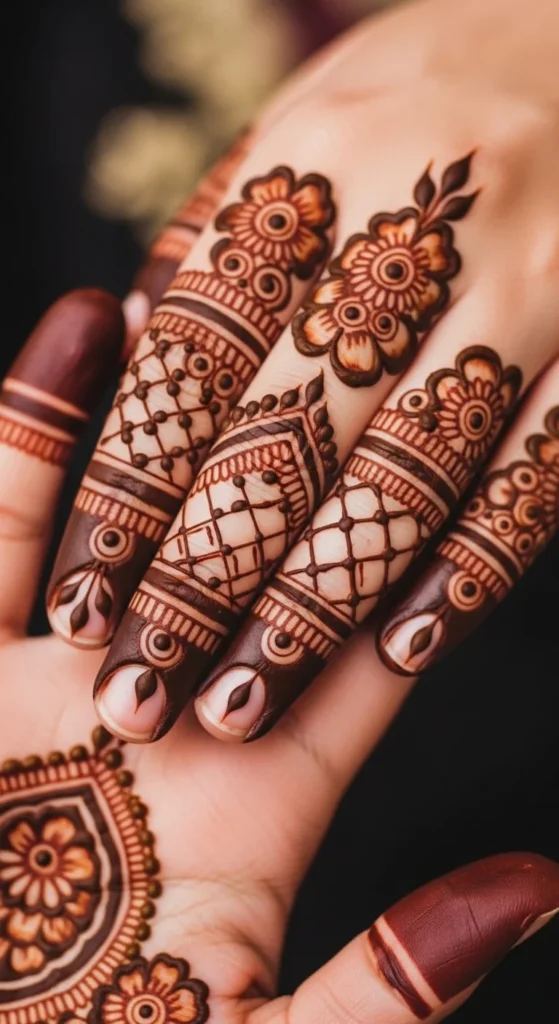
2. Classic Finger Bands
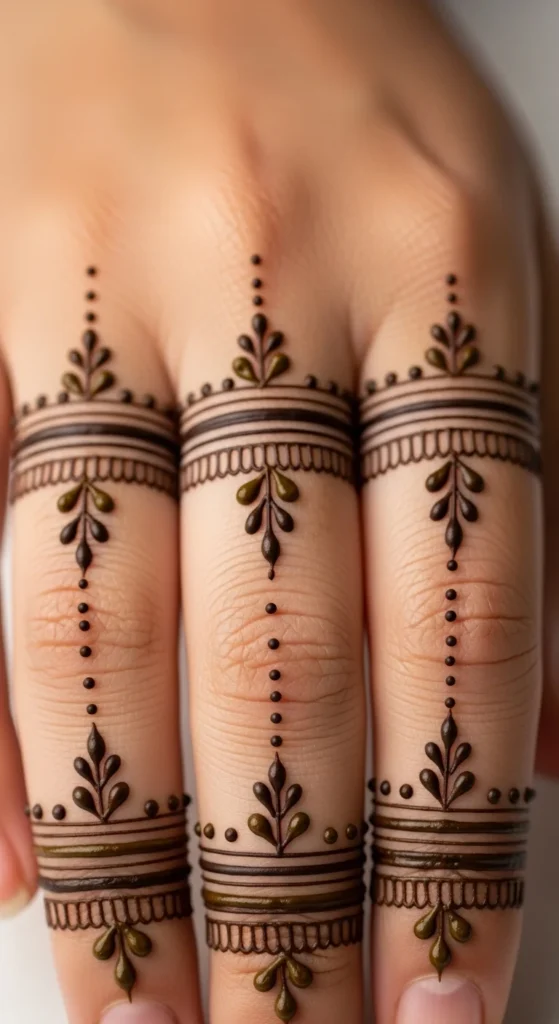
Finger bands are quick and stylish. They focus only on the fingers. This saves time and still looks polished.
Create thin horizontal lines. Add dots or tiny leaves between them. Keep the spacing consistent.
This design is perfect for last-minute events. You can complete it in minutes.
Use light pressure while applying henna. This helps create smooth lines.
You can mix patterns on each finger. Just keep the style similar for a balanced look.
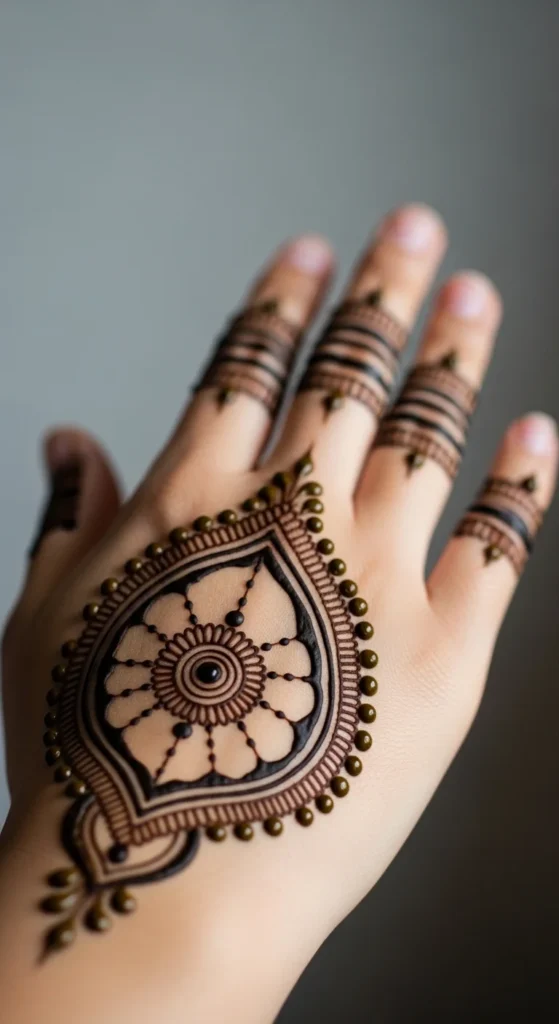
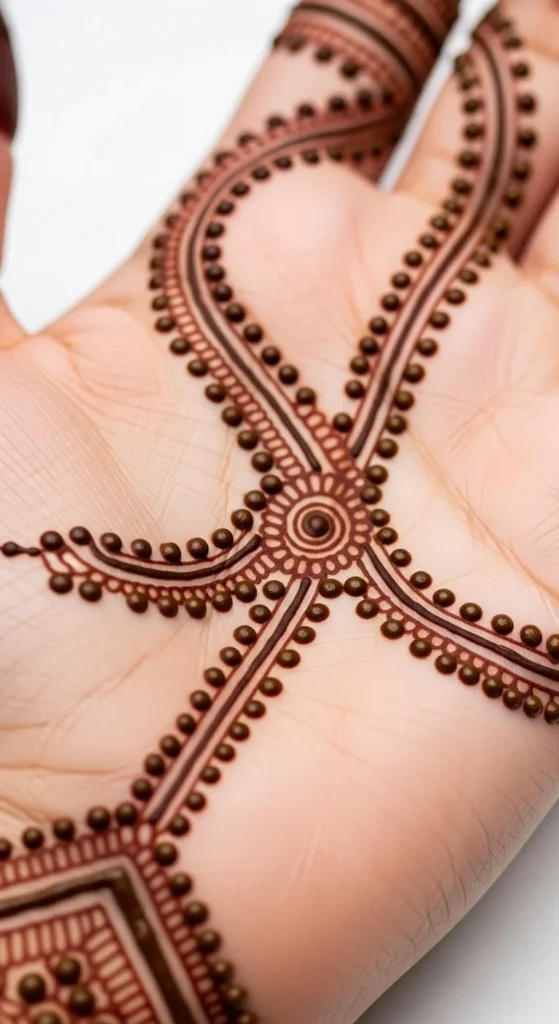
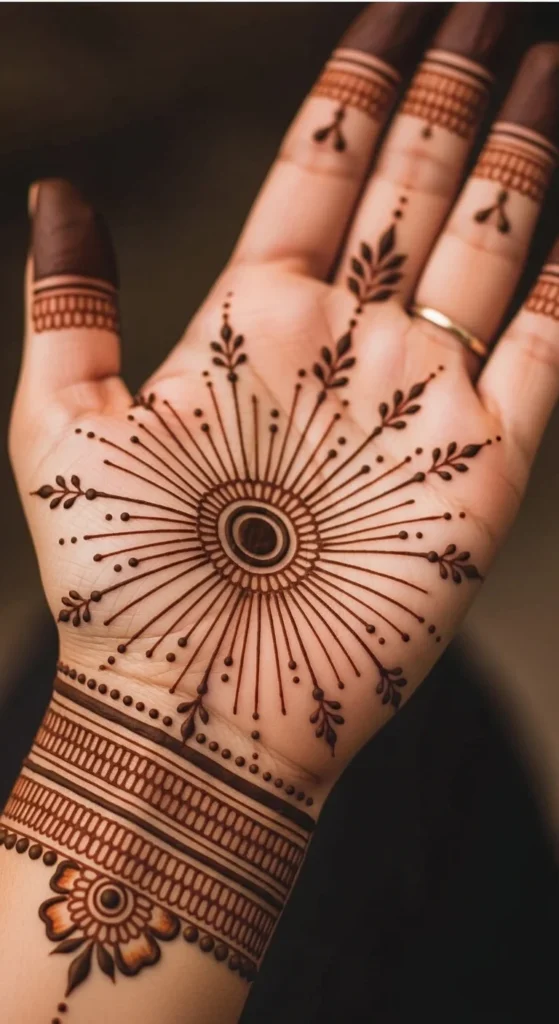
3. Minimal Mandala Center

A small mandala in the center of your palm looks neat and graceful. It’s also easy to control.
Start with a dot. Build circles around it. Add petals evenly around the shape.
Keep the design compact. Avoid making it too large.
Use a steady hand. Rest your elbow on a surface for better control.
Practice drawing circles on paper. This helps improve symmetry.
4. Leafy Vine Design
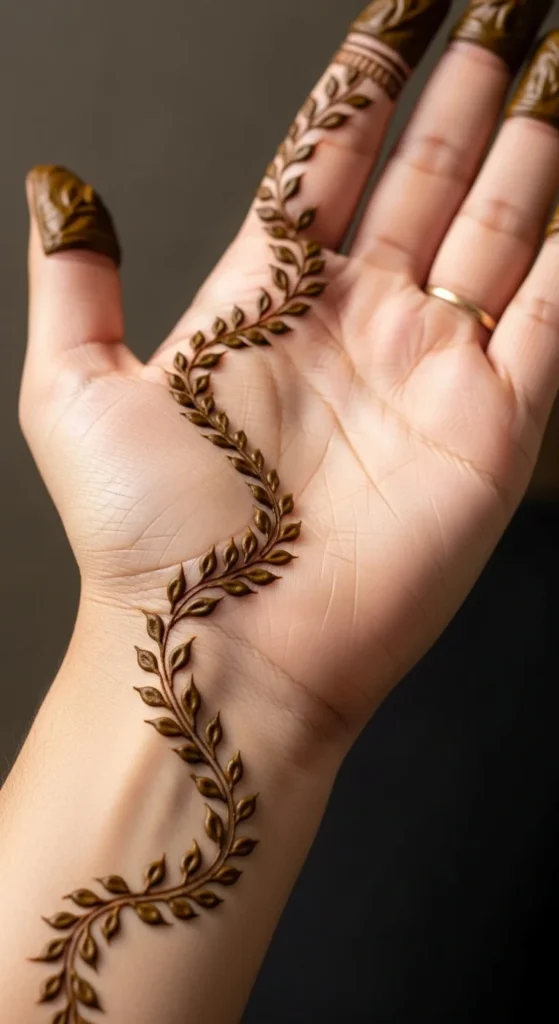
Leafy vines are simple yet elegant. They follow a natural flow across the hand.
Draw a curved line first. Then add small leaves on both sides.
Keep the leaves similar in size. This adds uniformity.
If you make a mistake, turn it into a bigger leaf. This hides imperfections.
Use this design for casual occasions. It pairs well with simple outfits.
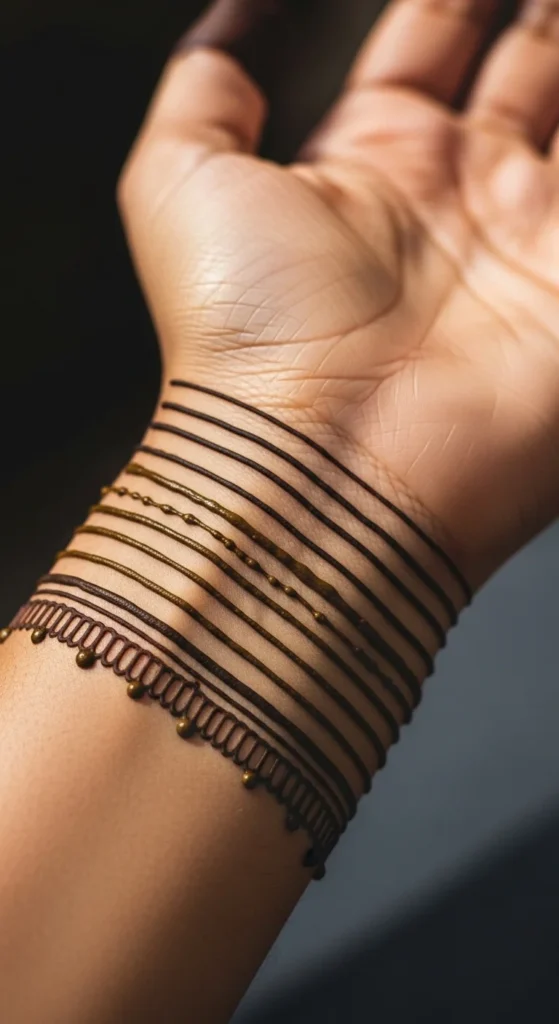
5. Bracelet Style Mehndi
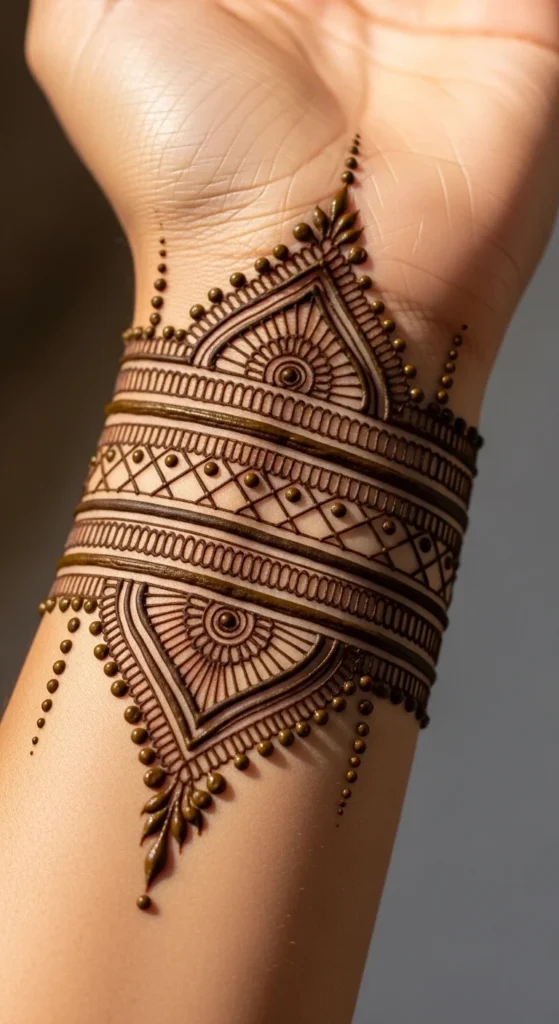
This design mimics a bracelet. It sits neatly on the wrist.
Draw parallel lines. Fill the space with dots or simple shapes.
You can add a hanging chain effect for extra detail.
Keep lines straight. Use slow movements for better control.
It’s a great option if you want something quick and stylish.
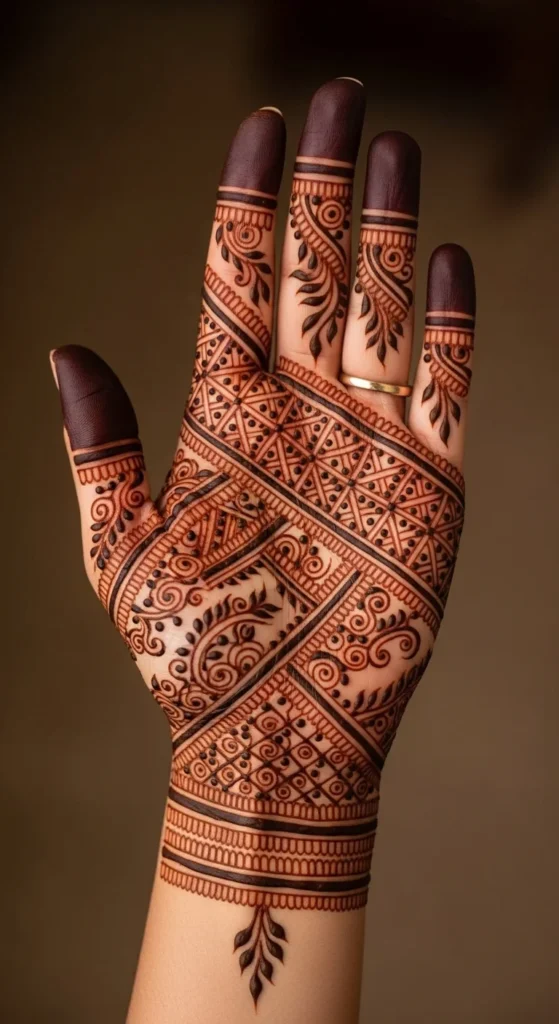
6. Diagonal Mesh Pattern
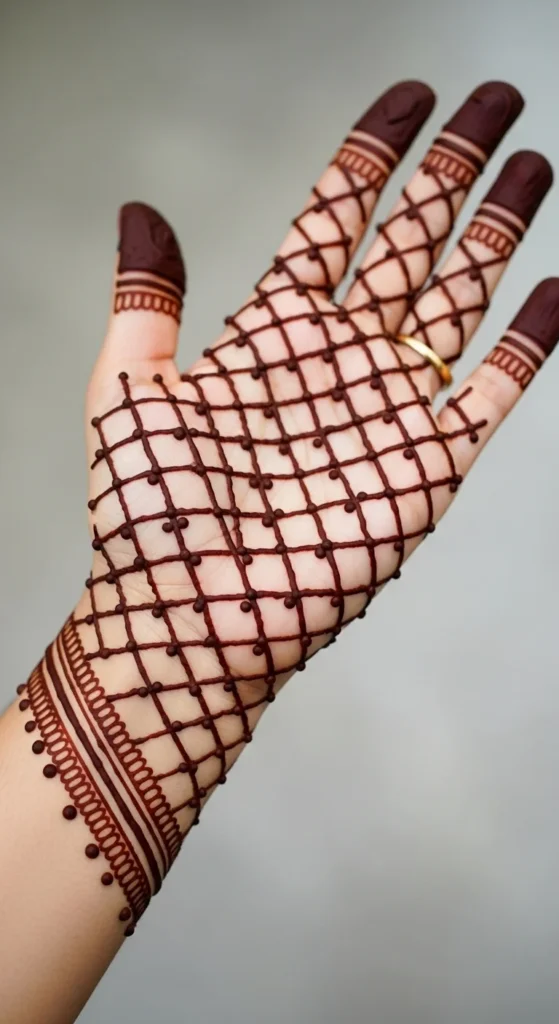
Mesh patterns look detailed but are easy to create. They involve simple crisscross lines.
Draw diagonal lines in one direction. Then cross them with lines in the opposite direction.
Add dots at intersections. This enhances the look.
Keep spacing even. This is key for a neat result.
Practice straight lines before trying this design.
7. Half Hand Floral Design
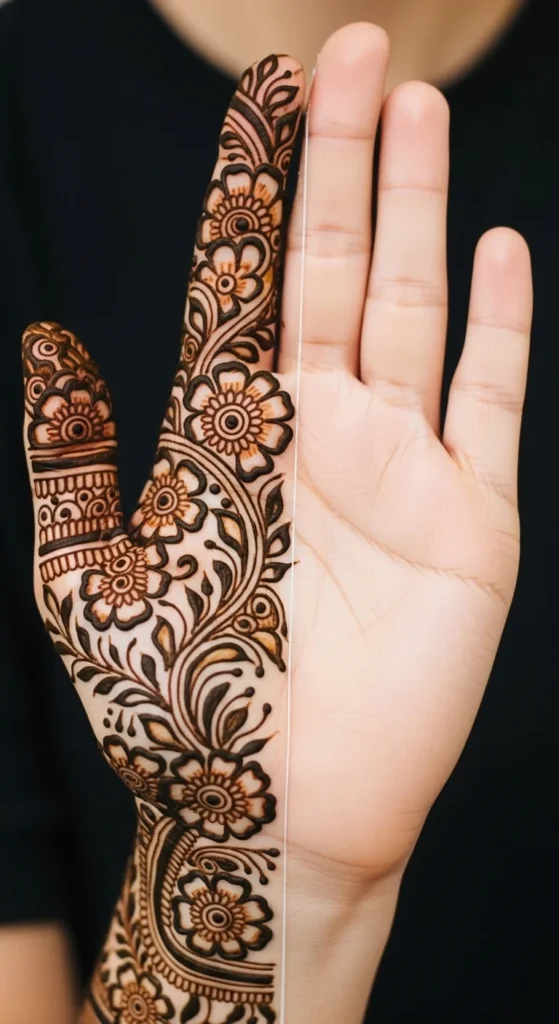
This design covers only half the hand. It creates a clean contrast.
Fill one side with flowers and leaves. Leave the other side empty.
This approach reduces effort while still looking complete.
Focus on neat outlines. Clean edges make a big difference.
It’s perfect for beginners who want a balanced design.
8. Simple Paisley Pattern
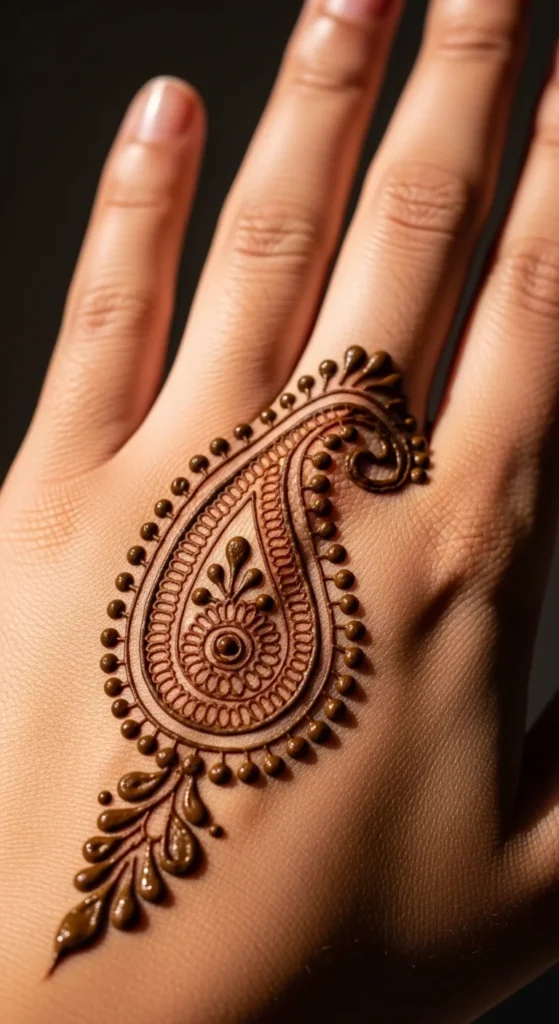
Paisley shapes are classic. They are easy to draw once you practice the curve.
Start with a teardrop shape. Add small lines and dots inside.
Keep the outer line bold. This defines the shape clearly.
Repeat the same paisley for a consistent look.
Use slow strokes to avoid shaky lines.
9. Finger Tip Fill Design
This design focuses on filling the fingertips. It looks bold and neat.
Cover the tips with solid henna or simple patterns.
Keep edges clean. This makes the design stand out.
You can combine this with a simple hand pattern.
It’s quick and great for beginners.
10. Spiral Pattern Design
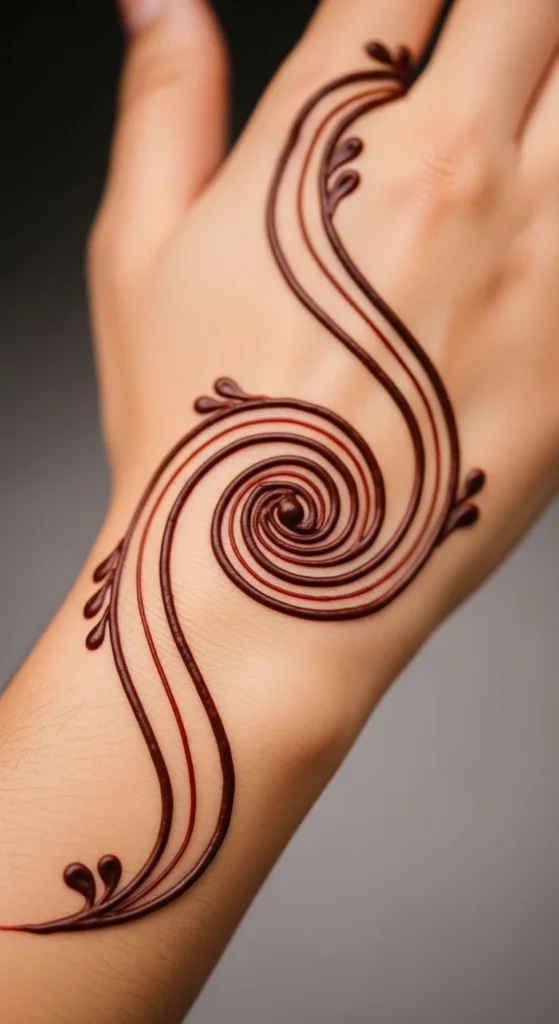
Spirals are easy and eye-catching. They require smooth hand movement.
Start from the center and move outward. Keep spacing even.
Add small dots along the spiral.
Practice the motion before applying henna.
This design works well for casual looks.
11. Chain and Dot Design
This design uses dots connected like a chain. It looks neat and modern.
Place dots evenly. Connect them with thin lines.
Keep spacing consistent. This is key.
Use light pressure for fine lines.
It’s simple but stylish.
12. Ring Style Mehndi
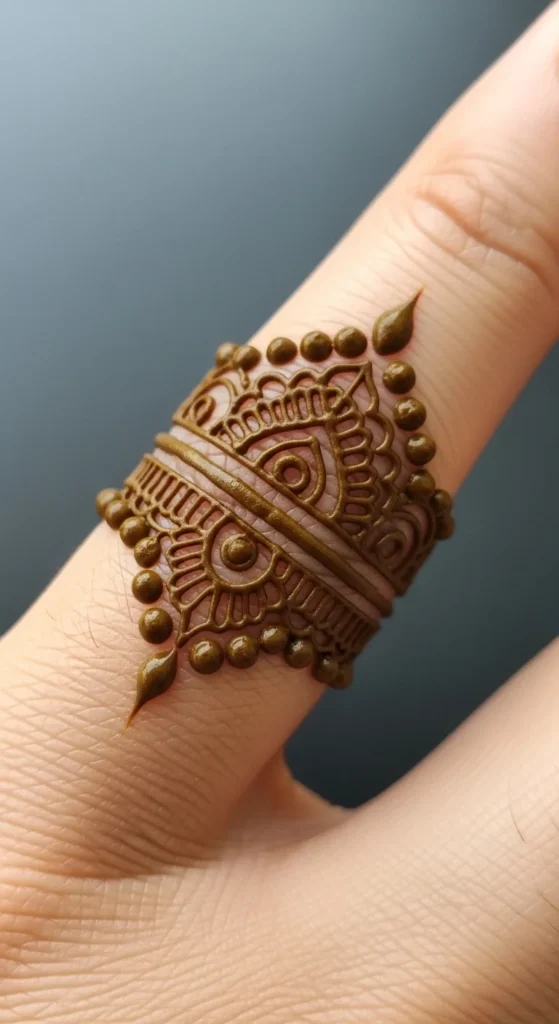
This design mimics rings. It focuses on one or two fingers.
Draw bands and add small details like dots or leaves.
Keep it minimal. Avoid overfilling.
It pairs well with other simple designs.
Perfect for quick application.
13. Grid Pattern Design
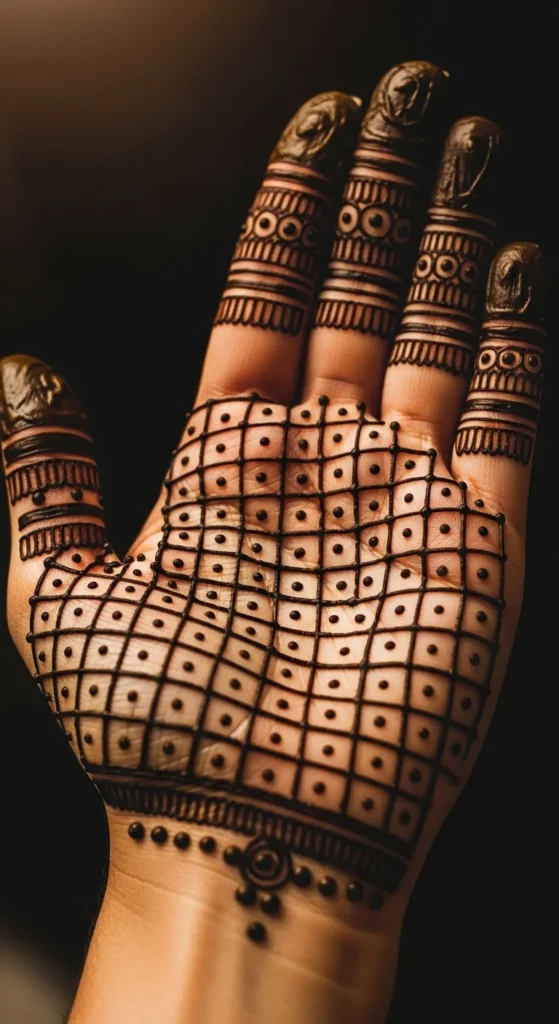
Grids are structured and clean. They involve straight lines.
Draw vertical and horizontal lines to form squares.
Add dots inside each square.
Keep lines straight for a polished look.
Practice on paper first.
14. Simple Arabic Flow

Arabic designs are known for spacing. They look neat and stylish.
Use bold flowers and curved lines.
Leave gaps between elements. This creates balance.
Focus on flow rather than filling every space.
Great for beginners.
15. Wrist to Finger Trail
This design connects the wrist to one finger. It creates a graceful line.
Use small flowers or leaves along the path.
Keep the line smooth.
Avoid overcrowding.
It’s simple and elegant.
16. Heart Motif Design
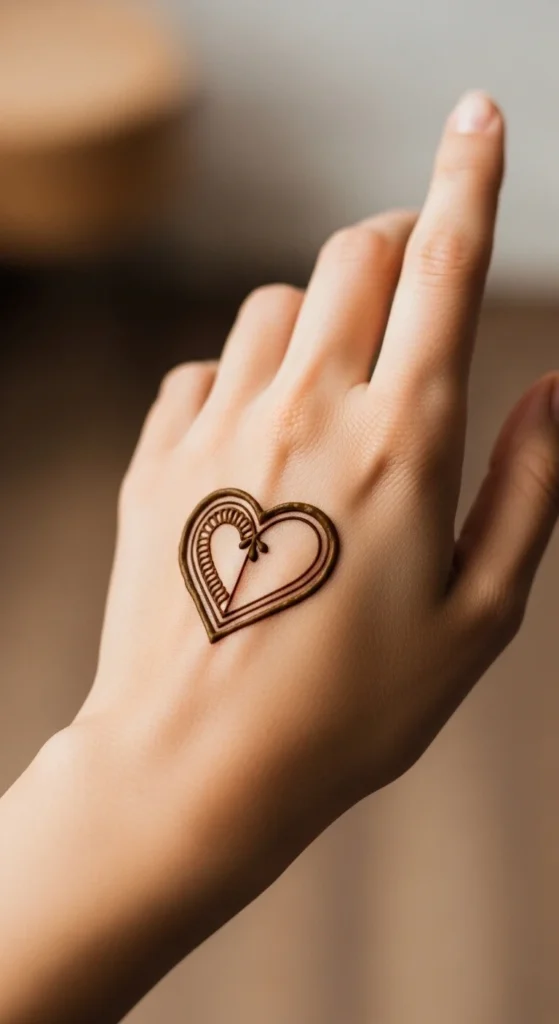
Heart designs are cute and easy.
Draw a simple heart. Add dots or lines inside.
Keep the shape clean.
It’s perfect for casual wear.
You can place it anywhere on the hand.
17. Parallel Line Design
Parallel lines create a modern look.
Draw evenly spaced lines.
Add small details between them.
Keep spacing consistent.
This design is quick and neat.
18. Sunburst Pattern
Sunburst designs are simple and striking.
Draw a center point. Add lines radiating outward.
Keep lines evenly spaced.
Add dots for detail.
Easy for beginners.
19. Anklet Style Mehndi
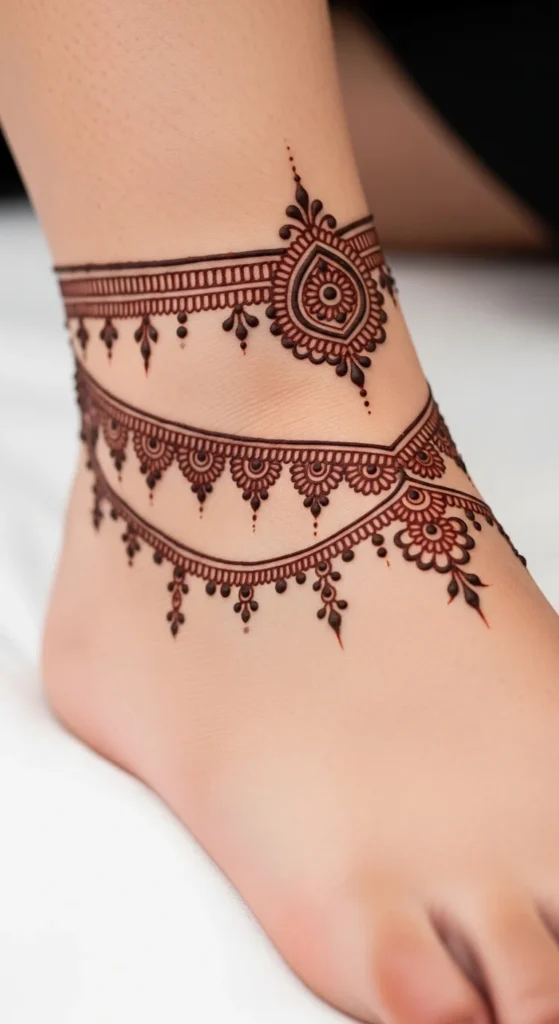
This design works on feet. It mimics anklets.
Draw chain-like patterns around the ankle.
Add small hanging details.
Keep it light and neat.
Great for festive looks.
20. Feather Pattern Design
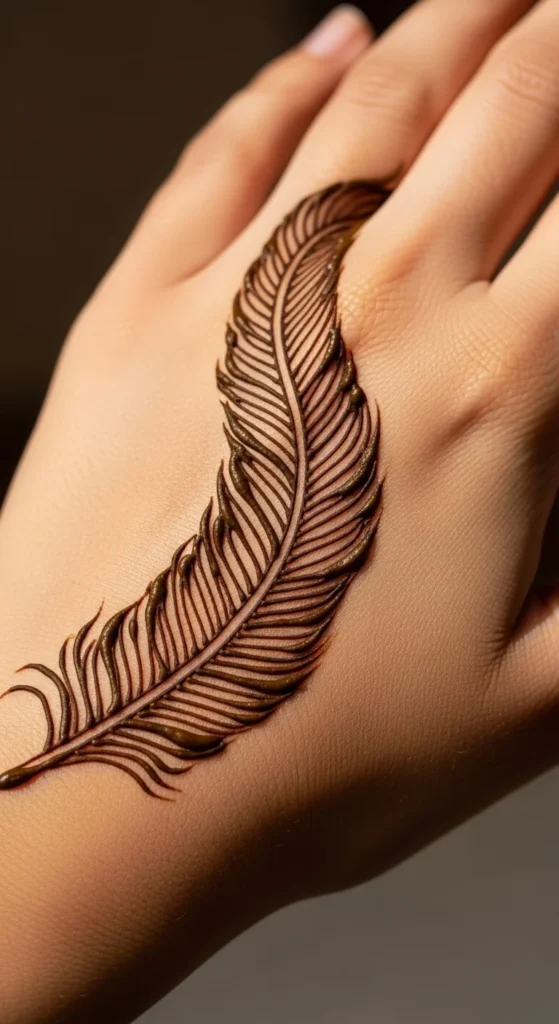
Feather designs look artistic but are easy.
Draw a central line. Add small strokes on both sides.
Keep strokes even.
Use light pressure.
It’s simple yet eye-catching.
21. Triangle Pattern Design
Triangles create geometric designs.
Draw small triangles in rows.
Add dots inside.
Keep shapes consistent.
Great for modern styles.
22. Side Hand Border Design
This design runs along the edge of the hand.
Use flowers or leaves.
Keep the border neat.
Leave the center empty.
It creates a clean look.
23. Dot Cluster Design
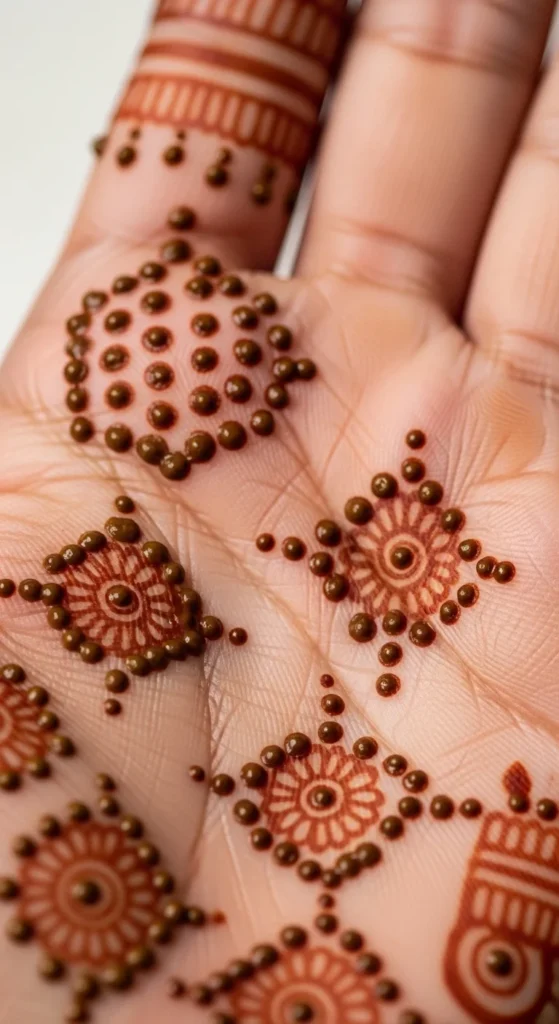
Dot designs are the easiest.
Create clusters of dots.
Arrange them in shapes.
Keep spacing even.
Perfect for beginners.
24. Minimal Back Hand Design
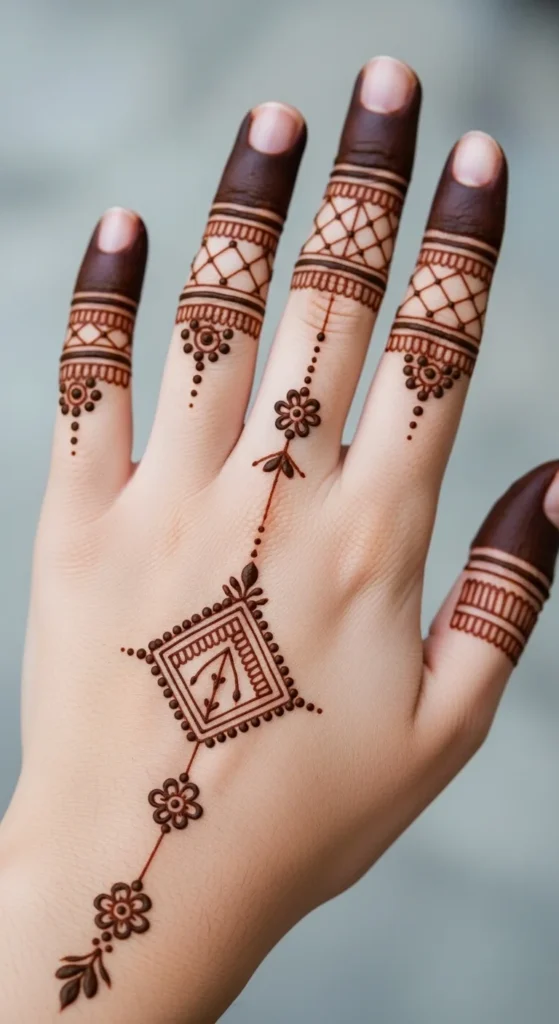
Minimal designs focus on simplicity.
Use small motifs.
Leave space around them.
This creates a clean finish.
Easy and quick.
25. Floral Ring Chain Combo
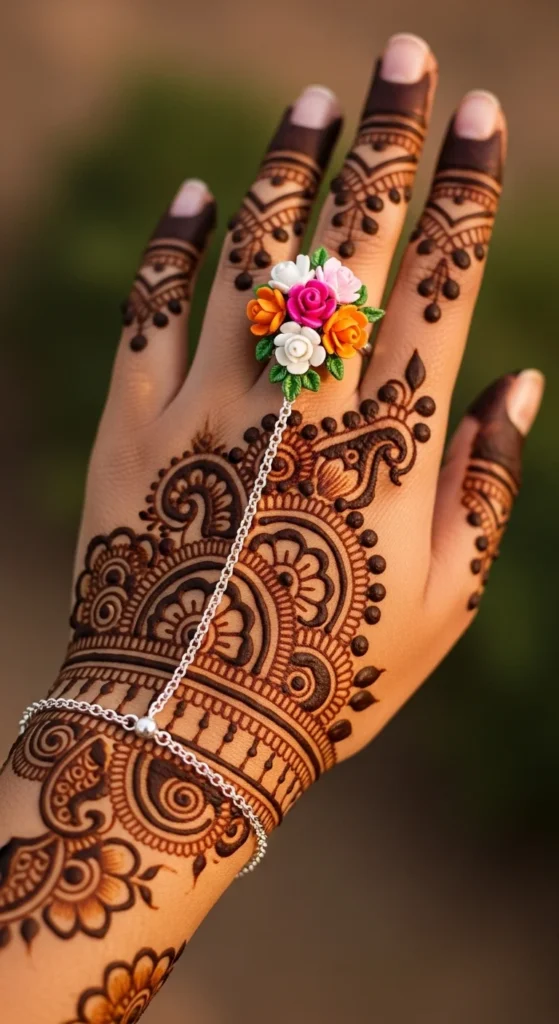
This design combines rings and chains.
Draw a flower on a finger.
Connect it to the wrist with a line.
Add small details.
Keep it neat.
Conclusion
Easy mehndi patterns can still look refined when applied with care. Clean lines, balanced spacing, and simple shapes make a big difference. You don’t need expensive tools or advanced skills to create something beautiful. Start with basic designs, practice regularly, and focus on steady hand movement. Over time, your patterns will look sharper and more polished.