If you’ve ever scrolled Pinterest and thought “I wish I could make stickers like that” — good news: you absolutely can. Creating cute, aesthetic stickers at home is easier than you think, and the best part? You can customize them exactly to your vibe.
Whether you’re decorating your journal, laptop, phone case, or even starting a small sticker shop, this guide will walk you through everything step by step.
What You Need to Get Started
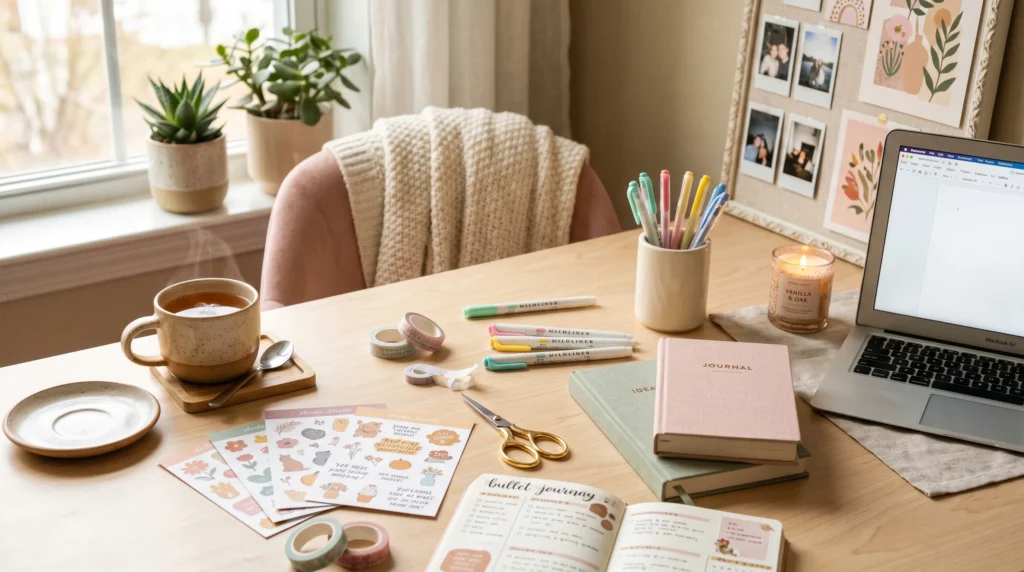
Before you dive in, gather a few simple supplies. You don’t need anything fancy to begin.
Basic materials:
- Paper (sticker paper if possible, or regular paper)
- Printer (inkjet or laser)
- Scissors or a craft knife
- Clear tape or self-adhesive laminate (for durability)
- Markers, pens, or a digital design app
Optional upgrades:
- Cutting machine (like Cricut or Silhouette)
- Matte or glossy sticker paper
- Waterproof sealant spray
Step 1: Choose Your Aesthetic Style
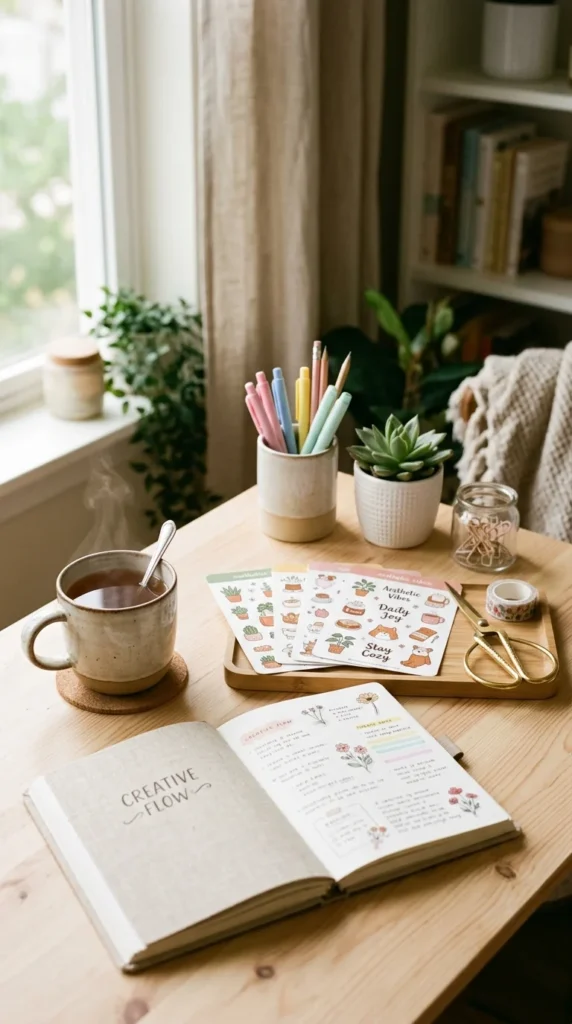
This is where the magic begins. Your sticker style is what makes your designs stand out instantly.
Popular aesthetic ideas:
- Pastel kawaii (cute animals, soft colors)
- Minimal line art (faces, plants, abstract shapes)
- Vintage vibes (flowers, stamps, muted tones)
- Bold and trendy (quotes, doodles, bright colors)
Try sticking to one theme per sheet so your stickers look cohesive and visually pleasing.
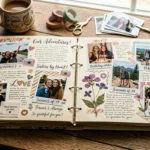
Tip: Scroll Pinterest or your favorite apps and create a small inspiration board before you start.
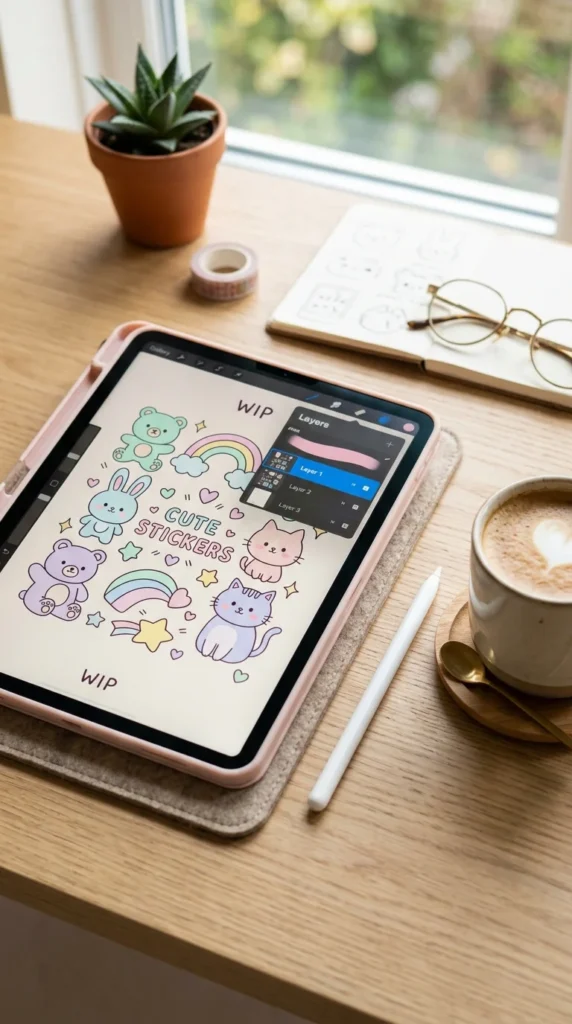
Step 2: Create Your Sticker Designs
You can design your stickers either digitally or by hand.
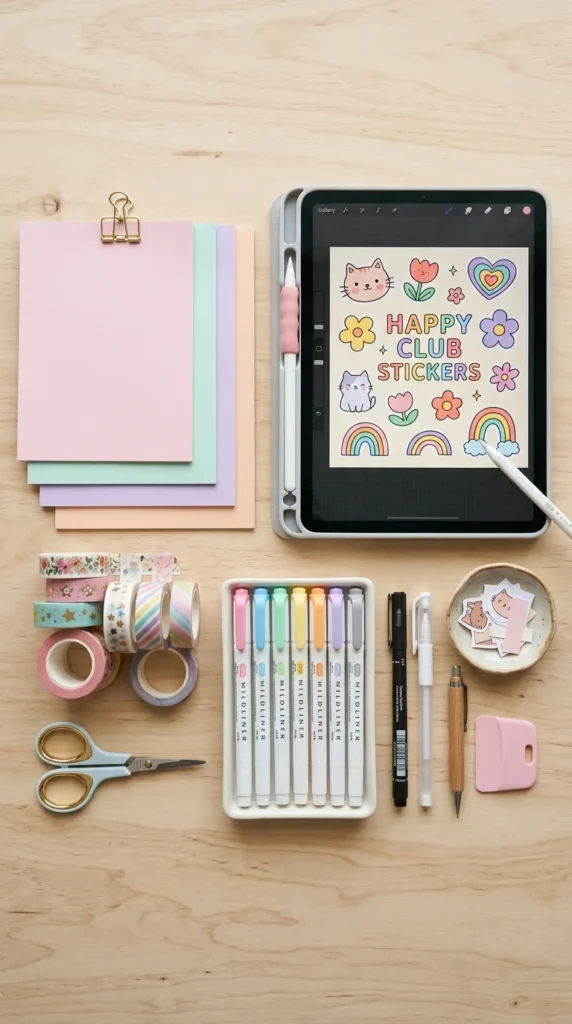
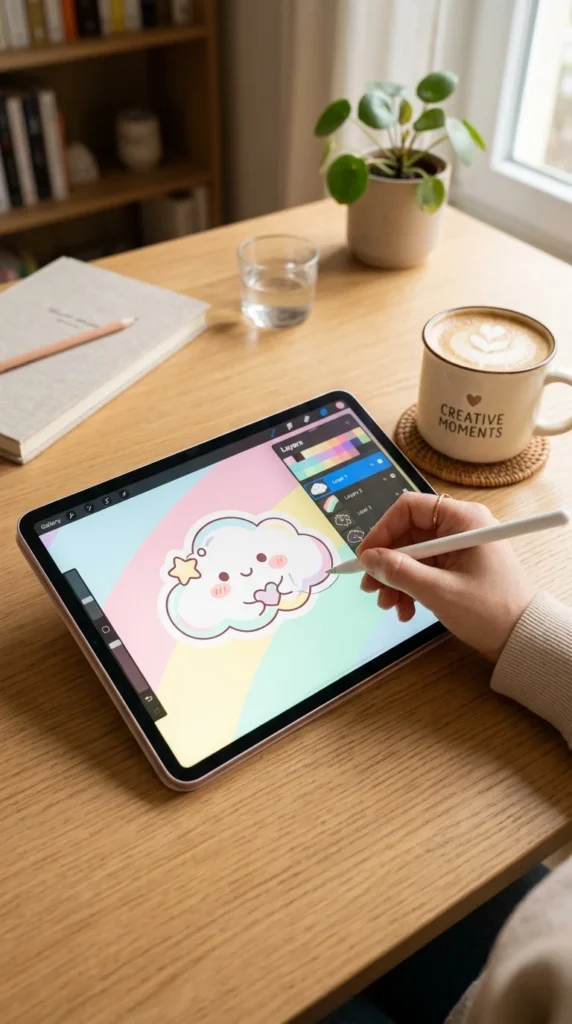
Digital Design
Use apps like:
- Procreate
- Canva
- Adobe Illustrator
Keep these in mind:
- Use high resolution (300 DPI) for sharp prints
- Add white outlines around stickers for a clean cut look
- Stick to a color palette (3–5 colors works best)
Hand-Drawn Stickers
If you prefer drawing:
- Use thick outlines (they scan better)
- Color with markers or colored pencils
- Scan or take a clear photo of your artwork
Step 3: Print Your Stickers Like a Pro
Printing can make or break your stickers — but it’s easy once you know the basics.
Best practices:
- Use high-quality print settings
- Choose the correct paper type in printer settings
- Test print on regular paper first
If you’re using regular paper instead of sticker paper:
- Print your designs
- Apply double-sided tape or glue on the back later
Pro tip: Matte paper gives a soft, aesthetic look, while glossy paper makes colors pop.
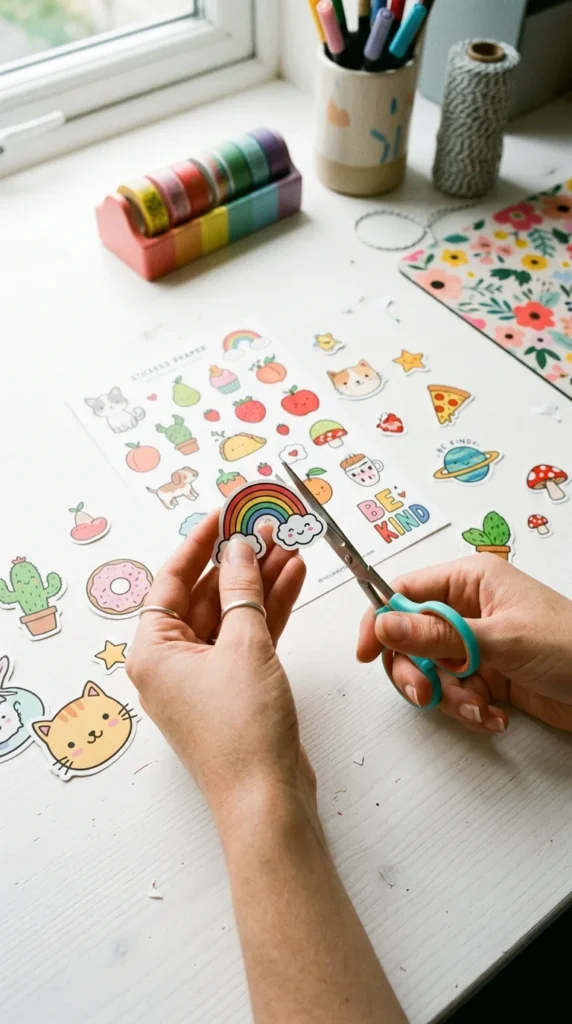
Step 4: Cut Your Stickers Cleanly
Now it’s time to bring your stickers to life!
Cutting options:
- Hand cutting: great for beginners
- Craft knife: for precise edges
- Cutting machine: for perfect, professional shapes
Tips for neat cuts:
- Leave a small white border around each design
- Take your time — clean edges matter
- Use sharp scissors or blades
Step 5: Make Them Durable and Waterproof
Want your stickers to last longer? A little extra effort goes a long way.
Simple methods:
- Cover with clear tape
- Use self-adhesive laminate sheets
Advanced option:
- Spray with waterproof sealant (light coat)
This step is especially useful if you plan to sell your stickers or use them on water bottles.
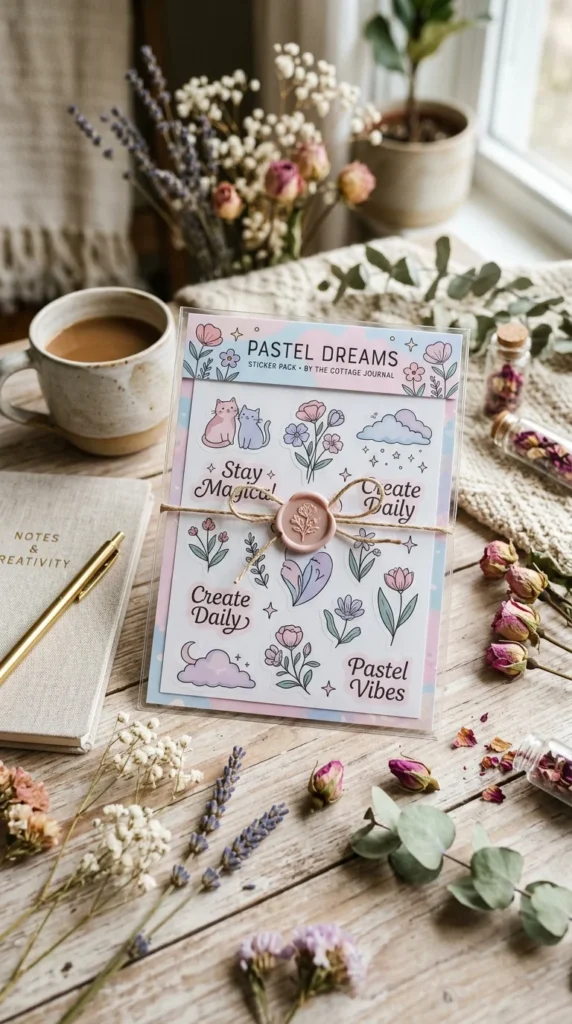
Step 6: Add That “Stand Out” Factor
Here’s where your stickers go from cute to wow.
Ways to make them unique:
- Add tiny details (sparkles, highlights, shadows)
- Mix textures (matte + glossy elements)
- Use trendy shapes (blobs, clouds, wavy edges)
- Include mini sticker packs instead of single designs
Packaging idea:
- Bundle stickers in aesthetic sets
- Use kraft paper envelopes or clear sleeves
- Add a thank-you note for a personal touch
Bonus Tips for Beginners
- Start simple — don’t overcomplicate your first designs
- Practice consistency in your style
- Save your designs digitally so you can reuse or improve them
- Experiment with seasonal themes (summer, cozy winter, etc.)
Final Thoughts
Making cute aesthetic stickers is not just fun — it’s incredibly rewarding. Whether you’re crafting for yourself or dreaming of opening a small shop, the possibilities are endless.
Start small, experiment freely, and most importantly — enjoy the process.
✨ Save this guide for later and start creating your own sticker collection today!