Pastel stickers have a magical charm—soft colors, dreamy vibes, and a calming aesthetic that instantly elevates journals, laptops, and planners. If you’ve ever scrolled through Pinterest and thought, “I wish I could make these myself,” you absolutely can. The best part? You don’t need fancy tools—just creativity and a love for soft hues.
Let’s walk through how to create your own pastel aesthetic stickers step by step.
Choose Your Color Palette
The heart of pastel aesthetics lies in the colors. Think soft, muted tones that feel light and airy.
Popular pastel shades include:
- Baby pink
- Lavender
- Mint green
- Powder blue
- Peach
- Pale yellow
Tip: Stick to 3–5 colors for a cohesive look. Too many shades can make your stickers feel cluttered instead of calming.
You can create your palette digitally (using apps like Procreate or Canva) or mix soft tones with markers or paints.
Gather Your Materials
Before you begin, make sure you have everything ready. This will make the process smoother and more enjoyable.
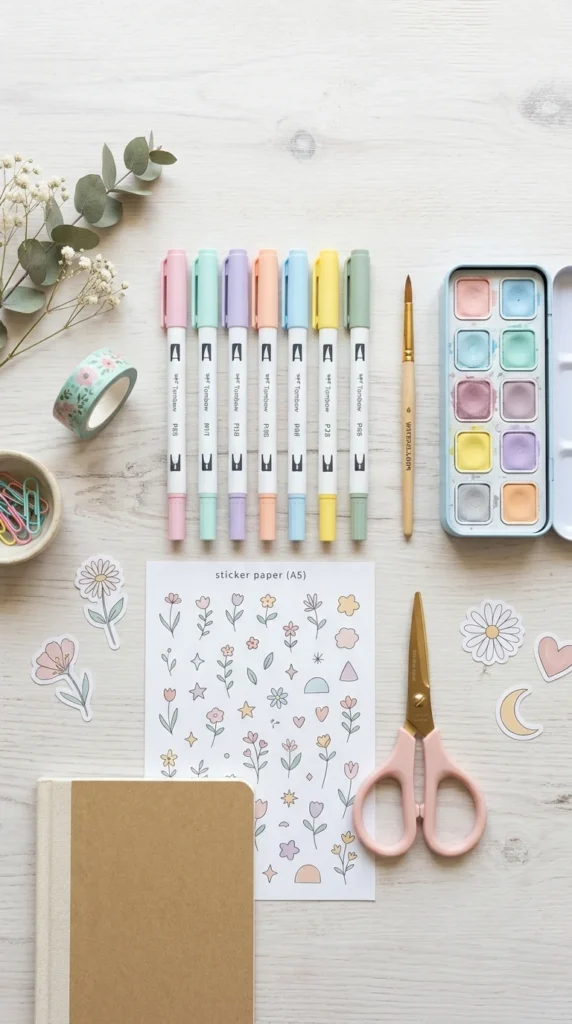
Basic supplies:
- Sticker paper (matte or glossy)
- Printer (if working digitally)
- Scissors or a cutting machine
- Markers, colored pencils, or watercolor paints
- Clear tape or laminate (optional for durability)
Optional tools:
- iPad or tablet for digital drawing
- Cutting machine like Cricut
- White gel pen for highlights
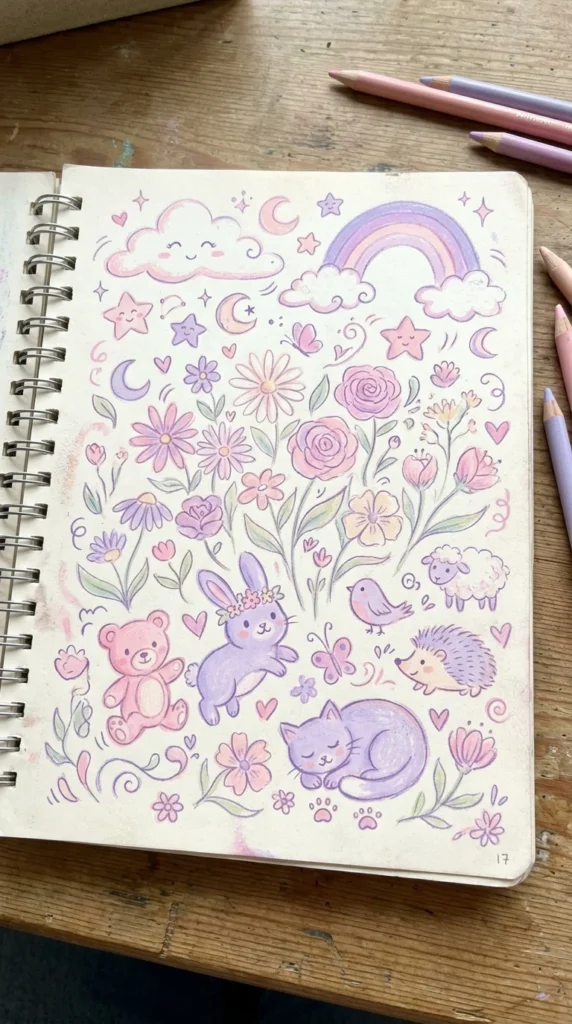
Design Your Sticker Ideas
Now comes the fun part—designing! Pastel aesthetic stickers usually feature cute, simple, and calming elements.
Popular design ideas:
- Clouds and stars
- Cute animals (bunnies, cats, bears)
- Flowers and leaves
- Hearts and sparkles
- Minimal quotes or doodles
Keep your designs:
- Simple (avoid too many details)
- Soft-edged (rounded shapes feel more dreamy)
- Lightly shaded for depth
If you’re drawing digitally, lower the opacity slightly or add a soft blur effect to enhance the dreamy feel.
Add Soft Textures and Effects
To really achieve that pastel aesthetic, textures make a big difference.
Try these techniques:
- Watercolor effect: Use light washes of color for a soft blend
- Grain or noise: Adds a subtle vintage feel
- Glow highlights: Use white or lighter shades to create a soft shine
- Gradient blending: Smooth transitions between pastel shades
These small touches can turn a basic sticker into something that feels magical and professional.
Print and Cut Your Stickers
Once your designs are ready, it’s time to bring them to life.
Printing tips:
- Use high-quality settings for crisp colors
- Choose matte paper for a soft look or glossy for a polished finish
- Test print first to check color accuracy
Cutting options:
- Hand-cut with scissors for a handmade feel
- Use a cutting machine for precise edges
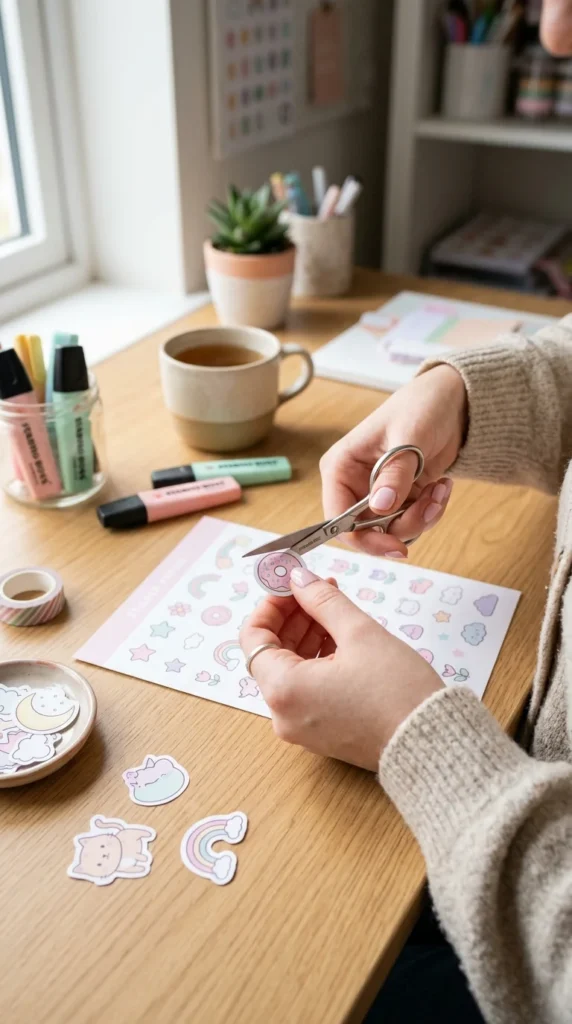
Leave a small white border around your stickers—it gives them that classic, clean aesthetic.
Seal for a Professional Finish (Optional)
If you want your stickers to last longer, sealing is a great idea.
Options include:
- Clear tape overlay
- Laminating sheets
- Waterproof sticker paper
This step is especially useful if you plan to sell or gift your stickers.
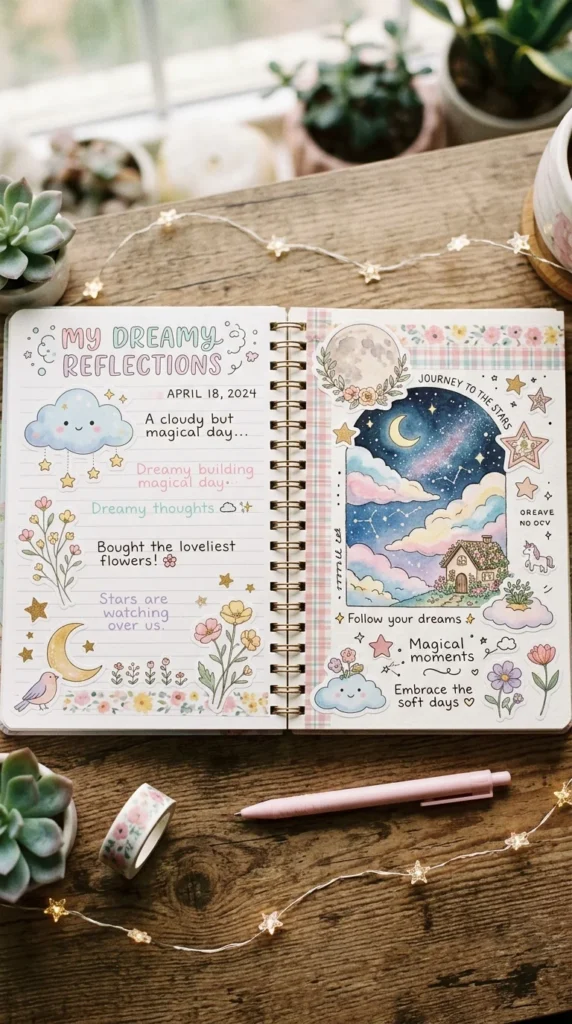
Style and Use Your Stickers
Now that your stickers are ready, it’s time to enjoy them!
Use them for:
- Journals and planners
- Phone cases
- Laptop decoration
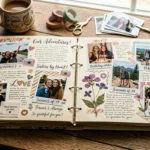
- Scrapbooks
- Gift wrapping
You can also bundle your designs into themed sticker sheets—like “Pastel Sky,” “Cute Animals,” or “Soft Floral Dreams.”
Tips to Make Your Stickers Stand Out
Want your stickers to look even more eye-catching?
- Keep a consistent color palette
- Add tiny details like sparkles or dots
- Use negative space to avoid clutter
- Experiment with shapes (circles, blobs, soft outlines)
- Follow trending aesthetic themes for inspiration
The goal is to create something that feels soft, cohesive, and visually relaxing.
Final Thoughts
Making pastel aesthetic stickers is not just a craft—it’s a creative escape. With soft colors, simple designs, and a touch of imagination, you can create stickers that feel straight out of a dream.
Whether you’re decorating your journal or starting a small sticker shop, this is a fun and rewarding skill to explore.
Save this idea for later and start creating your own dreamy pastel stickers today! ✨