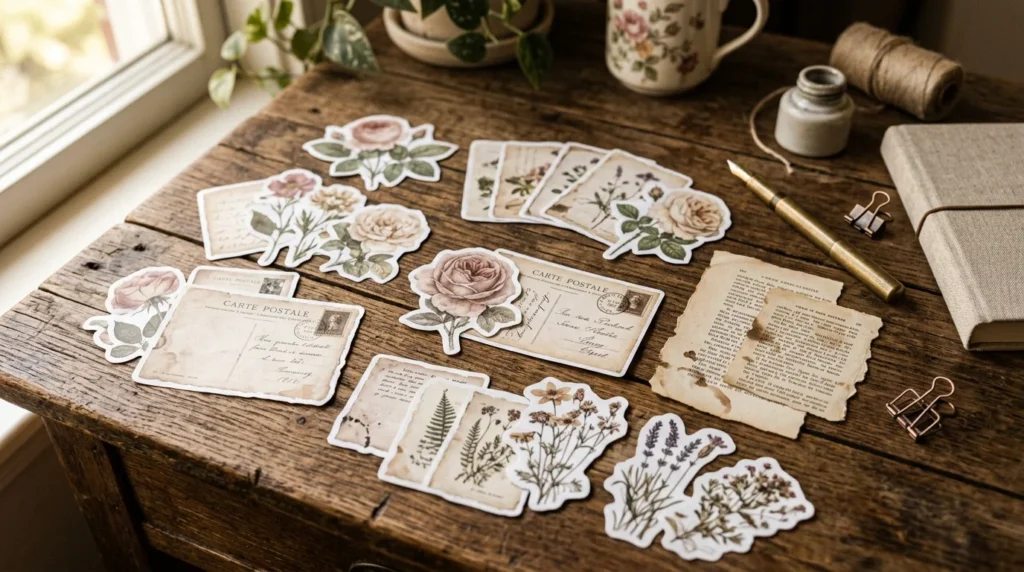
There’s something magical about vintage-inspired designs. From faded florals and antique postcards to aged paper textures and delicate typography, vintage aesthetic stickers can instantly add charm to journals, scrapbooks, planners, and handmade gifts. The best part? You don’t need expensive supplies or professional design skills to create your own beautiful stickers at home.
Whether you’re a scrapbook enthusiast or simply love nostalgic decor, this guide will walk you through creating vintage aesthetic stickers that look like they came straight from a charming antique shop.
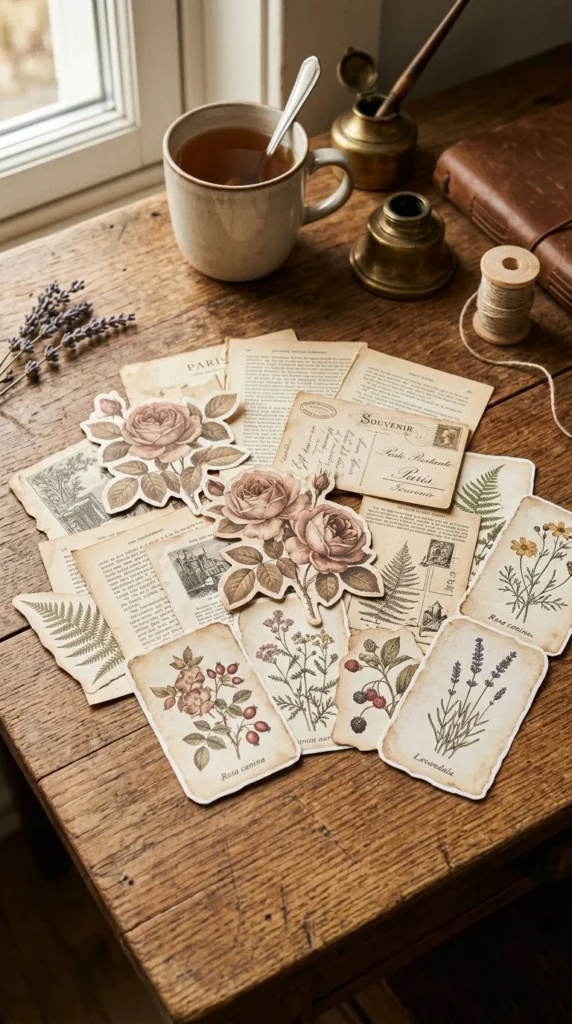
Gather Your Vintage-Inspired Materials
Before you begin, collect a few simple supplies. Many of these items can be found around your home or downloaded from free vintage image archives.
Materials you’ll need:
- Sticker paper or printable label sheets
- Scissors or a craft knife
- Printer
- Vintage images or illustrations
- Tea or coffee for aging paper (optional)
- Adhesive sheets if using regular paper
- Clear sticker laminate for durability (optional)
Look for elements such as:
- Antique flowers
- Botanical sketches
- Vintage stamps
- Old maps
- Postcards
- Handwritten letters
- Retro labels
The more authentic-looking the artwork, the more charming your finished stickers will appear.
Choose a Cohesive Vintage Theme
One secret to beautiful vintage stickers is sticking to a consistent aesthetic.
Popular vintage themes include:
- Cottagecore florals
- Victorian ephemera
- Antique travel postcards
- Vintage nature illustrations
- Old library and book-inspired designs
- Retro labels and packaging
Pick one theme and gather images that complement each other. This creates a curated collection instead of random sticker designs.
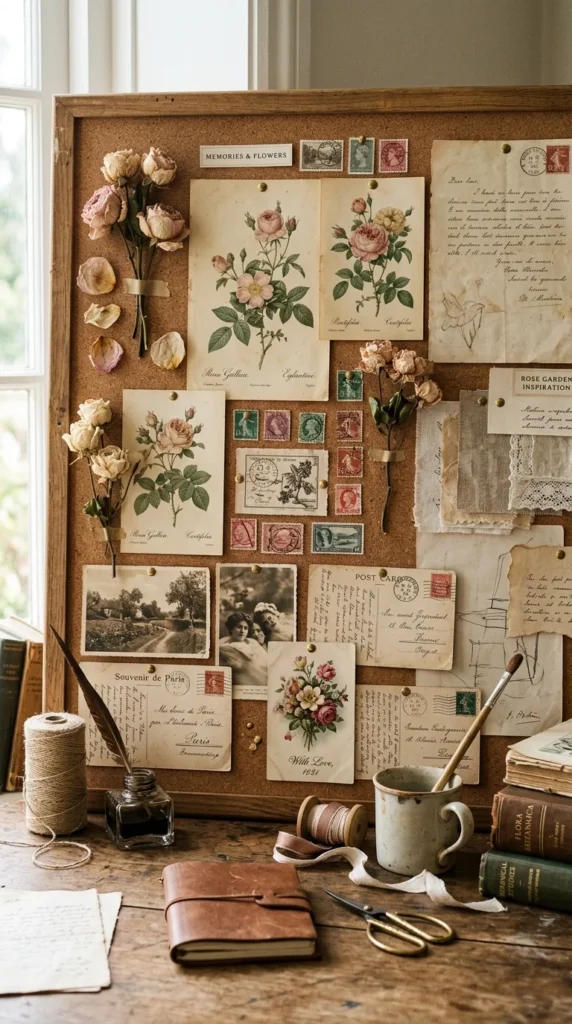
Create Your Sticker Designs
Once you’ve selected your images, it’s time to arrange them into printable sticker sheets.
You can use design tools such as:
- Canva
- Photoshop
- GIMP
- Procreate
- Any simple document editor
Arrange multiple designs on a single page to maximize printing space.
Helpful design tips:
- Leave small margins around each image for easy cutting.
- Mix large statement stickers with smaller accent pieces.
- Use soft, muted colors like cream, beige, dusty rose, sage green, and sepia brown.
- Add subtle paper textures for an aged appearance.
Avoid overcrowding the page. White space helps each sticker stand out beautifully.
Add an Authentic Aged Look
One of the most appealing aspects of vintage aesthetics is the sense of history and wear.
Try these simple techniques:
Use Distressed Effects
- Lower image saturation slightly.
- Add subtle grain or paper texture overlays.
- Apply light sepia tones.
- Soften sharp edges.
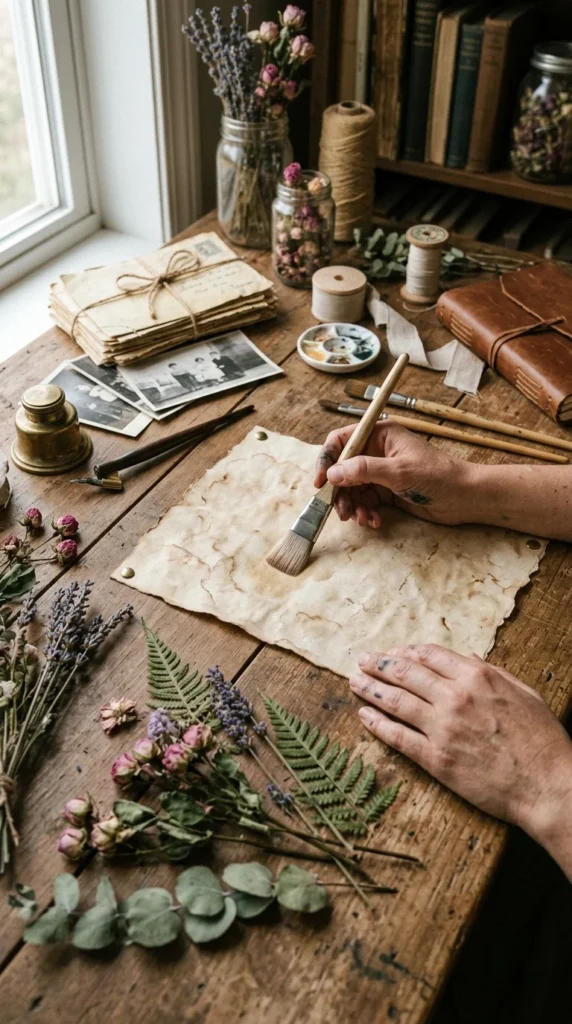
Age the Paper
If you’re printing on regular paper:
- Brew strong tea or coffee.
- Lightly brush it onto the paper.
- Allow it to dry completely before printing or after printing if the ink is waterproof.
This creates a naturally aged appearance that enhances the vintage feel.
Print and Cut Your Stickers
Now it’s time to bring your designs to life.
For best results:
- Use high-quality sticker paper.
- Select the highest print quality setting.
- Print a test page first.
- Allow ink to dry fully before handling.
After printing:
- Carefully cut around each design.
- Use precision scissors for detailed shapes.
- Try a craft knife for intricate edges.
If you prefer a polished finish, apply a clear laminate sheet before cutting.
This extra step helps protect your stickers from moisture and wear.
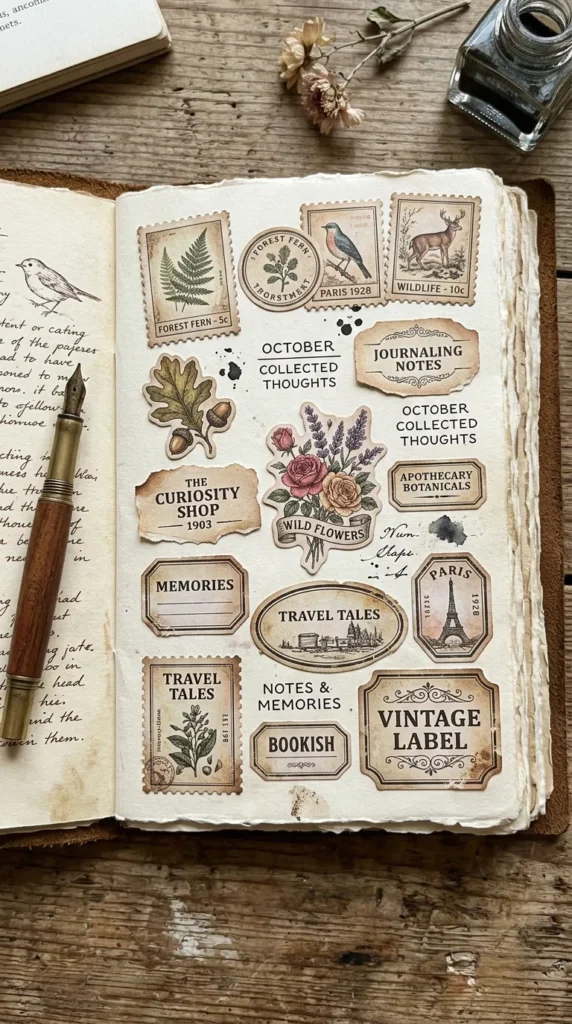
Use Decorative Edges and Shapes
Vintage stickers often feel special because they aren’t simple squares.
Experiment with:
- Torn paper edges
- Circular seals
- Label-shaped frames
- Postage stamp borders
- Oval and botanical silhouettes
These unique shapes add personality and make the stickers look more professionally crafted.
Style and Store Your Sticker Collection
Once your stickers are complete, organize them so they’re easy to use.
Ideas for storage:
- Small photo boxes
- Vintage tins
- Mini envelopes
- Sticker binders
- Glass jars for larger collections
You can also create themed packs to share with friends or include in handmade gifts.
Vintage aesthetic stickers look especially beautiful when paired with:
- Junk journals
- Scrapbooks
- Reading journals
- Pen pal letters
- Gift wrapping
- Planner spreads
Final Thoughts
Making vintage aesthetic stickers is a fun and creative project that allows you to turn nostalgic artwork into something practical and beautiful. With a few simple supplies and a carefully chosen theme, you can create sticker collections that feel timeless, elegant, and completely unique.
Start with a handful of designs, experiment with aged textures, and discover your own vintage style along the way. Before you know it, you’ll have a collection of charming stickers ready to decorate everything from journals to handmade gifts.
Save this tutorial for later and start creating your own vintage-inspired sticker collection today!