Scrapbooking is a simple way to save memories while enjoying a relaxing craft session. With a few affordable supplies, anyone can turn photos, notes, and small keepsakes into something meaningful. DIY scrapbook projects allow you to experiment with colors, textures, and layouts without spending much money.
The best part is that there is no single “correct” style. Some people enjoy playful pages filled with stickers and doodles. Others like minimal layouts that highlight one special photo. Both approaches work beautifully.
If you enjoy hands-on crafts, the ideas below will give you plenty of inspiration. Each project focuses on easy techniques, inexpensive materials, and creative layouts that beginners can try right away.
1. Vintage Paper Memory Pages
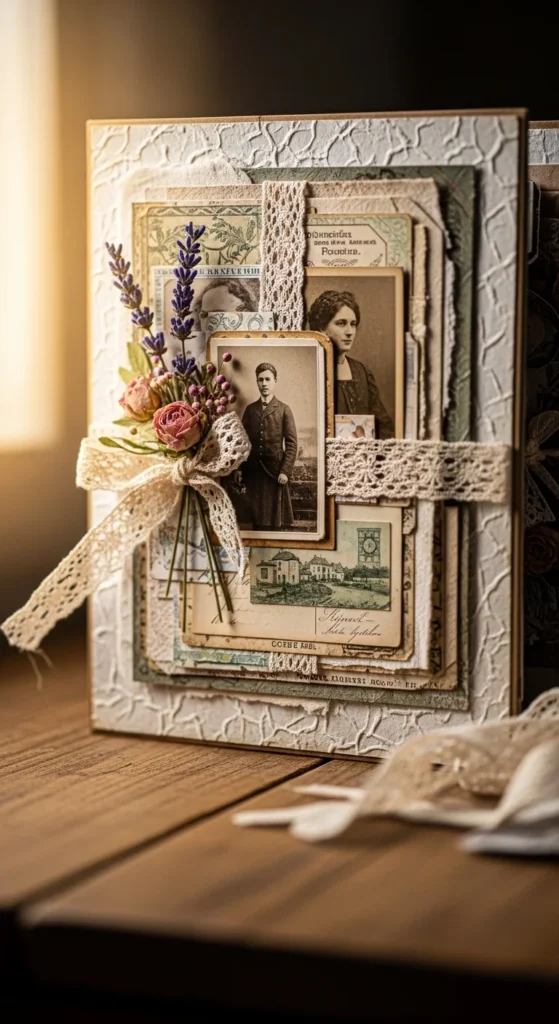
Vintage scrapbook pages give memories a nostalgic feel. The look is easy to recreate with simple materials.
Start with kraft paper or tea-stained pages as your background. The slightly aged tone creates an instant vintage vibe. Add printed photos with soft colors or black-and-white images.
Layer old envelopes, lace ribbon, ticket stubs, and postage-style stickers. These items often cost very little at craft shops or thrift stores.
Use brown ink or a soft pencil to lightly shade the edges of paper pieces. This small step adds depth without much effort.
Handwritten notes also work well on vintage pages. Write short captions about the memory behind the photo.
You can keep the layout simple. Place one main photo in the center and build decorative layers around it.
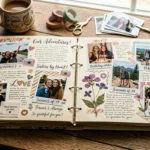
Try pressing small dried flowers between pages for texture. They look beautiful next to travel photos or family memories.
This idea works well for old family photographs. It turns simple pictures into pages that feel warm and personal.
2. Polaroid-Style Photo Frames
Polaroid-inspired frames create a playful scrapbook layout. They also help organize photos neatly on the page.
You can make the frames using plain white cardstock. Cut rectangles and leave a wider border at the bottom.
Glue your photos inside the frames. This small border instantly gives the classic instant-photo look.
Use colorful washi tape to attach the frames to the scrapbook page. This makes the layout feel casual and creative.
Write short captions on the bottom border of each frame. Keep them simple. A date, location, or quick memory works well.
Try arranging several frames in a grid. This layout works perfectly for vacation photos or event highlights.
If you want extra decoration, add small doodles or stickers around the frames. Stars, hearts, or arrows guide the viewer’s eye across the page.
Polaroid layouts also work nicely in mini scrapbooks. Even small pages can hold several photos using this design.
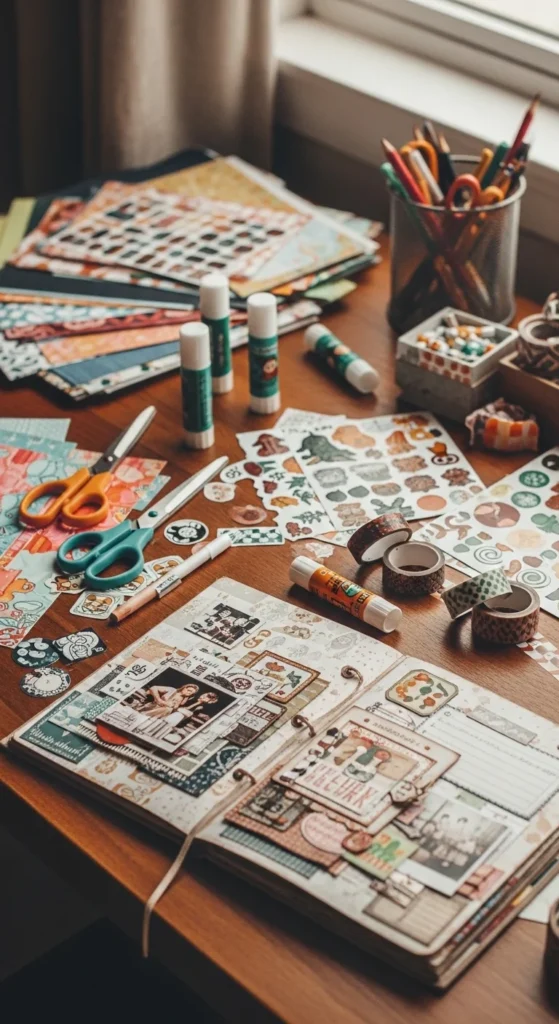
3. Washi Tape Pattern Pages
Washi tape is one of the easiest scrapbook tools to use. It sticks well and removes easily if you want to adjust the layout.
Start by creating striped backgrounds using different tape patterns. Place the strips side by side across the page.
Another idea is to create borders around photos. Thin tape designs help highlight images without covering them.
You can also form shapes using tape. Try simple triangles, frames, or diagonal patterns.
Washi tape works well when you want quick decoration without glue or complicated tools.
Choose colors that match your photos. Soft pastels look nice for family memories, while bold patterns suit travel pictures.
If your scrapbook pages feel empty, place tape in the corners or along the edges.
Even a few small strips can add personality to the layout.
Many craft stores sell affordable tape sets, so you can experiment with different styles without spending much money.
4. Envelope Pocket Scrapbook Pages
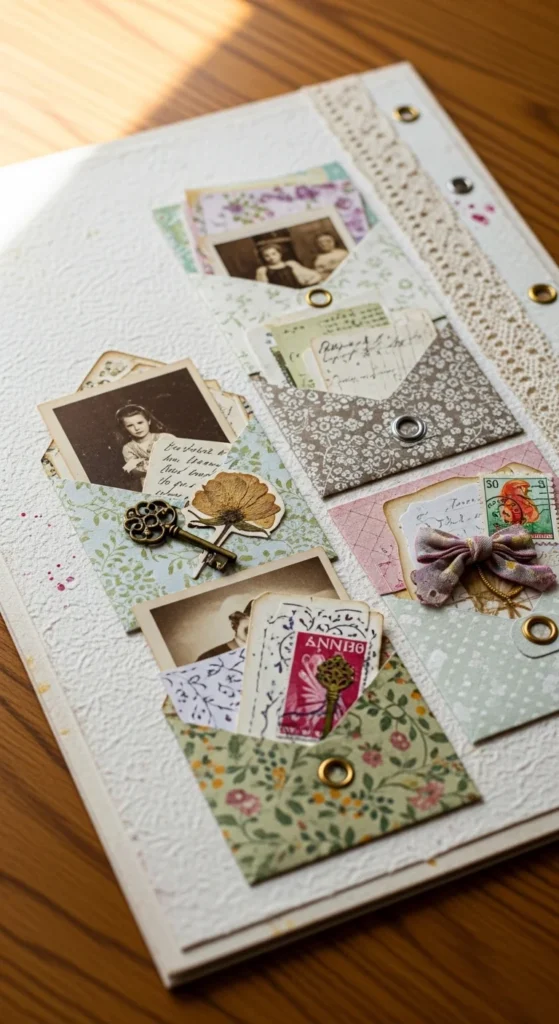
Envelope pockets add a fun interactive element to scrapbook pages.
Small envelopes are perfect for storing ticket stubs, notes, and tiny photos.
Glue the envelope onto the page with the opening facing upward. Decorate the front with stickers or stamps.
Inside the pocket, place folded journaling cards. Write details about the memory so you can read them later.
This design works well for travel scrapbooks. Store train tickets, postcards, or museum passes inside the envelopes.
You can also create envelopes using patterned scrapbook paper. Fold the paper into a pocket shape and glue the sides.
Add a small sticker or paper tab to pull the card out easily.
Children often enjoy this style because it feels like opening a tiny surprise inside the page.
Try placing several envelopes across a two-page spread for a layered design.
The pockets help store small items that normally get lost over time.
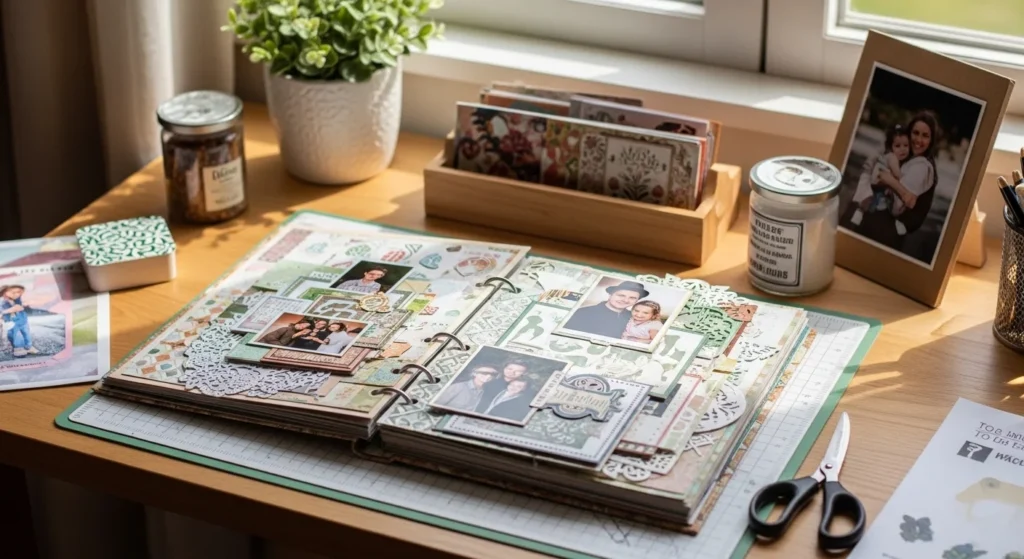
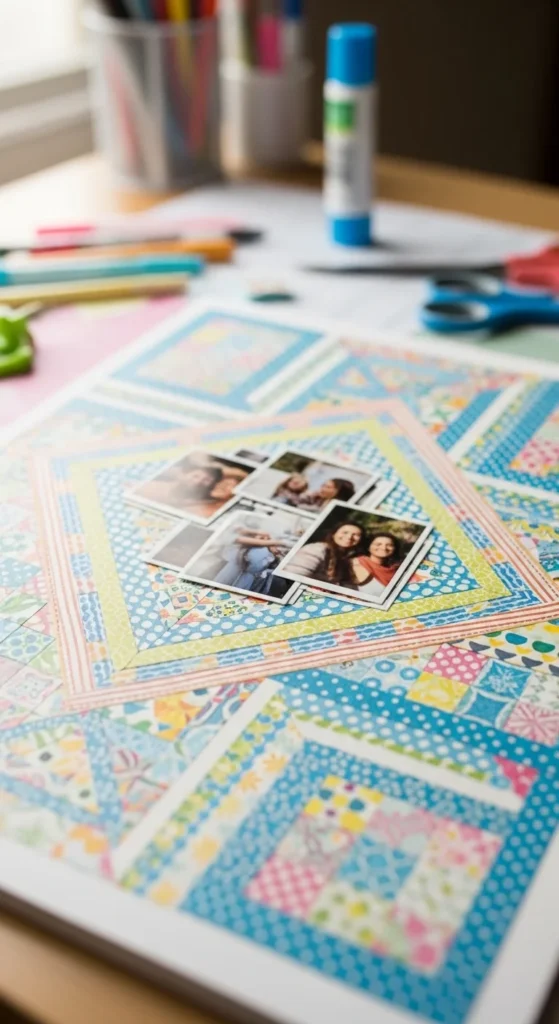
5. Layered Photo Collage Layout
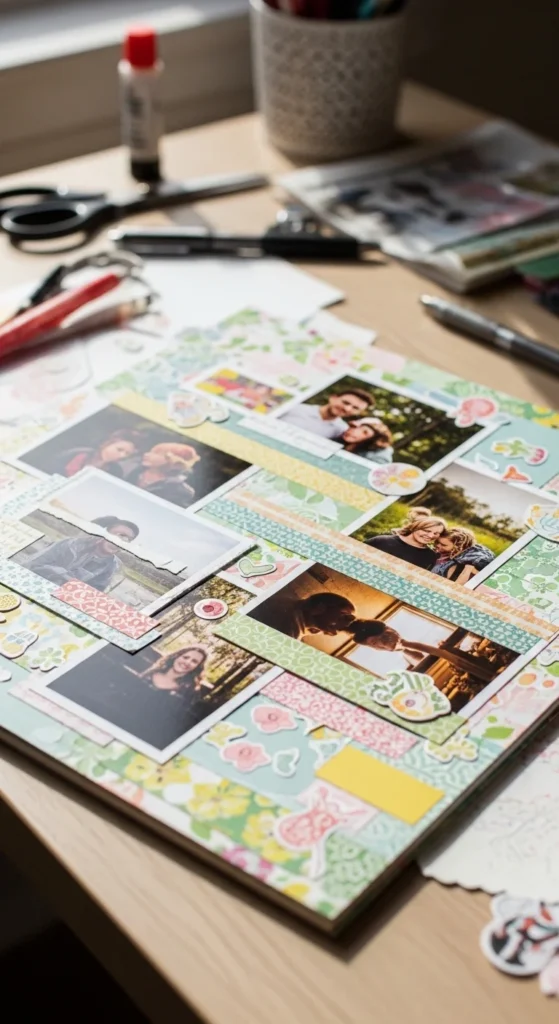
A collage layout allows you to display many memories on a single page.
Start with a large background sheet. Then place several photos at slightly different angles.
Layer patterned paper behind some pictures to create depth.
Do not worry about perfect alignment. The slightly messy look adds personality.
Add small stickers, stamps, or doodles between the photos to fill empty spaces.
Use foam tape under a few pictures if you want a raised layered effect.
This style works well for birthday parties, holidays, or family gatherings where you have many photos.
Stick to two or three color themes to keep the page organized.
Write short notes beside the photos. A sentence about the moment is enough.
The collage approach turns a simple scrapbook page into a lively collection of memories.
6. Mini Flip-Up Photo Pages
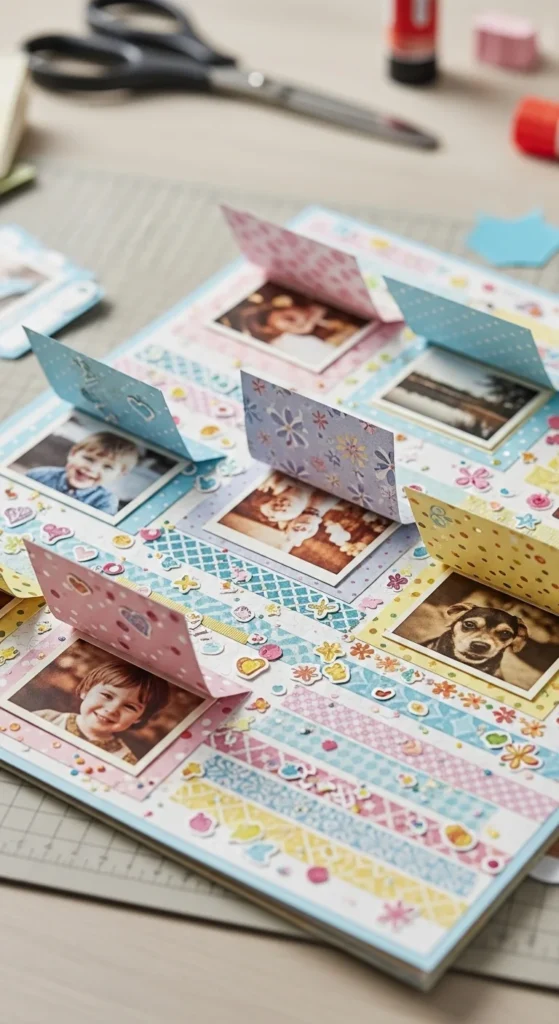
Flip-up pages add movement and curiosity to your scrapbook.
Start by gluing one edge of a photo onto the page so it opens like a small door.
Underneath the flap, place another photo or a written memory.
You can also attach small paper tabs so the flap lifts easily.
Decorate the front with stickers or patterned tape.
This technique allows multiple photos in a small space without making the page feel crowded.
It works well for storytelling pages. The top image shows the moment, while the hidden section explains what happened.
Children love flipping through these pages. It makes the scrapbook feel interactive.
Keep the decorations light so the flap opens smoothly.
This idea turns simple scrapbook pages into something playful and engaging.
7. Scrapbook Pages with Handwritten Journaling
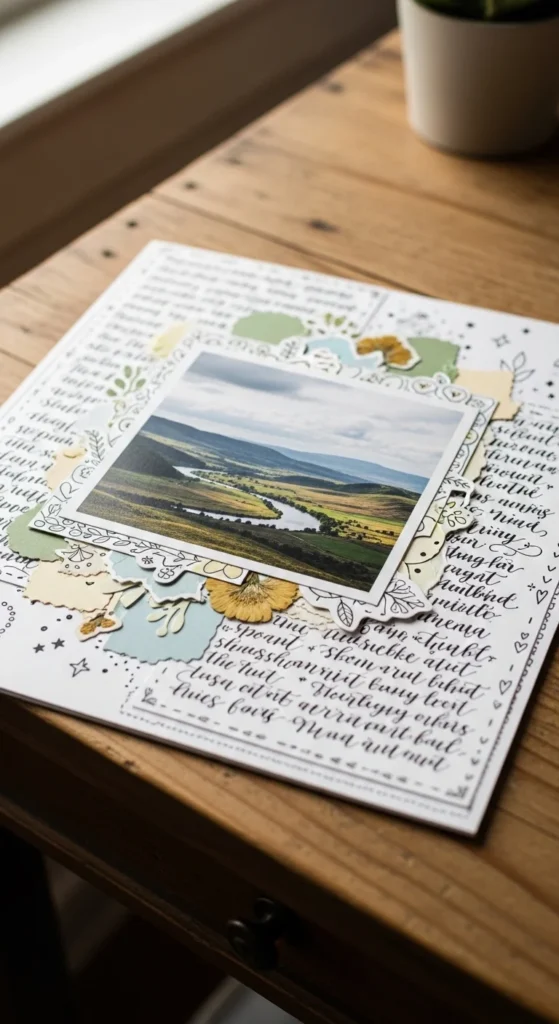
Photos capture moments. Writing captures the story behind them.
Handwritten journaling gives scrapbook pages a personal voice.
Use a fine pen or marker and write short memories around the photo.
You do not have to write long paragraphs. Even a few sentences work well.
Mention where the photo was taken, who was there, and what made the moment special.
Decorate the writing area with small doodles or borders.
Colored pens can also help organize notes and highlight key parts.
If you worry about mistakes, write the text on a small card first. Then glue the card onto the page.
Journaling pages often become the most meaningful part of a scrapbook.
Years later, those short notes help you remember details that photos alone cannot show.
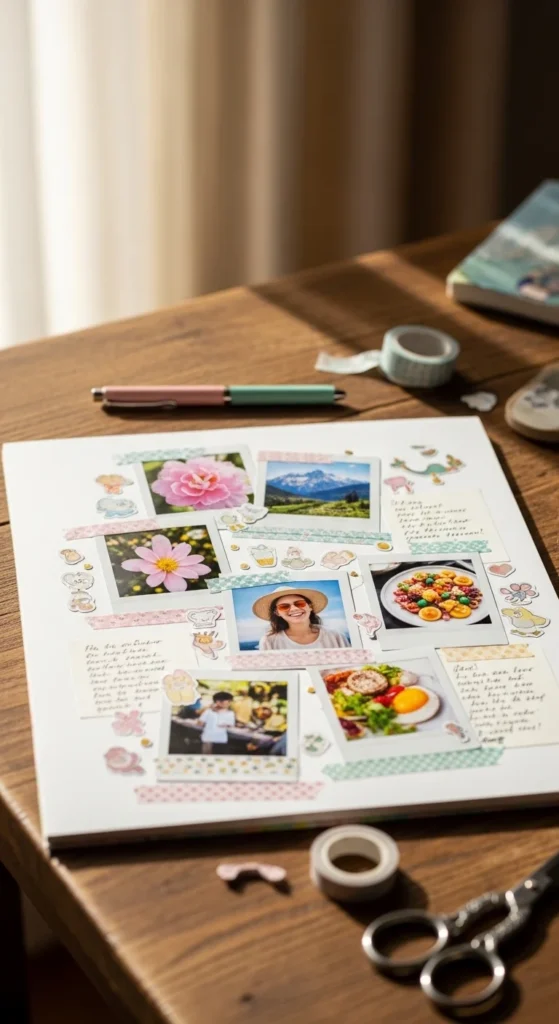
8. Photo Grid Scrapbook Layout

A photo grid layout creates a clean and organized scrapbook page.
Cut your photos into equal square shapes. Arrange them in rows and columns.
Leave small gaps between the images so the page feels balanced.
Use a soft patterned paper background to add color.
This layout works well for daily life photos, food pictures, or travel snapshots.
Add tiny captions under a few images to explain the moment.
Keep decorations simple so the grid pattern stays clear.
You can also place one larger photo in the center for variety.
Grids are perfect for beginners because they are easy to arrange.
The result looks tidy and visually pleasing.
9. Sticker Theme Scrapbook Pages
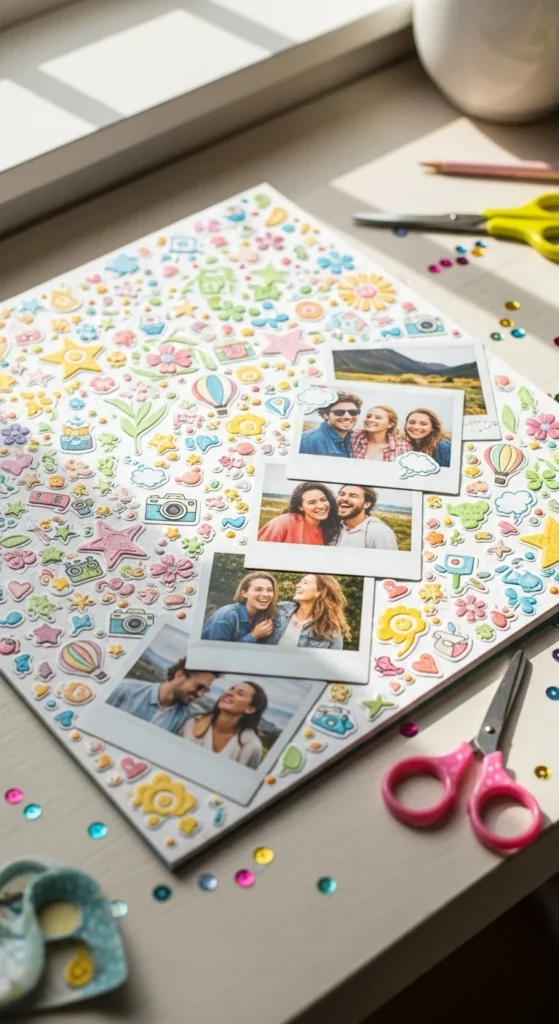
Sticker themes create a playful scrapbook style.
Choose one theme for each page. Examples include travel icons, flowers, stars, or hearts.
Place the main photo first. Then build the sticker design around it.
Avoid covering important parts of the photo.
Use stickers to create small scenes around the image.
For example, travel stickers can surround vacation photos.
If you have leftover sticker pieces, use them to decorate page corners.
Sticker sets are inexpensive and easy to find.
They also make scrapbooking faster because you do not need complicated tools.
A simple sticker page still looks cheerful and creative.
10. Map Background Travel Pages
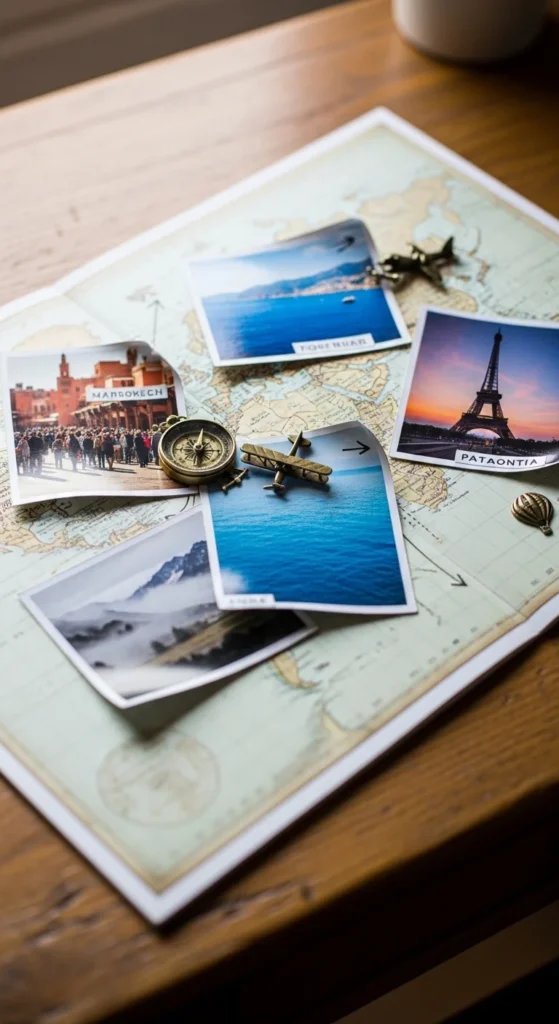
Travel memories look great on map backgrounds.
Start with a printed map page or atlas sheet.
Place your travel photos on top of the map.
Use small arrows or dotted lines drawn with a pen to mark routes.
Add labels for the cities or landmarks shown in the photos.
You can also glue tiny flags beside each location.
Ticket stubs and boarding passes work nicely as extra decoration.
This idea works for road trips, vacations, or even local adventures.
Map pages help show the journey behind the memories.
They make travel scrapbooks feel organized and story-driven.
Conclusion
DIY scrapbook projects give you a creative way to store photos and memories while enjoying a relaxing craft activity. With simple tools like paper, tape, stickers, and pens, you can design pages that reflect your personal style.
Start small and try one idea at a time. Over time, your scrapbook will grow into a collection of meaningful moments. The beauty of handmade pages comes from the memories behind them and the care put into creating each one.