Neat mehndi patterns often look more polished than complex designs. Clean spacing, balanced shapes, and steady lines create a professional finish even with simple elements. Many people enjoy applying mehndi at home for weddings, festivals, or casual gatherings. With the right pattern ideas, you can create beautiful results without spending money at a salon.
Simple motifs such as flowers, vines, dots, and geometric shapes work very well. They are easier to draw and allow you to correct small mistakes quickly. Even beginners can create stylish mehndi designs by focusing on symmetry and spacing.
The patterns below highlight easy mehndi ideas that look tidy and balanced. Each design works well for beginners while still giving that polished appearance people admire.
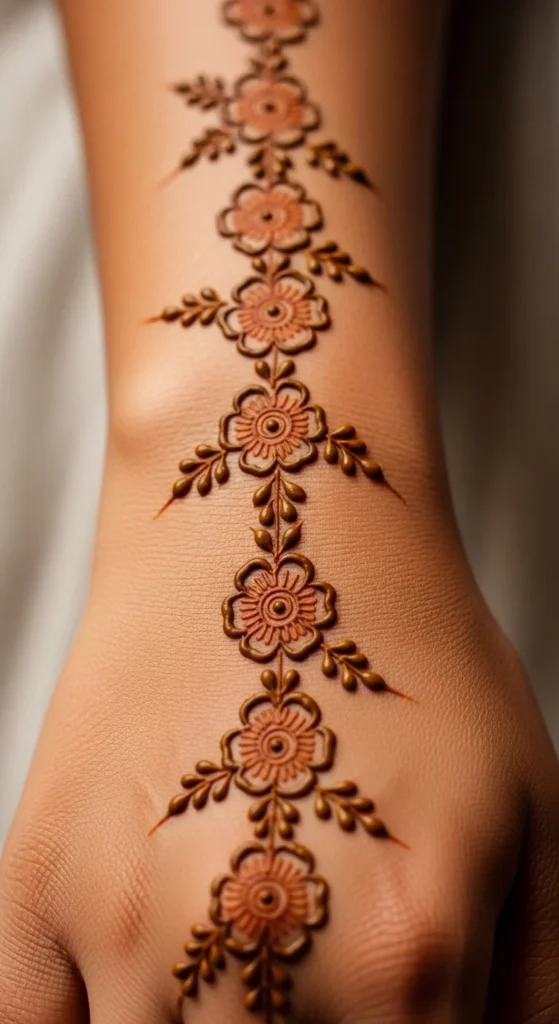
1. Simple Flower Chain Pattern
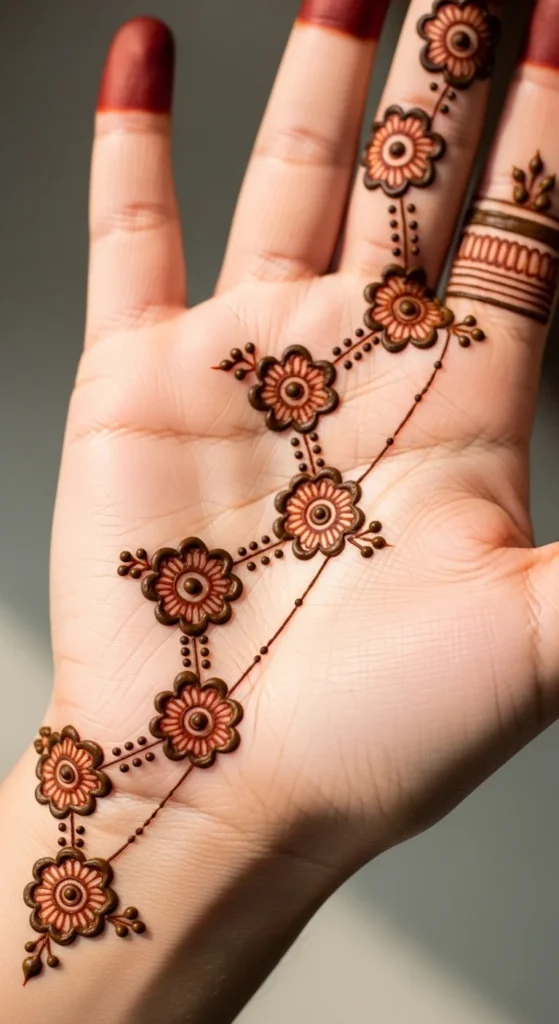
Flower chains are one of the easiest mehndi patterns to draw. They also look polished and balanced on the hand.
Start by drawing a small flower near the wrist. Use five tiny petals and keep the lines thin. Add a small dot in the center.
Next, connect another flower using a curved line. Continue the chain diagonally across the hand.
Spacing is the trick. Leave a small gap between each flower. This keeps the design clean instead of crowded.
Add two or three dots between flowers for decoration. These small details give the pattern a finished look.
If your lines feel shaky, practice drawing flowers on paper first. A toothpick dipped in leftover henna can also help with tiny corrections.
This pattern works well for casual events. It also fits nicely on smaller hands.
Budget tip: one mehndi cone can create many flower chains for friends and family.
2. Minimal Dot Grid Design

Dots are the easiest element in mehndi art. A dot grid design looks modern and very tidy.
Begin by placing a single dot in the center of the hand. From there, add dots in straight rows.
Try forming a diamond shape using evenly spaced dots. Keep the spacing consistent so the pattern stays balanced.
Dots dry quickly and are easy to control. If one looks larger, add a tiny ring around the smaller ones to match.
This pattern is perfect for beginners who want neat results. Even simple dots can look stylish when placed carefully.
You can also outline the grid with a thin curved line around the edges.
For a casual gathering, this quick design takes less than ten minutes.
Budget tip: leftover henna from another design works great for small dot patterns.
3. Curved Vine Trail
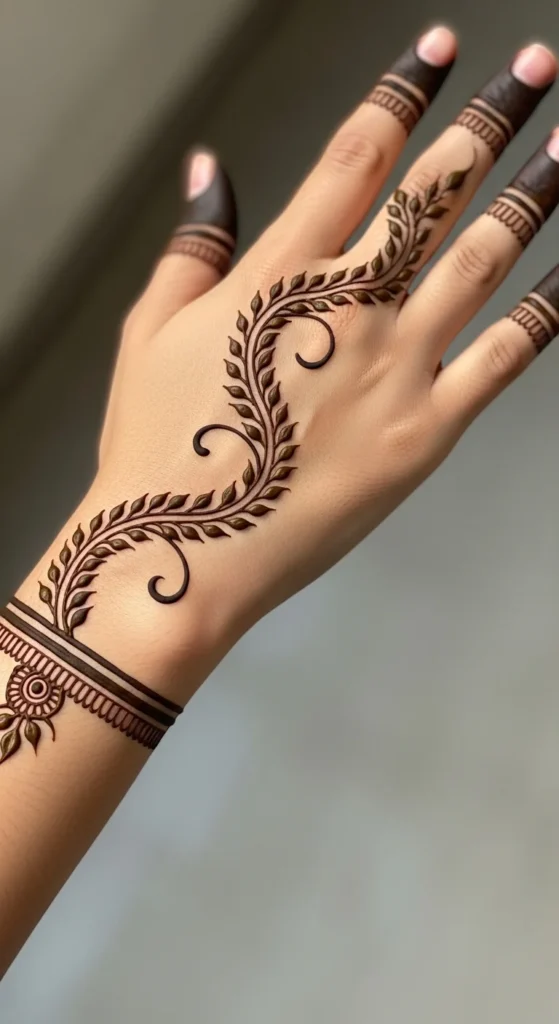
Vine patterns create movement without making the design crowded.
Start with a gentle curved line from the wrist toward the middle finger. This becomes the vine.
Add tiny leaves along the line. Each leaf should tilt slightly outward.
Keep the leaves small and evenly spaced. This helps the design look clean.
You can add a few dots beside the leaves to make the pattern feel fuller.
This style works well for beginners since it uses repeated shapes.
If you want more detail, place a small flower where the vine begins.
Practice drawing the vine curve slowly. A steady hand makes a big difference.
Budget tip: use leftover henna cones that have slightly wider tips. Vine lines still look good with them.
4. Finger Tip Lace Pattern
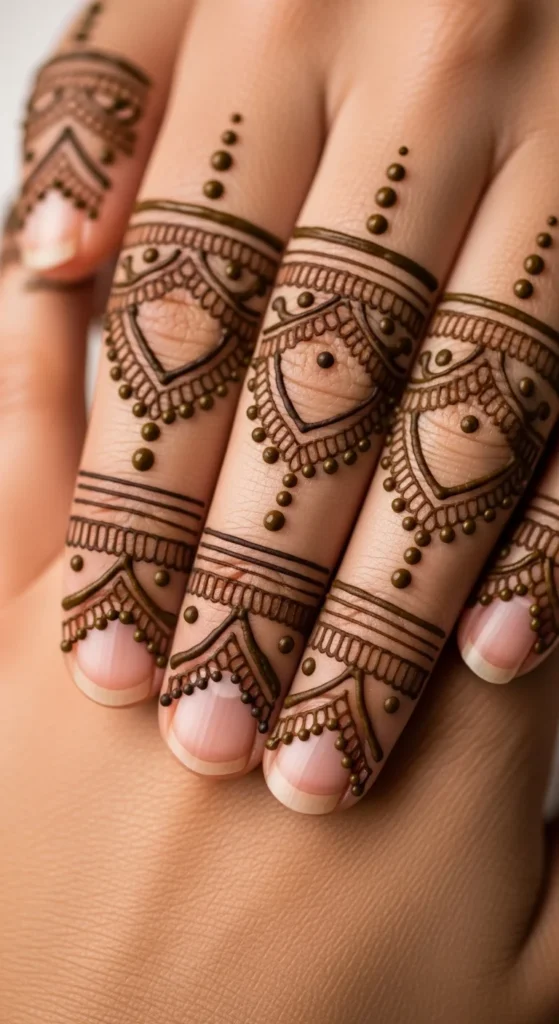
Finger tip designs look stylish while staying simple.
Start by filling the top of each finger with small scalloped curves. These curves create a lace effect.
Under the curves, add a row of dots. This gives the pattern a layered look.
You can leave the rest of the hand plain or add a small central motif.
This design dries quickly since the lines are thin.
It also works well for people who want mehndi but prefer minimal coverage.
Practice drawing the scallops slowly. Consistent curves make the lace effect look tidy.
Budget tip: since the design uses little henna, one cone can decorate many hands.
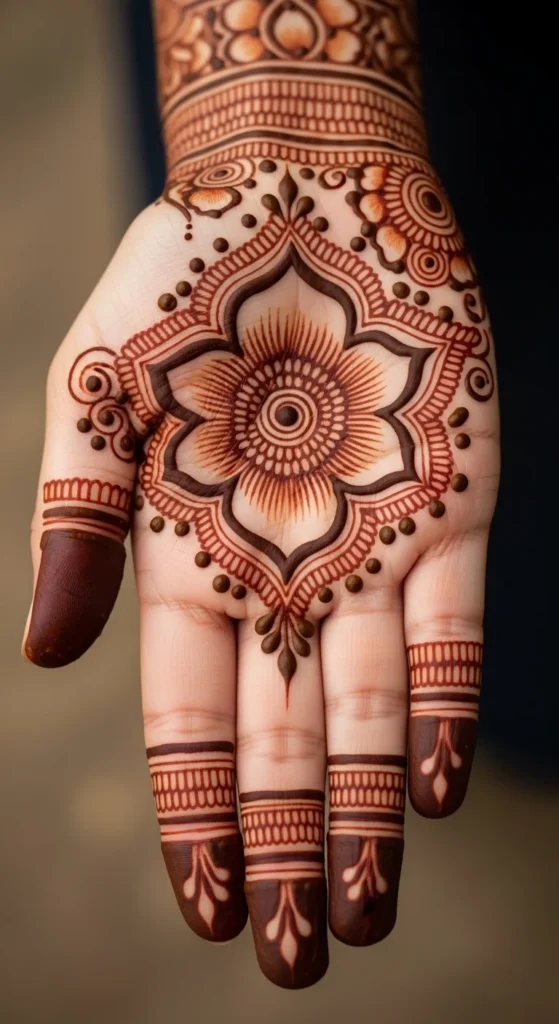
5. Half Mandala Hand Design
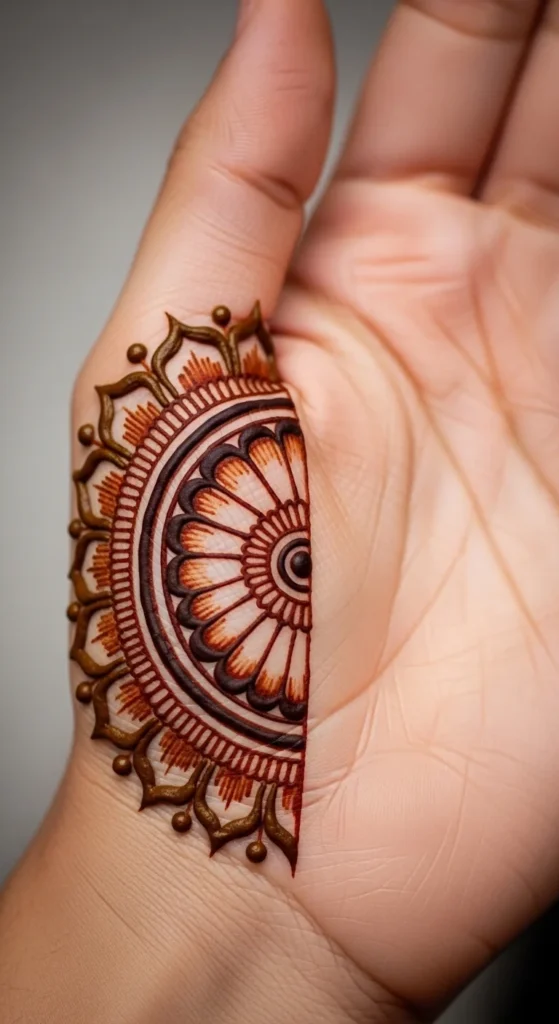
Half mandalas are popular because they look complex but are easy to draw.
Begin with a small circle near the side of the hand. Around it, add evenly spaced petals.
Extend curved lines outward to create the mandala layers.
Only draw half the circle. The open space makes the design look balanced.
Add dots between each layer to fill gaps.
This pattern works well for weddings or festive events.
Use slow, steady strokes when drawing the outer arcs.
Budget tip: practice mandala shapes with pen and paper before applying mehndi.
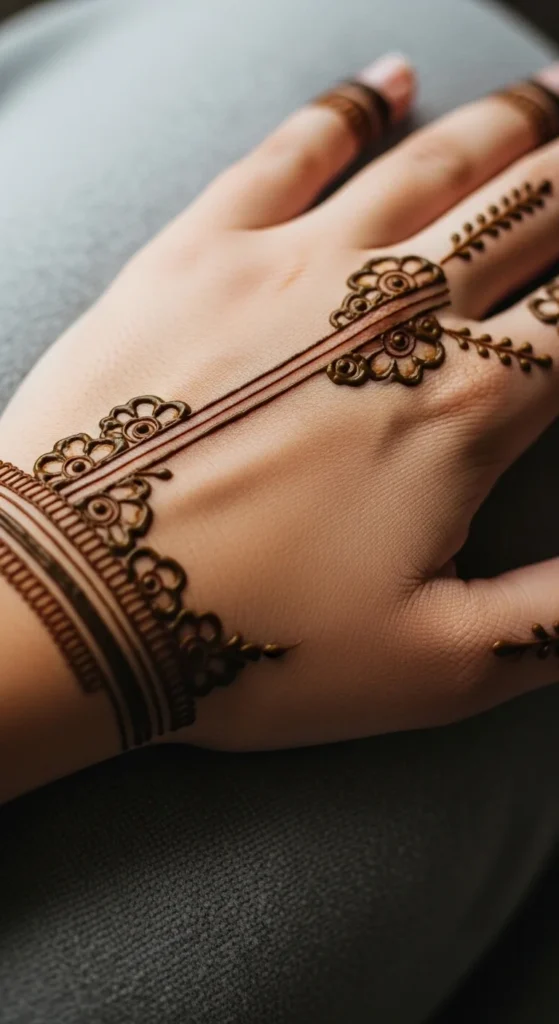
6. Bracelet Style Wrist Pattern
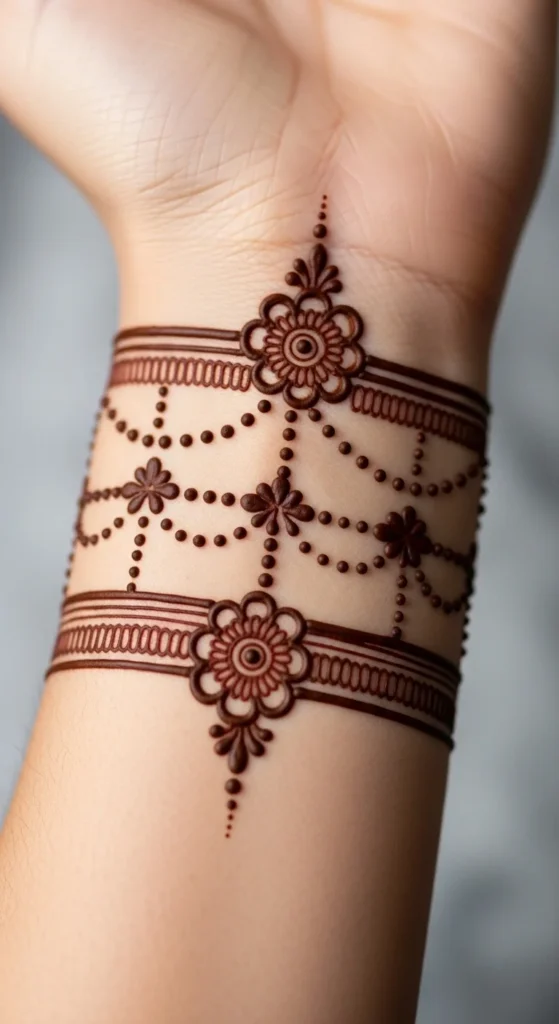
A wrist bracelet design is simple yet stylish.
Draw two thin parallel lines around the wrist. This forms the band.
Inside the band, place small flowers or dots.
Add tiny hanging chains under the bracelet line for decoration.
This pattern works well if you want something quick but elegant.
It pairs nicely with bangles or jewelry.
Try using a mirror while drawing the backside of the wrist.
Budget tip: practice drawing straight lines using a ruler on paper before applying henna.
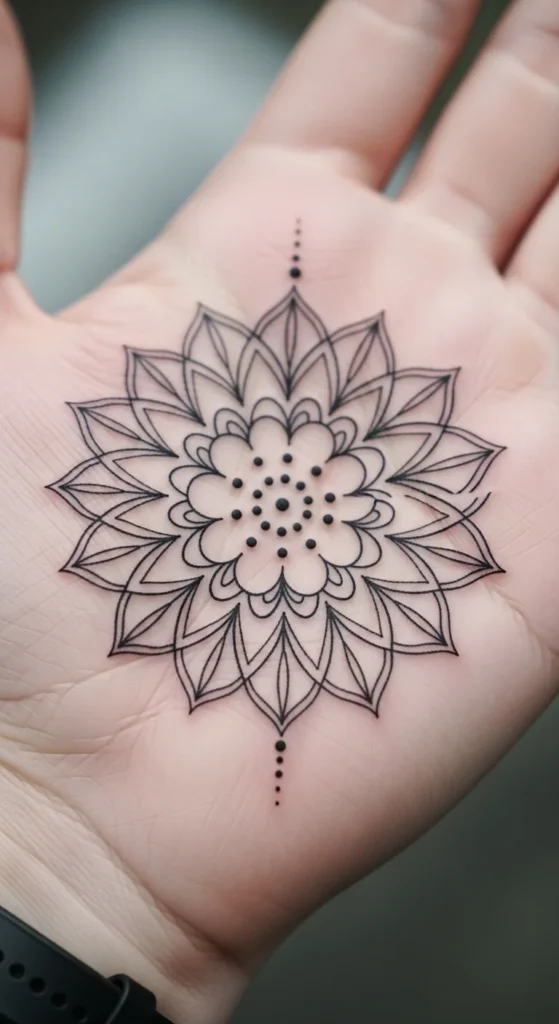
7. Small Mandala Center Design
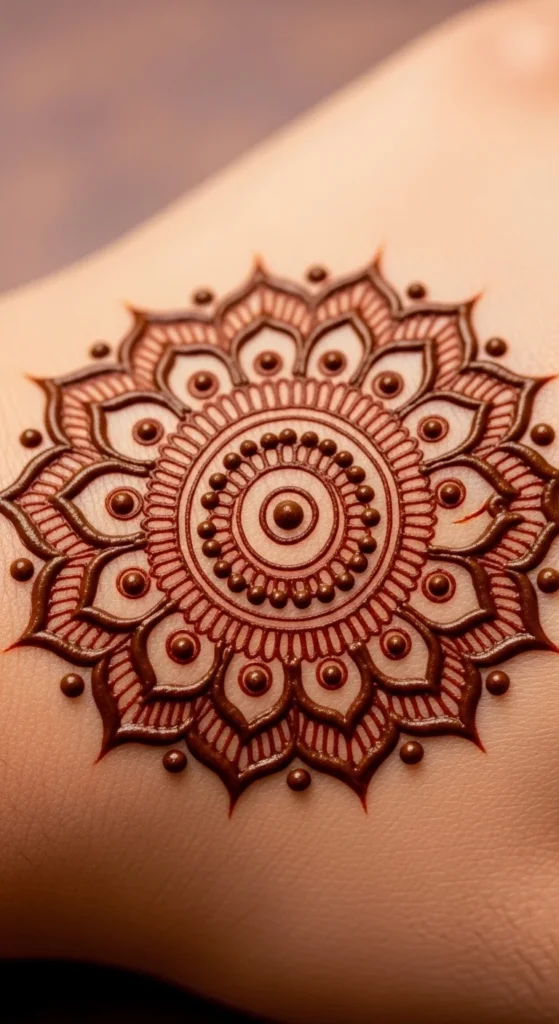
A centered mandala is simple and balanced.
Start with a small circle in the middle of the hand. Add petals around it.
Keep each petal the same size. This keeps the pattern neat.
Add dots between petals to fill empty areas.
You can stop here or add one more ring of small shapes.
This design works well for beginners because it stays in one area.
Budget tip: leftover henna works perfectly for compact designs like this.
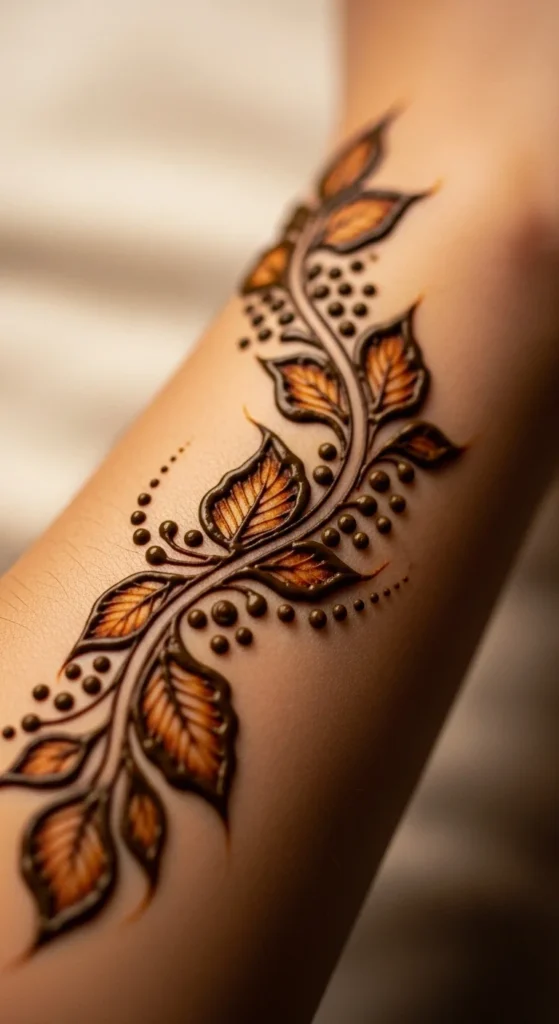
8. Diagonal Leaf Trail
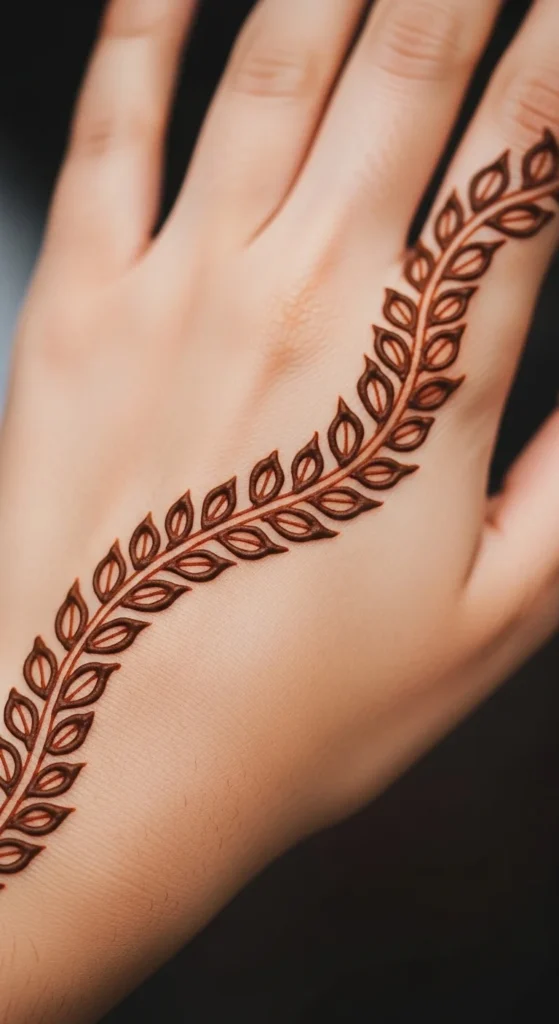
A leaf trail creates a light and elegant pattern.
Draw a thin diagonal line across the hand. Add small leaves along the line.
Alternate the leaf direction for a natural look.
Leave open space around the trail so it stands out.
This design is easy to finish in under fifteen minutes.
Budget tip: practice drawing leaf shapes quickly on paper before applying henna.
9. Simple Ring Finger Accent
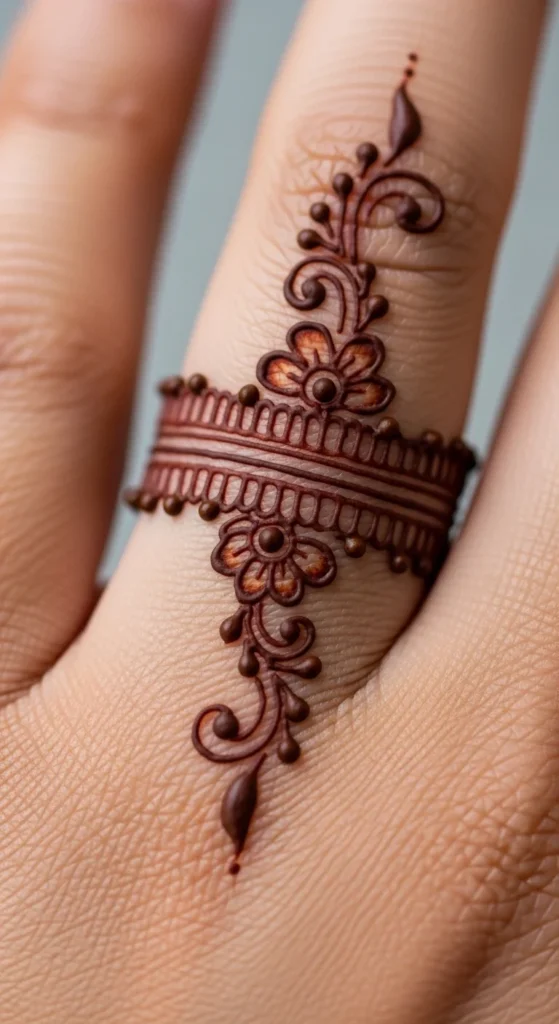
Finger accent patterns are perfect for minimal designs.
Start with a thin band around the ring finger.
Add tiny flowers or dots above and below the band.
Leave the rest of the hand simple.
This style works well for engagement events or small gatherings.
Budget tip: small finger patterns require very little henna.
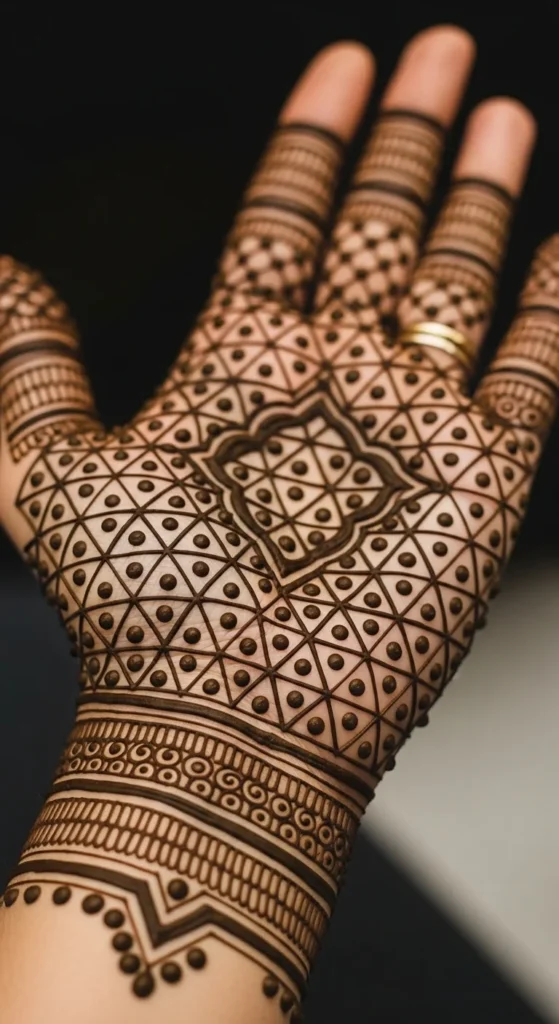
10. Diamond Grid Pattern
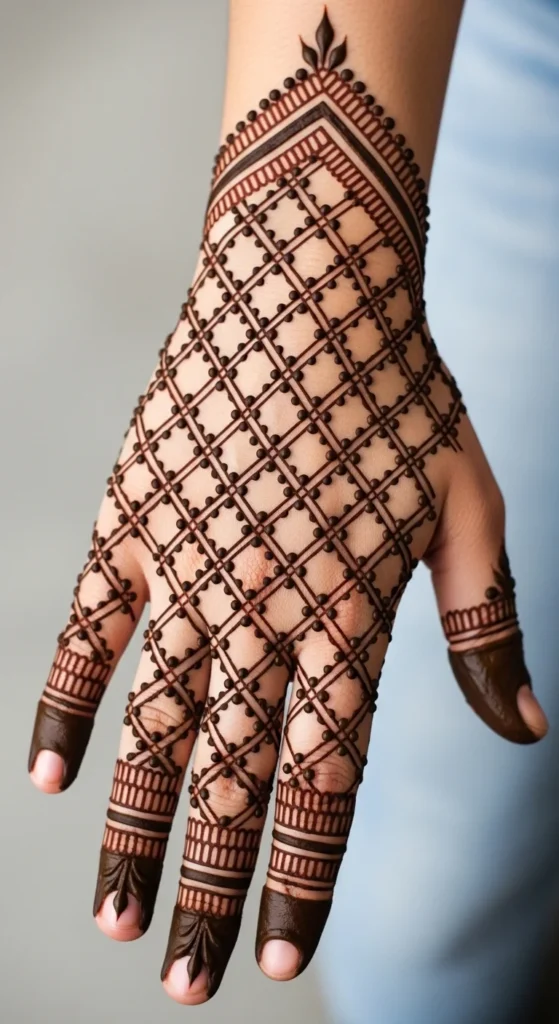
A diamond grid looks structured and balanced.
Draw crossing diagonal lines across the hand.
This creates diamond shapes.
Place a dot inside each diamond.
The design becomes more decorative without feeling crowded.
Budget tip: lightly sketch the grid on paper before drawing with henna.
11. Mini Floral Cluster
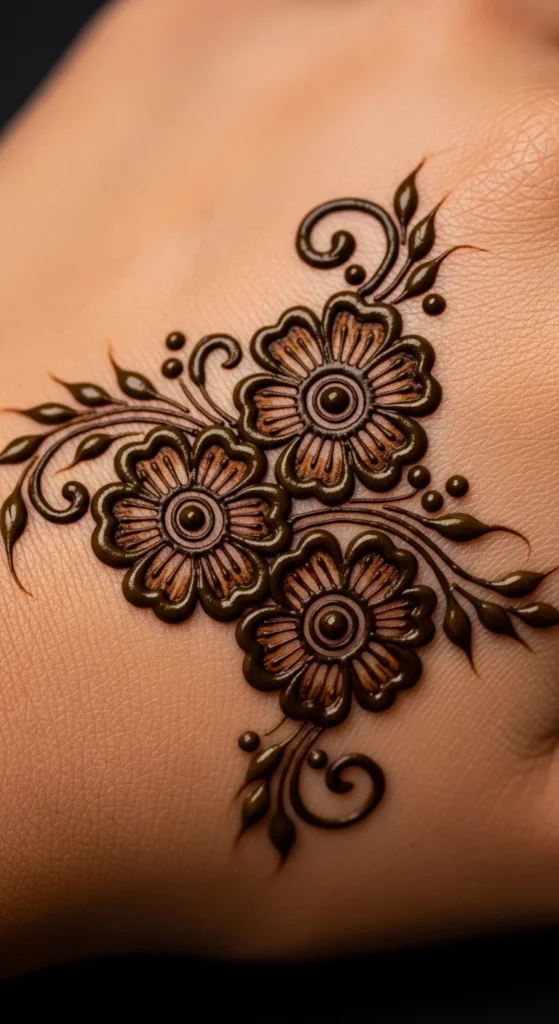
Floral clusters look pretty and compact.
Draw three small flowers close together.
Connect them with thin vines.
Add dots around the cluster.
This design fills a small area while staying neat.
Budget tip: clusters are perfect for using leftover henna.
12. Simple Spiral Motif
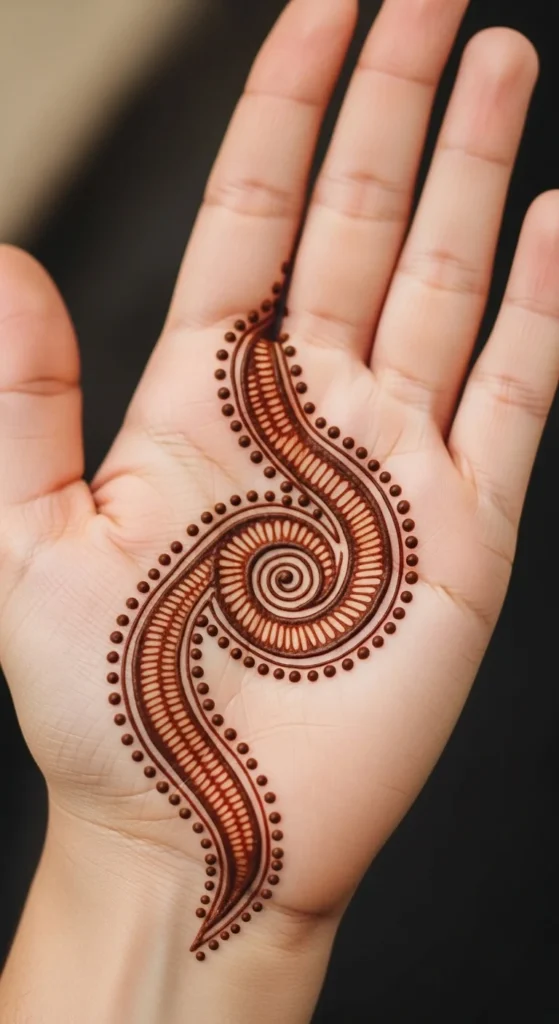
Spirals are easy shapes that look stylish.
Start with a small circle and slowly spiral outward.
Add dots around the spiral.
Keep the spiral smooth and evenly spaced.
This design works well for beginners.
Budget tip: spirals require only a small amount of henna.
13. Chain Link Pattern
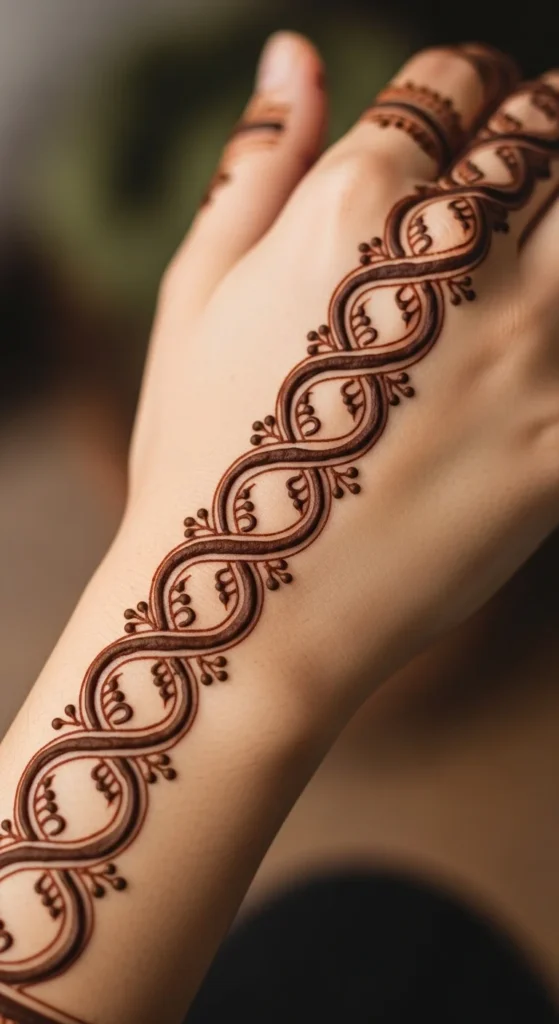
Chain link designs look tidy and modern.
Draw small oval loops connected together.
Keep the size of each loop similar.
Add dots inside some loops for decoration.
Budget tip: practice loop shapes on paper.
14. Minimal Side Hand Design
Side designs leave most of the hand clear.
Draw a thin vine along the edge.
Add leaves and dots.
This style looks elegant with minimal effort.
Budget tip: side designs use very little henna.
15. Tiny Flower Trail
Tiny flowers create a neat flowing design.
Draw miniature flowers connected by thin lines.
Add dots between them.
Keep spacing equal.
Budget tip: practice drawing small petals.
16. Triangle Pattern
Triangle shapes create a modern pattern.
Draw a row of triangles.
Add dots inside some shapes.
Keep lines thin for a clean result.
Budget tip: sketch the pattern on paper before applying.
17. Finger Leaf Bands
Leaf bands look delicate and balanced.
Draw a small vine around each finger.
Add tiny leaves along the vine.
Leave space between bands.
Budget tip: finger designs save henna.
18. Small Paisley Accent
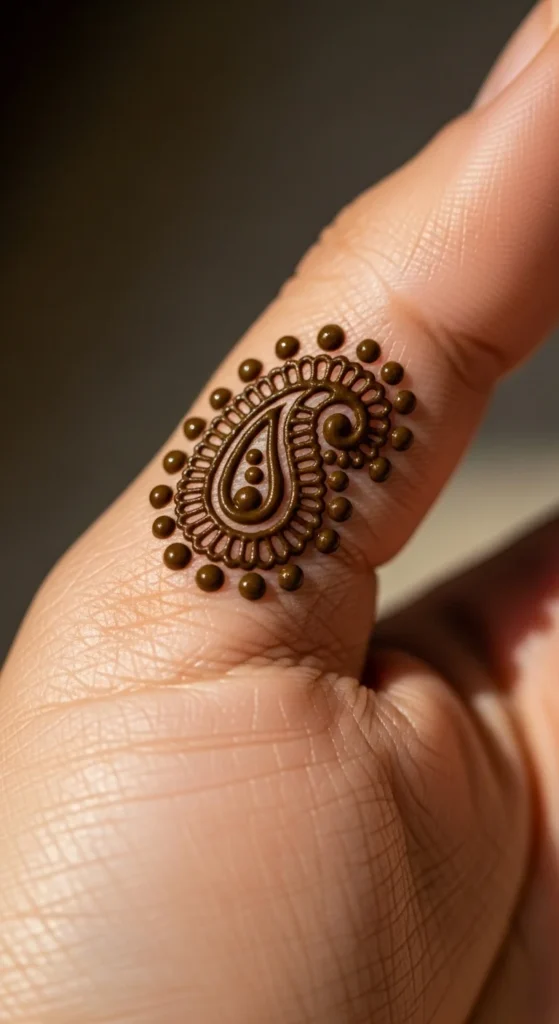
Paisley shapes are classic in mehndi art.
Draw a small curved paisley.
Add dots and mini petals around it.
Keep the lines thin.
Budget tip: practice paisley shapes on paper.
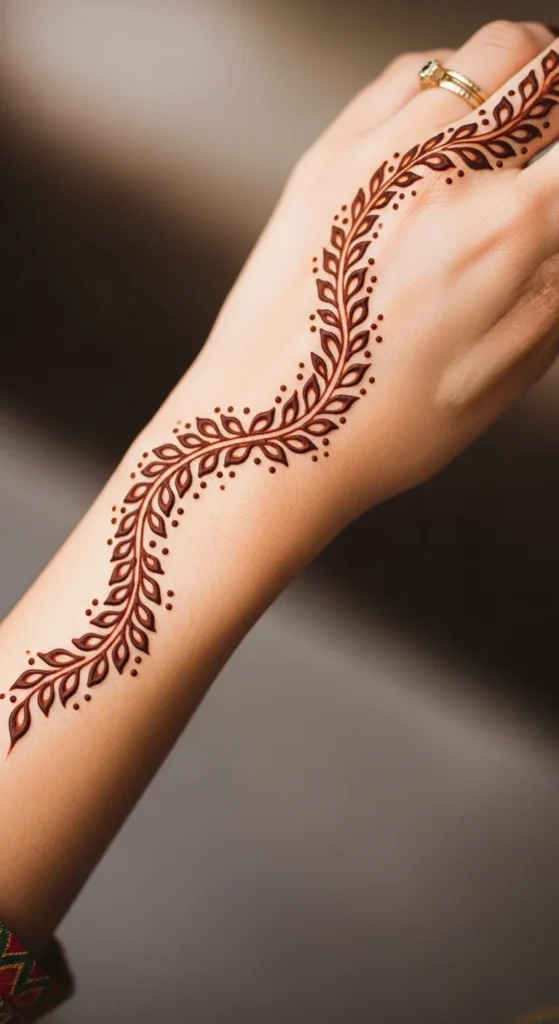
19. Wrist Vine Pattern
A wrist vine looks graceful.
Draw a curved vine around the wrist.
Add leaves and dots.
Keep the spacing even.
Budget tip: this design works well with a half-used cone.
20. Simple Petal Ring
Petal rings are neat and balanced.
Draw a small circle.
Add petal shapes around it.
Place dots between petals.
Budget tip: small central motifs are beginner friendly.
21. Curved Dot Trail
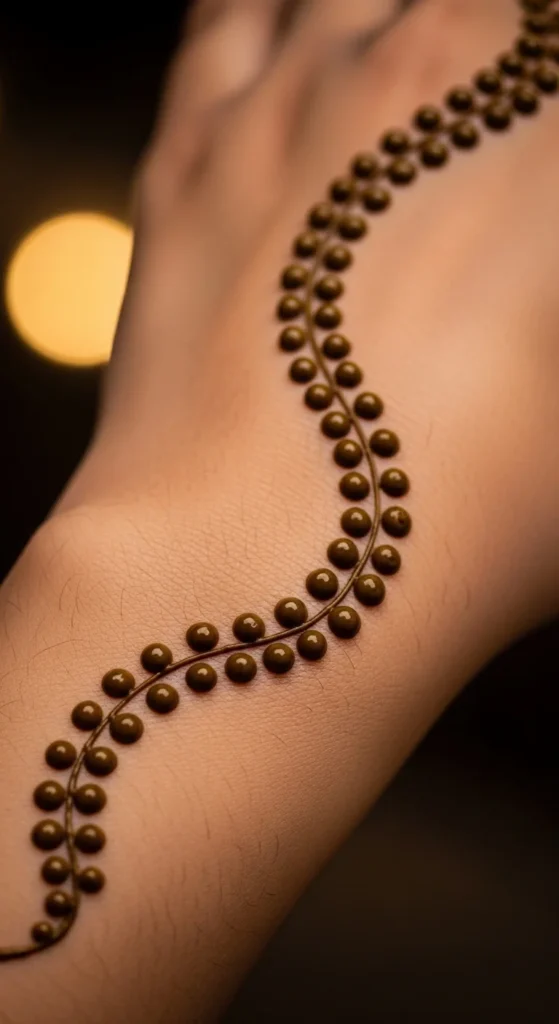
Dot trails are quick and stylish.
Draw a curved line using dots.
Place larger dots at the ends.
Keep spacing consistent.
Budget tip: dot designs work well with leftover henna.
22. Mini Mandala Wrist Accent
Small wrist mandalas look polished.
Draw a tiny circle and petals.
Add a ring of dots.
Keep the design compact.
Budget tip: great for quick mehndi practice.
23. Chevron Finger Pattern
Chevron shapes create a clean geometric look.
Draw V-shaped lines across the finger.
Stack two or three rows.
Add dots between rows.
Budget tip: finger patterns require little henna.
24. Minimal Floral Ring Chain
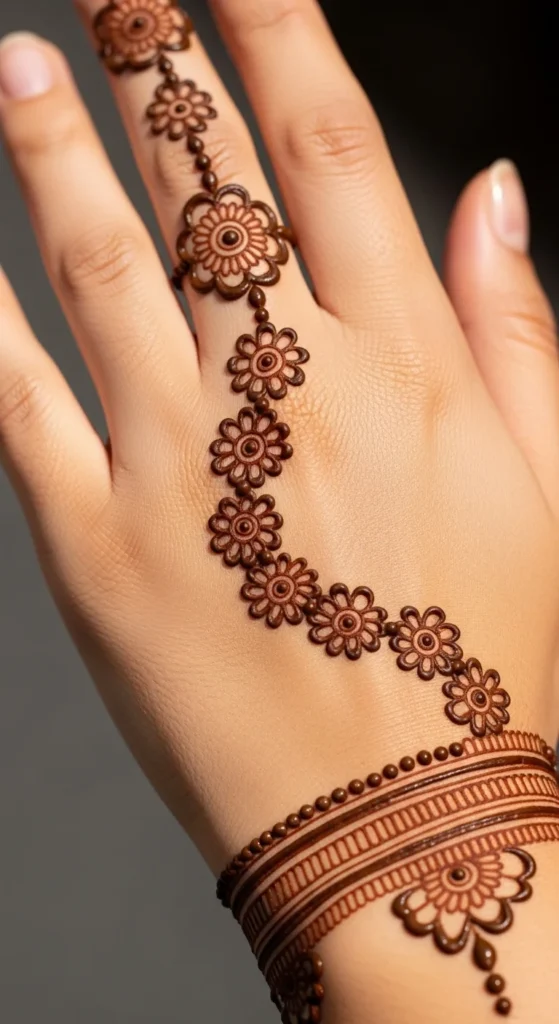
This design connects finger and wrist elements.
Start with a small ring motif on the finger.
Draw a flower chain toward the wrist.
Add a small bracelet design.
Budget tip: combine small motifs from previous designs.
25. Simple Grid Flower Pattern
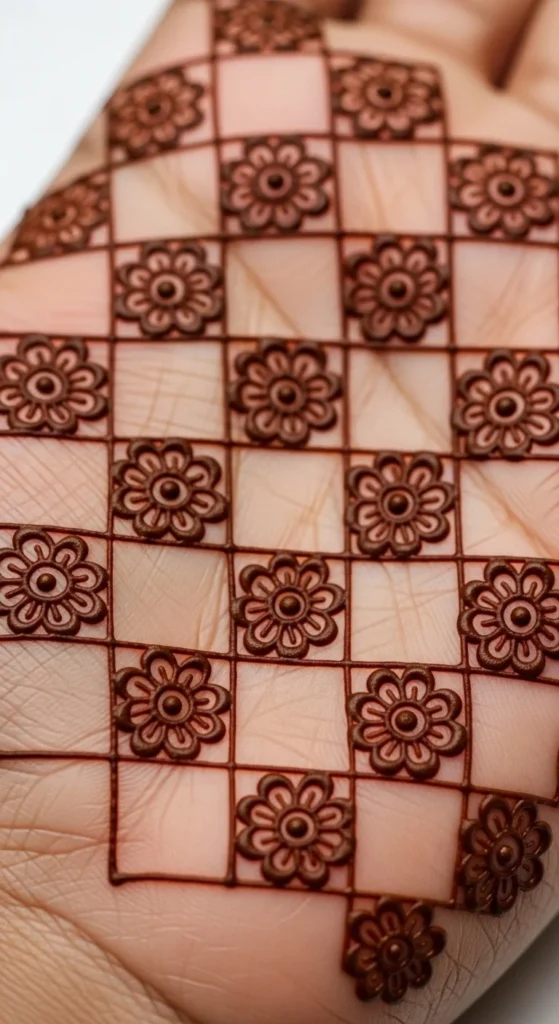
Grid flowers create symmetry.
Draw a light grid pattern.
Place a flower in each square.
Keep petals small.
Budget tip: grids help guide beginners.
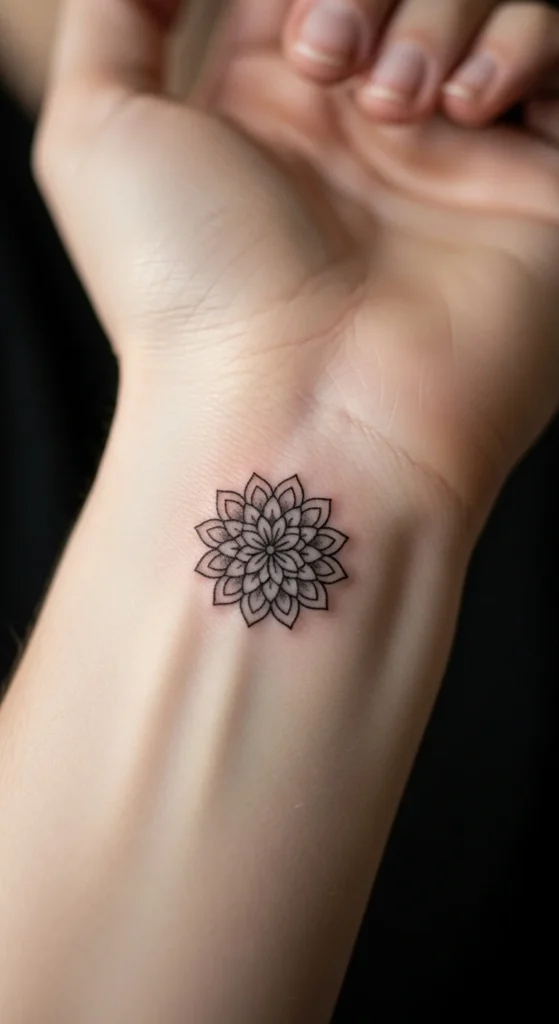
26. Elegant Minimal Mandala
Minimal mandalas give a polished appearance.
Start with a tiny center circle.
Add thin petals and dots.
Keep the outer ring light.
Leave empty space around the design.
Budget tip: practice the mandala shape on paper before applying henna.
Conclusion
Simple mehndi patterns often create the neatest results. Small flowers, vines, dots, and geometric shapes are easy to control and look balanced on the hand. With a little practice, anyone can draw these patterns at home. Start with basic shapes, keep spacing even, and work slowly. Soon your mehndi designs will look tidy, stylish, and ready for any celebration.