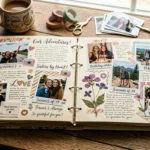
If you love decorating journals, scrapbooks, phone cases, or planners, you know that aesthetic stickers can instantly make everything look more creative and personal. But buying pre-cut stickers can be expensive—and sometimes the exact designs you want aren’t available.
That’s where cutting stickers by hand becomes a fun and satisfying DIY skill. With just a few simple tools and a little patience, you can turn printed designs into beautifully cut stickers that look clean, polished, and ready to use.
Whether you’re preparing stickers for a scrapbook page or a cute planner spread, learning how to cut them neatly makes a huge difference.
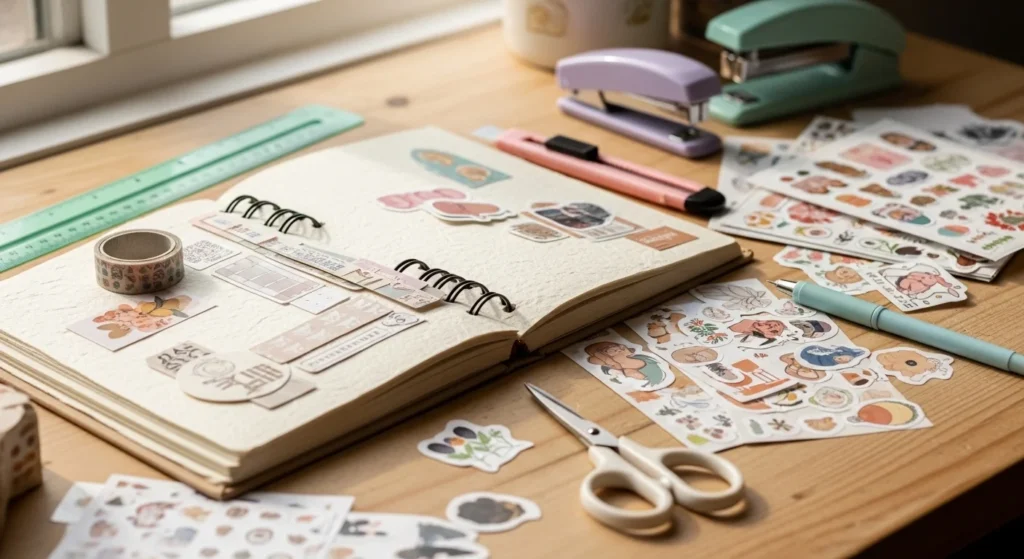
Tools You Need for Clean Sticker Cutting
Before you start cutting, gather a few simple tools. The right tools make the process much easier and more precise.
Basic supplies:
- Small sharp scissors (precision or craft scissors work best)
- Printed sticker sheet or sticker paper
- A cutting mat (optional but helpful)
- Craft knife or precision blade (optional)
- Tweezers for small pieces
- Good lighting
Helpful tips:
- Use sharp scissors for smoother edges.
- Work on a flat surface to keep cuts steady.
- Keep your hands clean so the stickers stay neat.
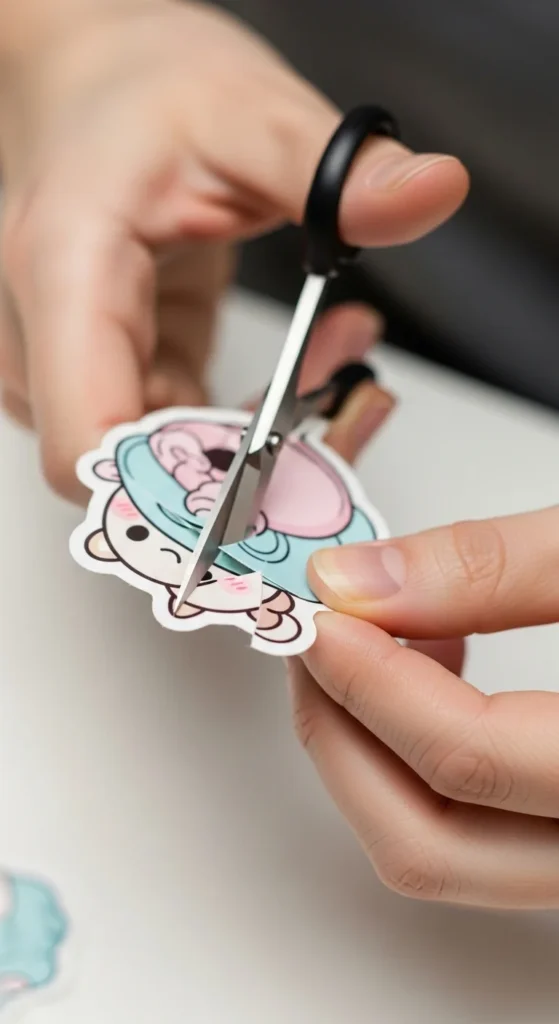
Step 1: Leave a Small White Border
One secret to making hand-cut stickers look professional is leaving a tiny white border around the design.
Why this helps:
- It hides small cutting imperfections.
- It makes stickers look more polished.
- It keeps the design from being accidentally trimmed.
How to do it:
- Start cutting slightly outside the printed line.
- Keep the border consistent all the way around.
- Move slowly around curves.
A thin white outline is actually a popular aesthetic style used in many sticker packs.
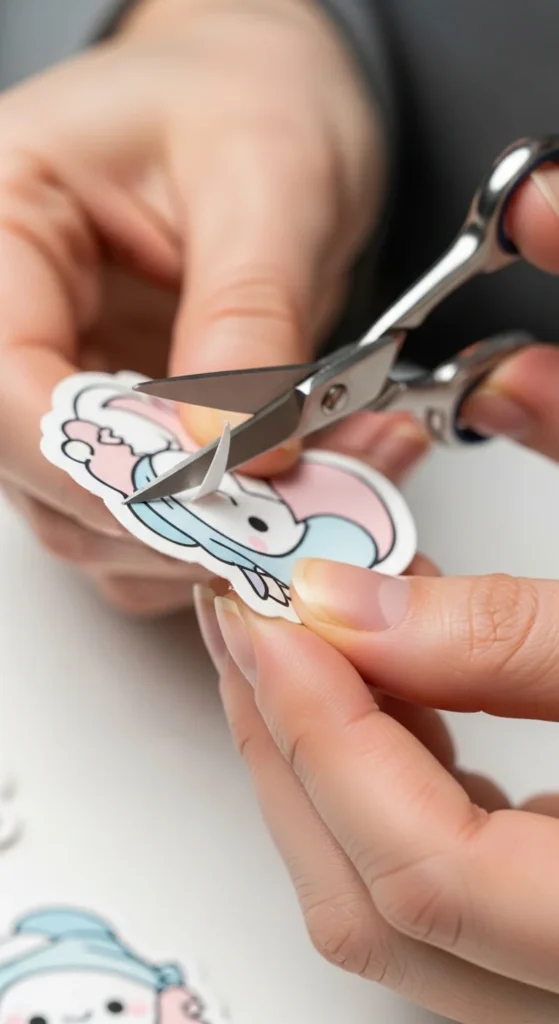
Step 2: Rotate the Paper, Not the Scissors
Many beginners struggle because they move the scissors too much. A better trick is to rotate the paper instead.
This gives you smoother curves and cleaner edges.
Try this technique:
- Hold your scissors steady.
- Slowly turn the sticker paper with your other hand.
- Follow the outline smoothly.
This works especially well for:
- Round stickers
- Flower shapes
- Character illustrations
- Curvy designs
Once you get used to this technique, your cuts will instantly look more natural.
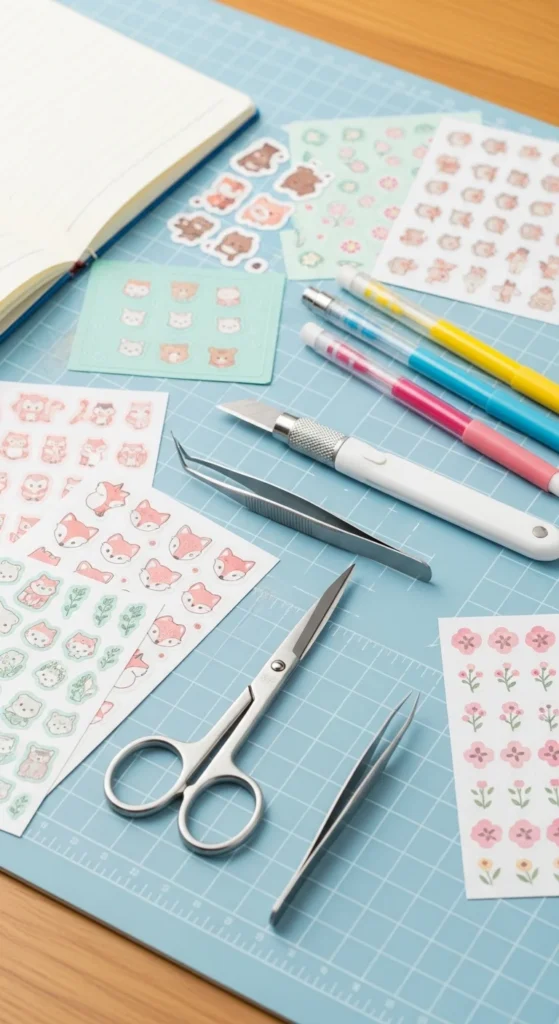
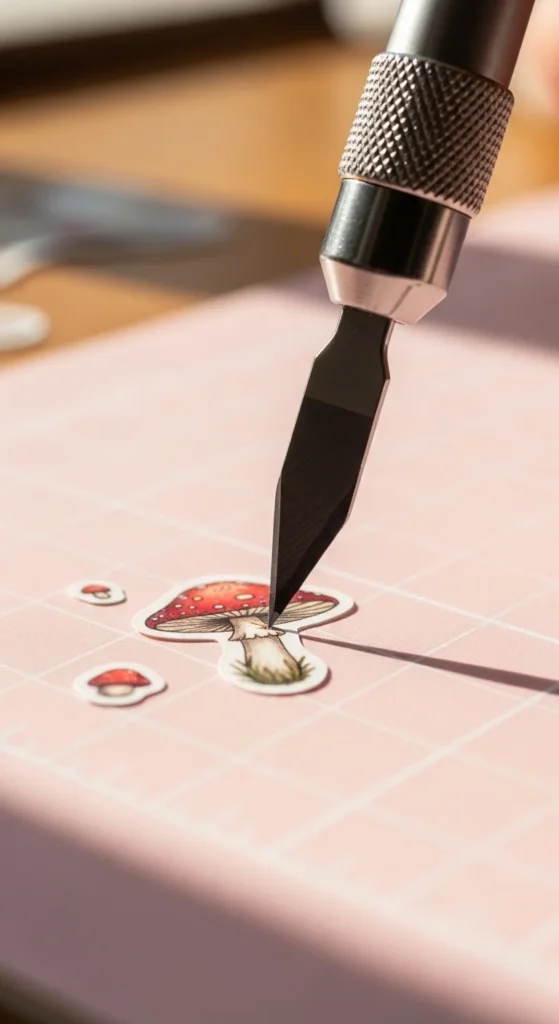
Step 3: Use Small Snips for Detailed Areas
Tiny corners and narrow shapes can be tricky. Instead of cutting long lines, make small controlled snips.
Tips for detailed cutting:
- Use the tip of the scissors for precision.
- Cut in small sections.
- Trim excess paper slowly.
If the design is very detailed, you can also use a craft knife for tiny areas.
Just remember to cut on a safe surface or cutting mat.
Step 4: Smooth the Edges for a Polished Look
After cutting, check the sticker edges. Sometimes tiny paper bits or uneven spots remain.
You can quickly fix them by doing a light second trim.
How to refine the edges:
- Hold the sticker gently.
- Trim small uneven spots.
- Avoid cutting too much at once.
This quick finishing step makes stickers look cleaner and more professional.
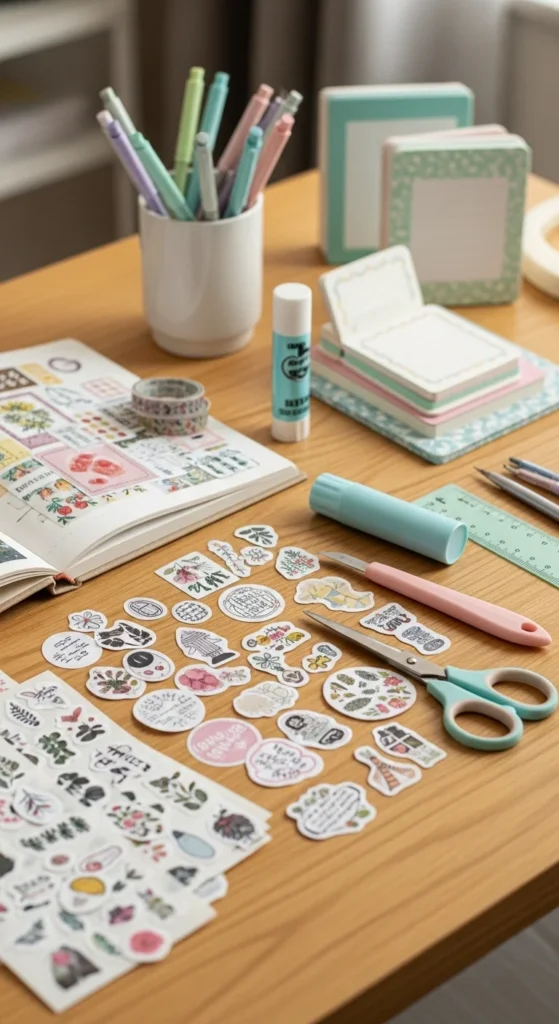
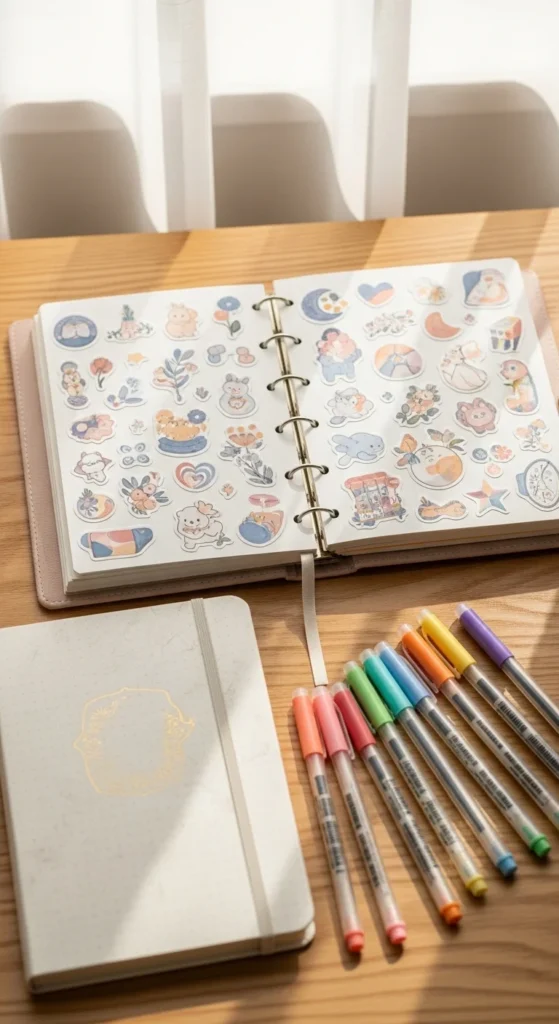
Step 5: Organize Your Finished Stickers
Once your stickers are cut, don’t let them scatter everywhere. Organizing them keeps them safe and easy to use later.
Fun storage ideas:
- Small sticker albums
- Mini envelopes
- Scrapbook pockets
- Clear storage boxes
You can also sort them by themes like:
- Cute characters
- Nature designs
- Planner icons
- Seasonal stickers
Keeping them organized makes crafting even more enjoyable.
Extra Tips for Perfect Hand-Cut Stickers
If you want your stickers to look even better, these small tricks help a lot.
Helpful tips:
- Print designs on high-quality sticker paper.
- Cut slowly—rushing causes uneven edges.
- Use fine-tip scissors for detailed artwork.
- Practice on scrap paper before cutting important designs.
- Work in good lighting to see edges clearly.
The more you practice, the more natural your cutting skills will become.
Final Thoughts
Cutting aesthetic stickers by hand is a simple craft that anyone can learn—and it’s surprisingly relaxing too. With the right tools, a steady hand, and a few smart techniques, you can create beautiful, clean stickers that look almost store-bought.
Plus, DIY stickers give you endless creative freedom. You can print any designs you love and turn them into decorations for journals, planners, scrapbooks, and more.
So grab your scissors, print some cute designs, and start crafting!
Save this idea for later and try making your own aesthetic sticker collection today. ✂️✨