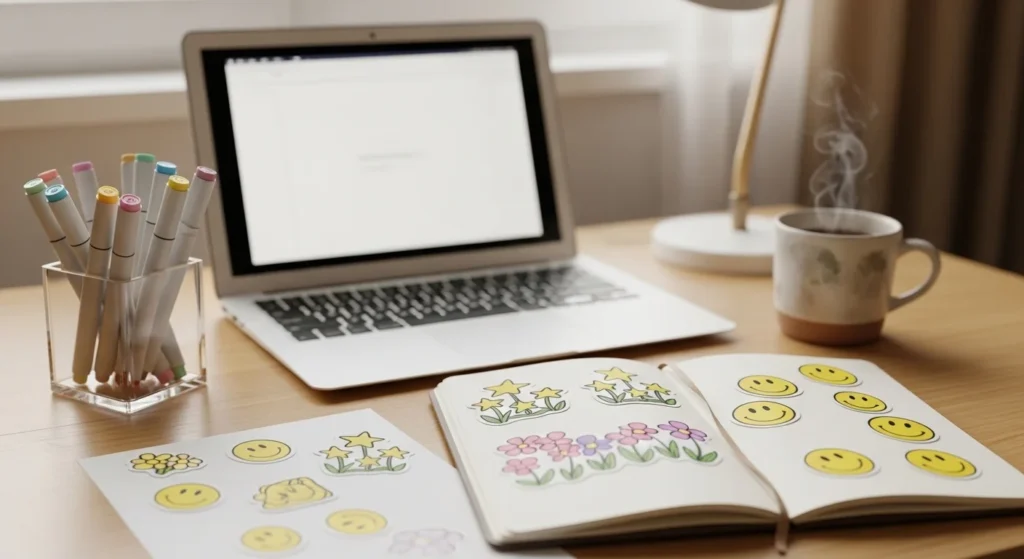
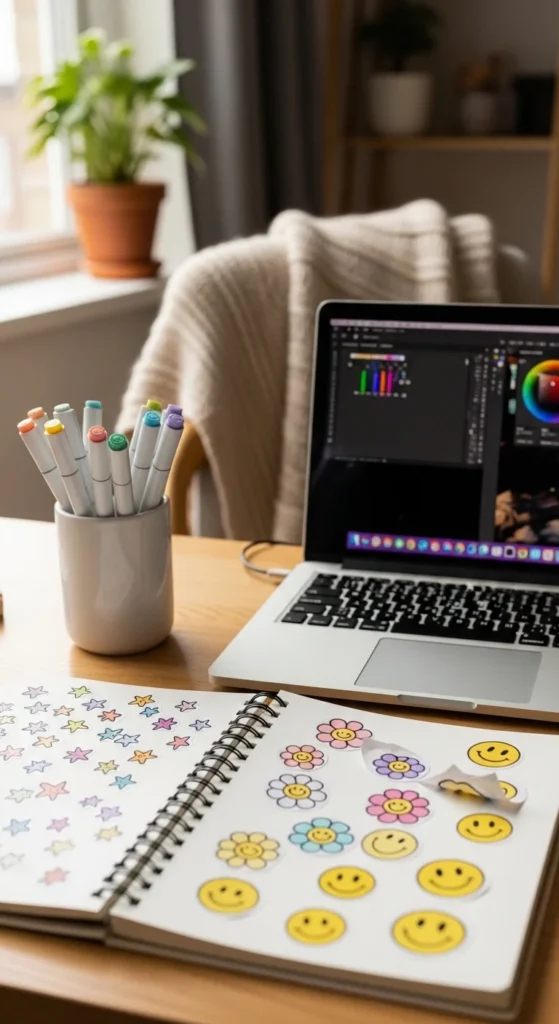
Ever scrolled through Pinterest and thought, “I wish I could make cute stickers like that”? Good news—you absolutely can. Drawing aesthetic stickers is one of the easiest and most relaxing ways to tap into your creativity, even if you’re a complete beginner.
Whether you want to decorate your journal, personalize your laptop, or even start a small sticker shop, this guide will walk you through everything step-by-step—no fancy skills required.
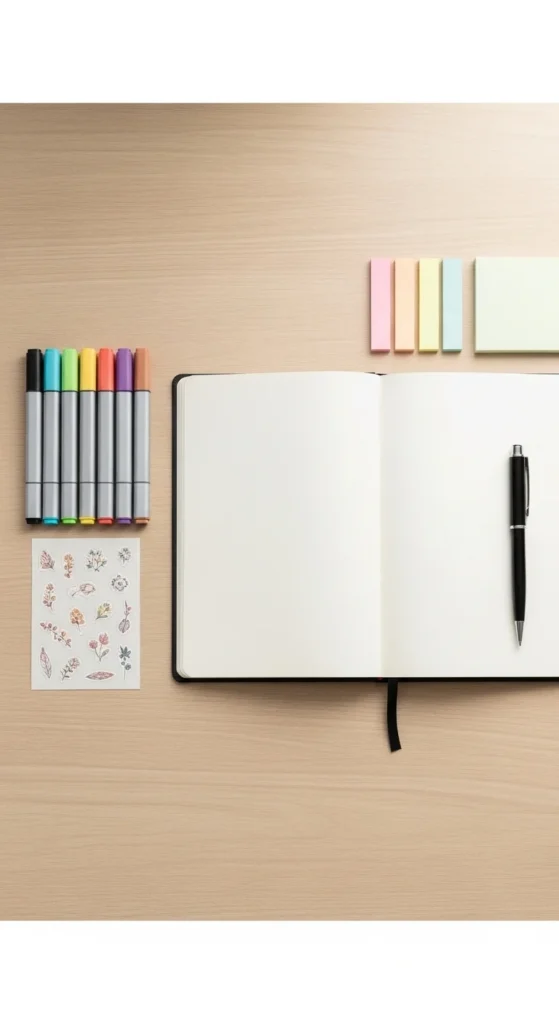
✏️ Step 1: Gather Your Simple Supplies
You don’t need expensive tools to get started. Keep it minimal and fun!
Basic supplies:
- Sketchbook or plain paper
- Pencil & eraser
- Black pen or fineliner
- Colored markers or highlighters
- Optional: iPad + drawing app (if going digital)
💡 Tip: Start with what you already have. Creativity matters more than tools!
🌸 Step 2: Choose a Cute & Simple Theme
Aesthetic stickers usually follow a theme or vibe. This makes your designs feel cohesive and Pinterest-worthy.
Beginner-friendly themes:
- Nature (flowers, leaves, clouds)
- Food (coffee cups, strawberries, cupcakes)
- Emotions (smiley faces, hearts, sparkles)
- Cozy vibes (books, candles, socks)
💡 Tip: Pick 3–5 items within one theme and draw variations of them.
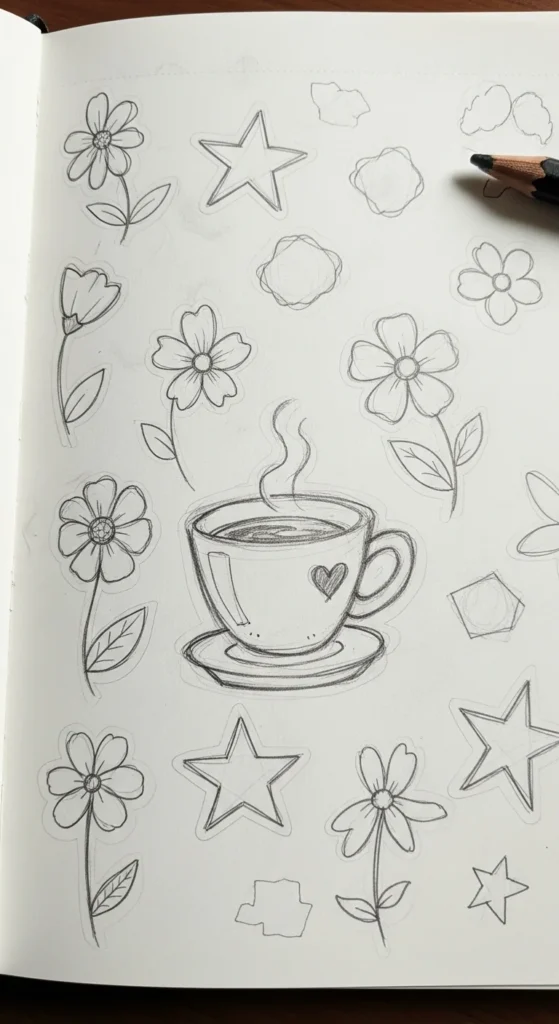
✍️ Step 3: Sketch Basic Shapes First
Don’t overthink it—most aesthetic stickers are built from simple shapes!
Examples:
- Flowers = circles + oval petals
- Clouds = soft rounded bumps
- Coffee cups = rectangles + curved handles
Start lightly with pencil so you can adjust easily.
Quick process:
- Draw the basic outline
- Keep lines loose and slightly imperfect
- Focus on cute proportions (small + rounded = adorable)
🖊️ Step 4: Outline with Clean Lines
Now it’s time to make your stickers pop!
- Use a black pen or fineliner
- Trace over your sketch slowly
- Add slight thickness variation for a hand-drawn feel
💡 Tip: Slightly wobbly lines actually look more aesthetic than perfectly straight ones!
Once done, erase the pencil marks for a clean look.
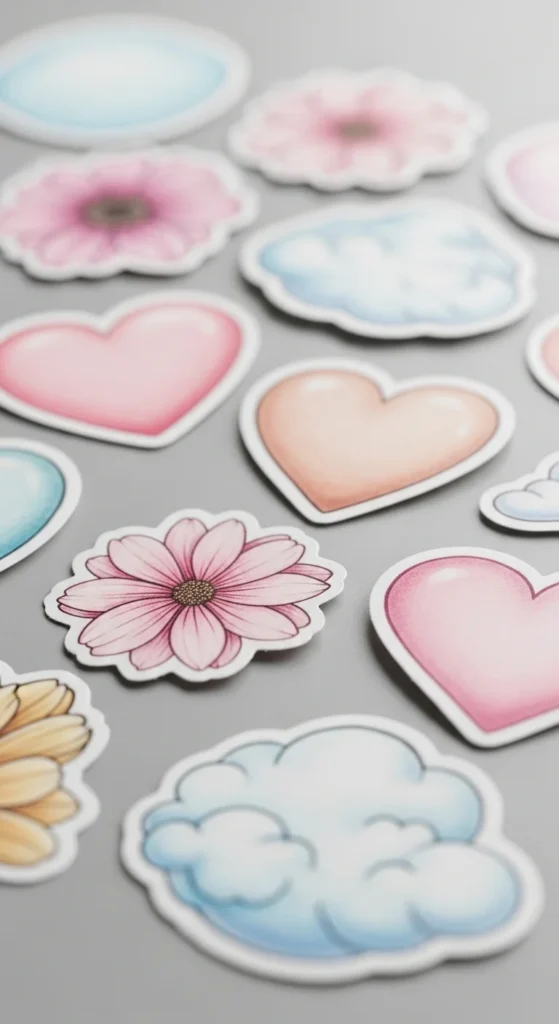
🎨 Step 5: Add Soft, Aesthetic Colors
Color is where the magic happens ✨
Popular aesthetic color palettes:
- Pastels (pink, mint, lavender)
- Earth tones (beige, sage green, terracotta)
- Monochrome (different shades of one color)
Coloring tips:
- Keep it simple—2–3 colors per sticker
- Leave tiny white spaces for a “shiny” effect
- Add light shading on one side for depth
✨ Step 6: Add Tiny Details for Personality
This is what makes your stickers irresistibly cute.
Easy details to add:
- Tiny sparkles or stars
- Blush cheeks on characters
- Dotted textures
- Mini highlights (white gel pen works great!)
💡 Tip: Less is more—don’t overcrowd your design.
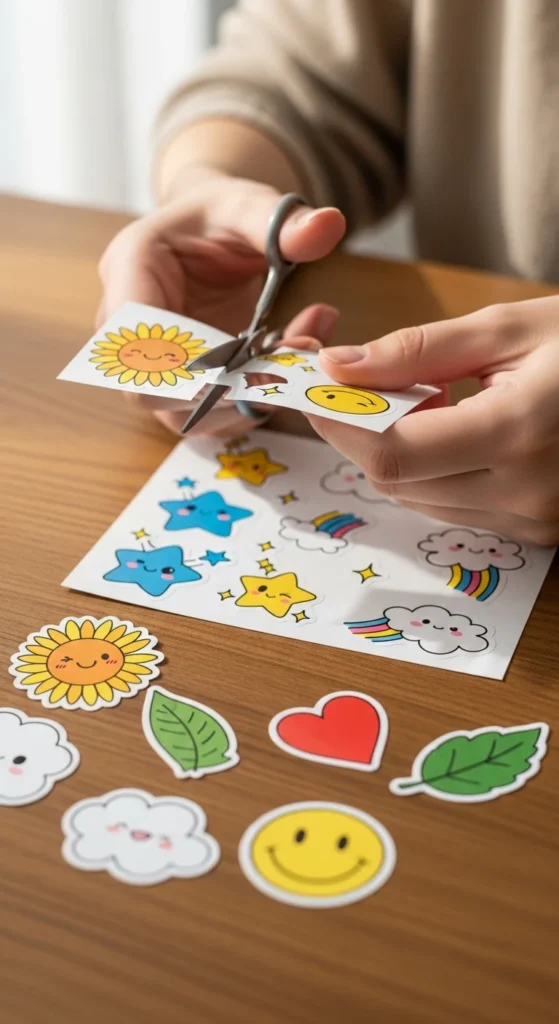
✂️ Step 7: Cut and Turn Them into Stickers
Now let’s bring your designs to life!
Options:
- Cut around your drawings (leave a white border for that sticker look)
- Use sticker paper if you want peelable stickers
- Or glue/tape them into journals
Bonus idea: Laminate with clear tape for a glossy finish!
💡 Beginner Tips to Instantly Improve
Want your stickers to look more aesthetic right away? Keep these in mind:
- ✔ Use rounded shapes instead of sharp edges
- ✔ Stick to a consistent color palette
- ✔ Keep designs small and simple
- ✔ Practice the same design multiple times
- ✔ Save inspiration from Pinterest for ideas
🌈 Easy Sticker Ideas to Try First
If you’re not sure what to draw, start here:
- Smiley faces with different expressions
- Mini plants in pots
- Stars and moons
- Bows and hearts
- Coffee cups or books
These are quick, beginner-friendly, and super trendy.
🎯 Final Thoughts
Drawing aesthetic stickers isn’t about being perfect—it’s about having fun and expressing your style. The more you practice, the more your designs will naturally improve and feel uniquely you.
Start small, stay consistent, and don’t be afraid to experiment. Your first page might not be perfect—but your tenth one will surprise you.
✨ Save this guide for later and start your sticker journey today!