Ever scrolled through Pinterest and thought, “I wish I could make stickers like that?” Good news—you absolutely can. With a few simple tools and a little creativity, you can design aesthetic stickers that look like they came straight from a professional shop.
Whether you want to decorate your journal, start a small business, or just have fun crafting, this guide will walk you through everything step-by-step.
✨ Step 1: Choose Your Sticker Style
Before you start designing, decide on a theme or aesthetic. This helps your stickers feel cohesive and polished.
Popular sticker styles include:
- Minimalist (simple shapes, neutral tones)
- Cute/Kawaii (soft colors, adorable characters)
- Vintage (muted tones, retro elements)
- Typography (quotes, handwritten fonts)
- Nature-inspired (flowers, leaves, skies)
💡 Tip: Stick to a consistent color palette (3–5 colors) for a professional look.
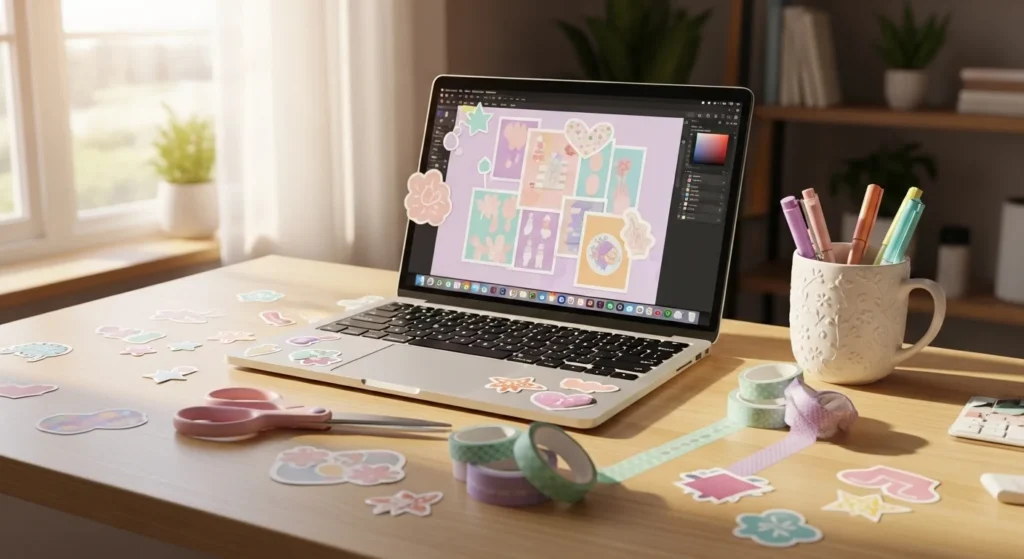
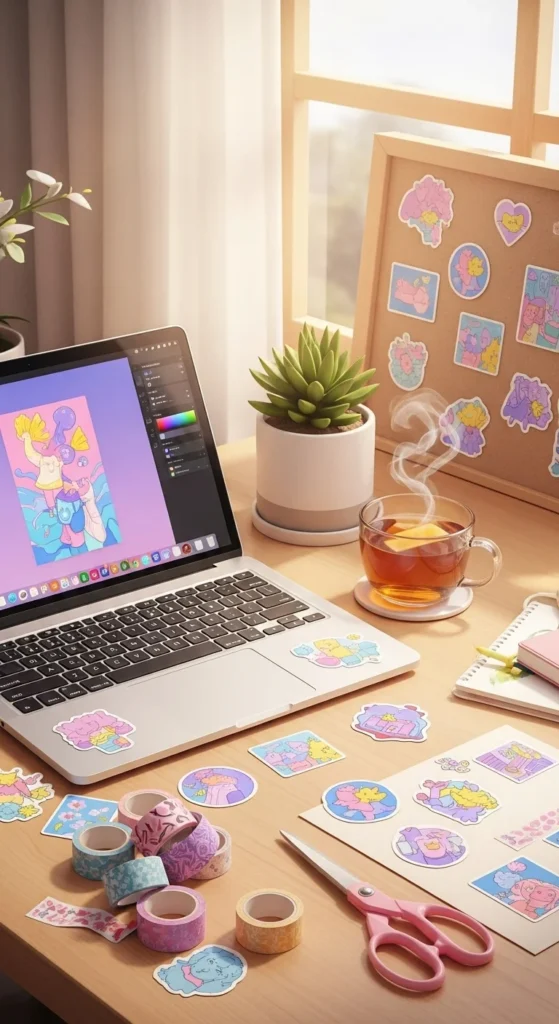
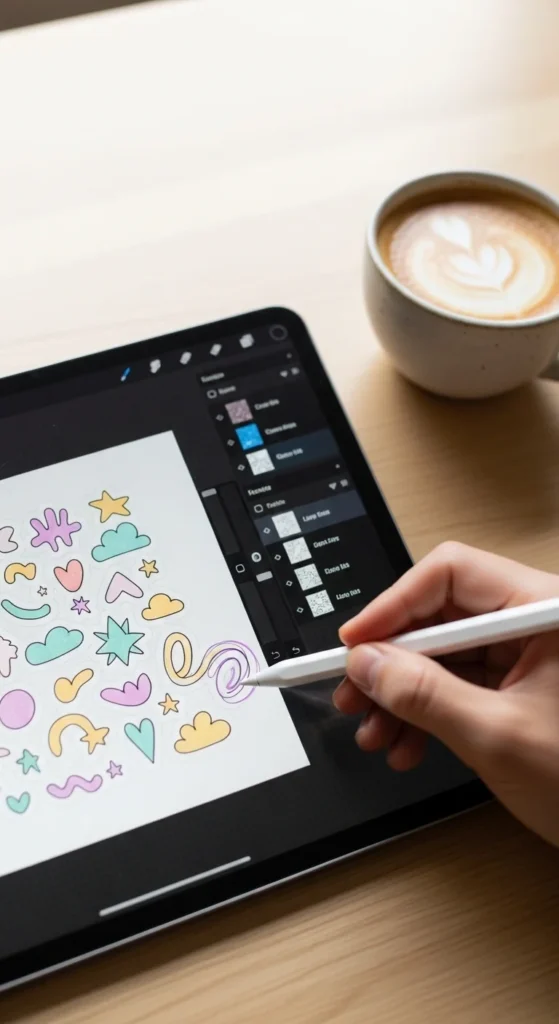
🎨 Step 2: Design Your Stickers
You don’t need expensive software to get started. Beginner-friendly tools work perfectly.
Try using:
- Canva (very easy for beginners)
- Procreate (great for hand-drawn designs)
- Adobe Illustrator (for advanced users)
Focus on:
- Clean lines and high resolution (at least 300 DPI)
- Balanced spacing
- Simple but eye-catching designs
💡 Design Tips:
- Use soft shadows or outlines to make designs pop
- Avoid overcrowding your design
- Test your design in small sizes—it should still look clear
🖨️ Step 3: Pick the Right Paper
Your material choice makes a huge difference in how professional your stickers look.
Common options:
- Matte sticker paper (smooth, soft look)
- Glossy sticker paper (shiny and vibrant)
- Vinyl sticker paper (water-resistant and durable)
If you’re just starting:
👉 Matte paper is easiest to work with
👉 Vinyl is best for long-lasting, high-quality stickers
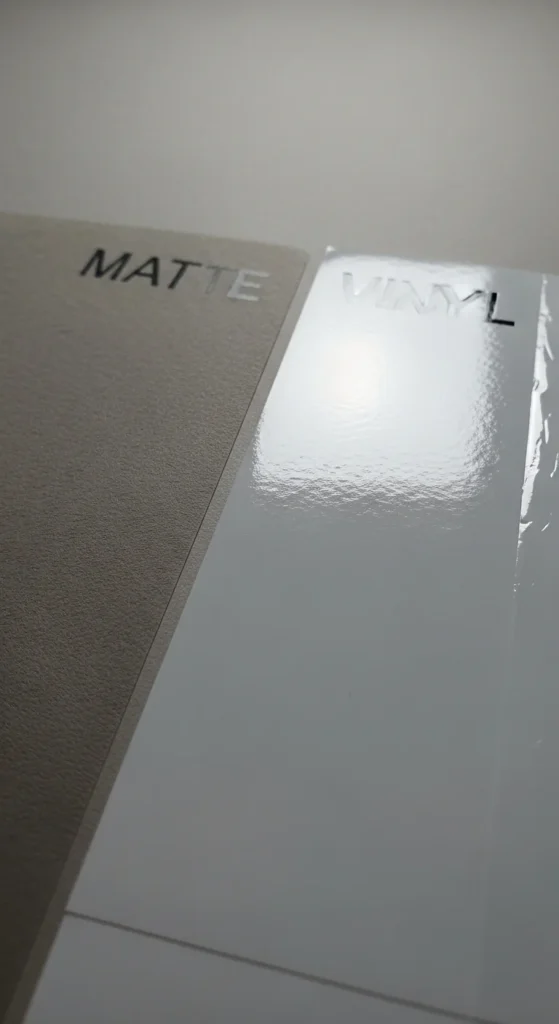
💡 Pro Tip: Always use high-quality paper if you want that “store-bought” feel.
✂️ Step 4: Print and Cut Like a Pro
Now it’s time to bring your designs to life!
Printing Tips:
- Use the highest quality print setting
- Make sure colors match your design (do a test print first)
- Use a good inkjet printer for best results
Cutting Options:
- By hand (scissors or craft knife)
- Cutting machines (like Cricut or Silhouette)
If cutting by hand:
- Leave a small white border around your design
- Cut slowly for smooth edges
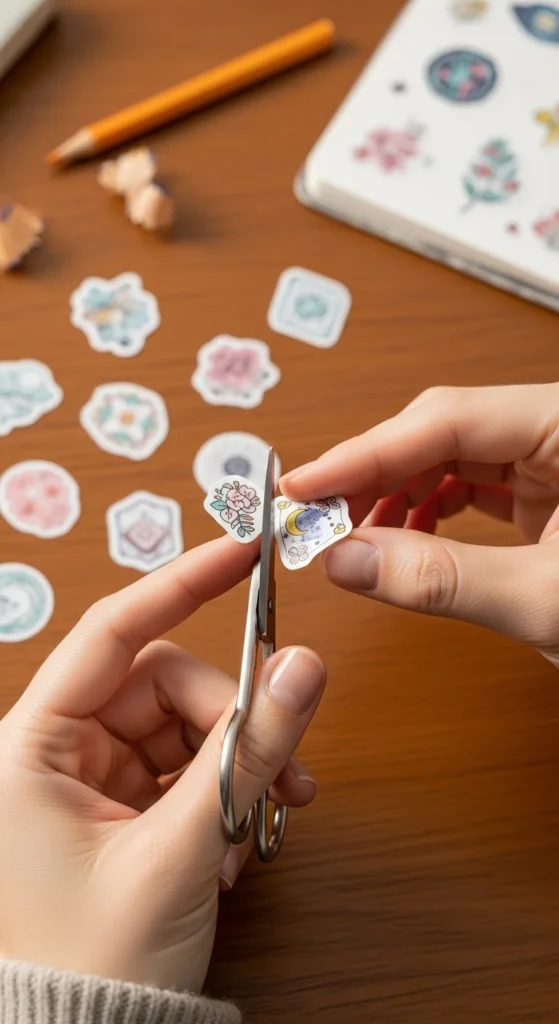
💡 Tip: A white outline (called a “kiss cut” look) instantly makes stickers look more professional.
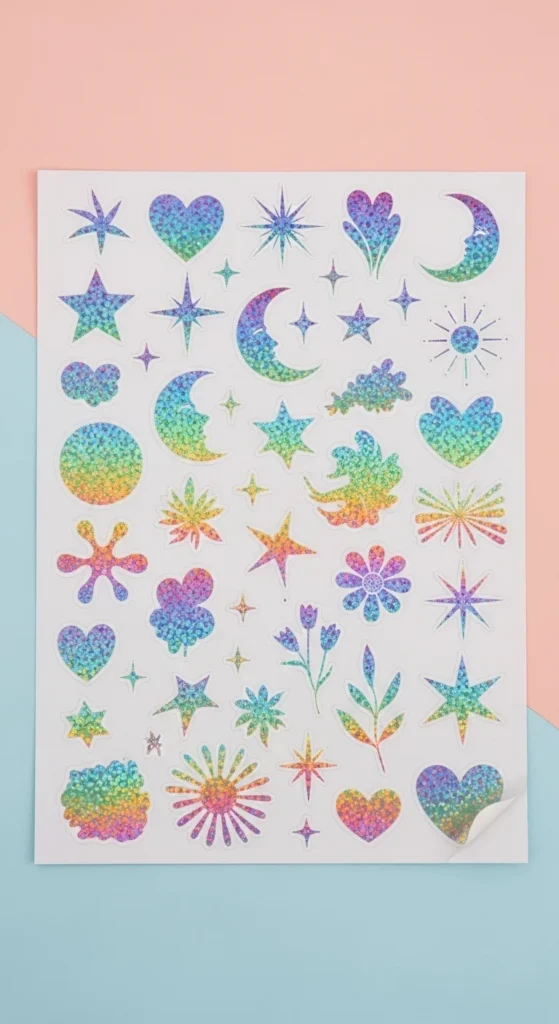
🌟 Step 5: Add Finishing Touches
Want that next-level aesthetic? Don’t skip this step.
Try adding:
- Lamination (for protection and shine)
- Holographic overlay (trendy and eye-catching)
- Clear coating sheets
Benefits:
- Makes stickers water-resistant
- Prevents fading
- Gives a polished, premium finish
📦 Step 6: Presentation Matters
If you’re gifting or selling your stickers, presentation is everything.
Simple ideas:
- Package in clear sleeves
- Add a thank-you card
- Use aesthetic backing cards
💡 Think of your stickers as a brand, not just a product.
💡 Bonus Tips for a Professional Look
- Stick to a niche or theme (don’t mix too many styles)
- Use consistent lighting if photographing your stickers
- Take inspiration—but always add your own twist
- Practice! Your first designs don’t have to be perfect
🌈 Final Thoughts
Making aesthetic stickers that look professionally made isn’t about expensive tools—it’s about attention to detail, consistency, and creativity.
Start simple, experiment with styles, and most importantly, enjoy the process. You might even turn this into a small business one day!
✨ Save this guide and start designing your first sticker set today—you’ll be surprised how quickly you improve!