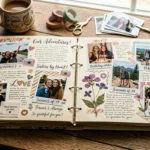
Aesthetic stickers are everywhere right now—on laptops, journals, water bottles, phone cases, and planners. But there’s one problem many sticker lovers face: they peel, fade, or get ruined by water.
If you’ve ever made your own stickers only to see them wrinkle after a splash of water, don’t worry. The good news is that making durable, waterproof aesthetic stickers at home is easier than you think.
With a few simple materials and the right method, you can create stickers that look beautiful and survive daily use.
Let’s walk through the exact steps to create waterproof aesthetic stickers that truly last.
Choose the Right Materials
The secret to long-lasting stickers starts with quality materials. Even the best designs won’t survive moisture if the base materials are weak.
Here are the essentials you’ll need:
Basic Supplies
- Printable vinyl sticker paper (water-resistant)
- Inkjet or laser printer
- Clear laminate sheets or waterproof tape
- Scissors or a precision craft knife
- Cutting mat (optional but helpful)
Optional Tools
- Cricut or cutting machine
- Corner rounder punch
- Sticker storage sheets
Vinyl sticker paper is especially important because it is naturally more durable than regular paper and holds ink better.
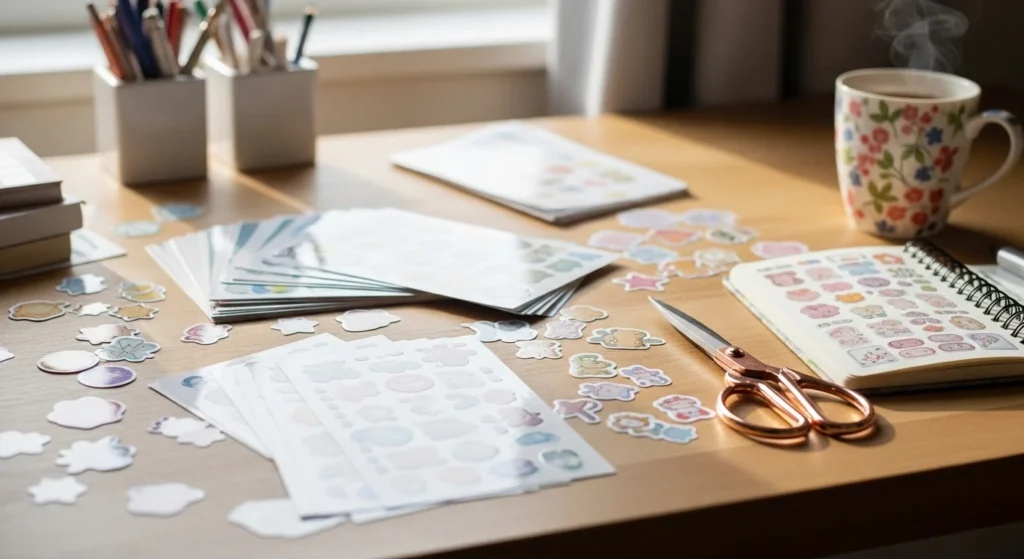
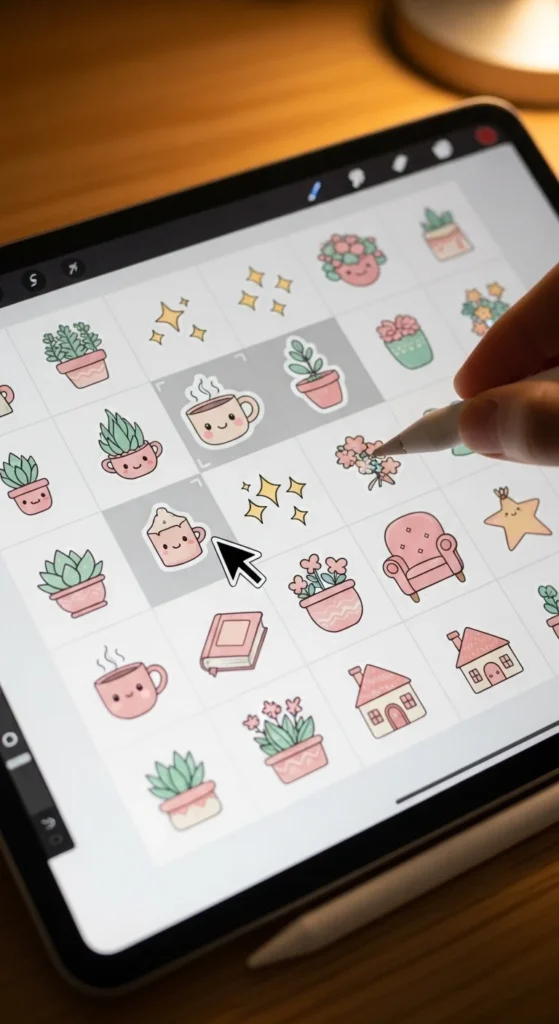
Design Your Aesthetic Stickers
Before printing, you’ll need some cute designs. The aesthetic style usually includes:
- Pastel colors
- Minimal illustrations
- Floral elements
- Cute animals
- Cozy lifestyle icons
- Journaling symbols
You can create your designs using tools like:
- Canva
- Procreate
- Adobe Illustrator
Design tips for better stickers:
- Keep a white outline border around the sticker.
- Use high resolution (300 DPI) for crisp prints.
- Avoid extremely thin lines that may disappear when cut.
If you’re designing for journals or laptops, try mixing themes like plants, books, coffee cups, and stars to create a cohesive aesthetic set.
Print Your Stickers Correctly
Printing settings make a big difference in durability and color quality.
Follow these tips when printing:
- Set printer quality to High or Best
- Choose the correct paper type (Vinyl or Glossy Photo)
- Print a test sheet first
- Allow ink to dry for 5–10 minutes
This drying time is important. If you laminate too quickly, the ink may smudge or smear.
If you’re using inkjet printers, make sure your ink is reasonably water-resistant once dry.
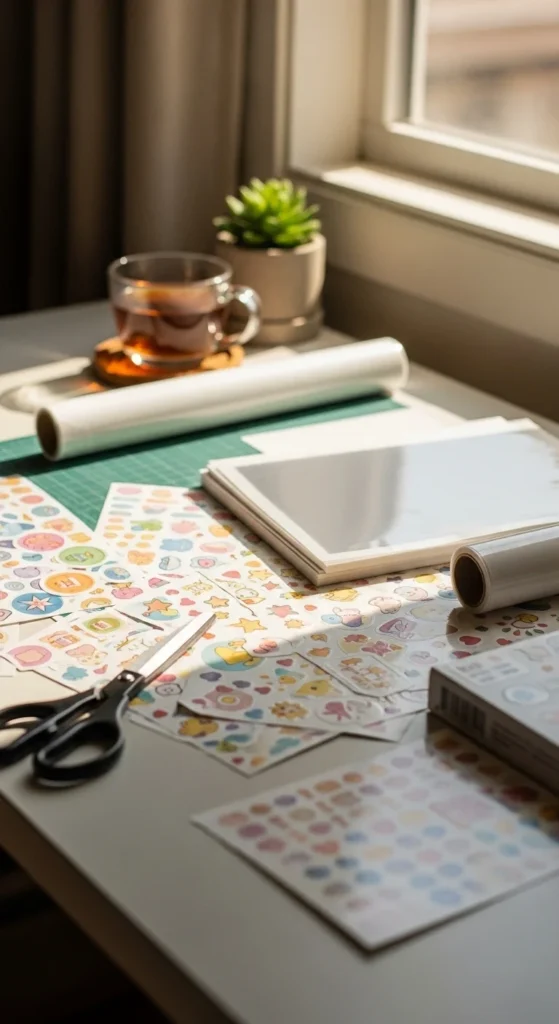
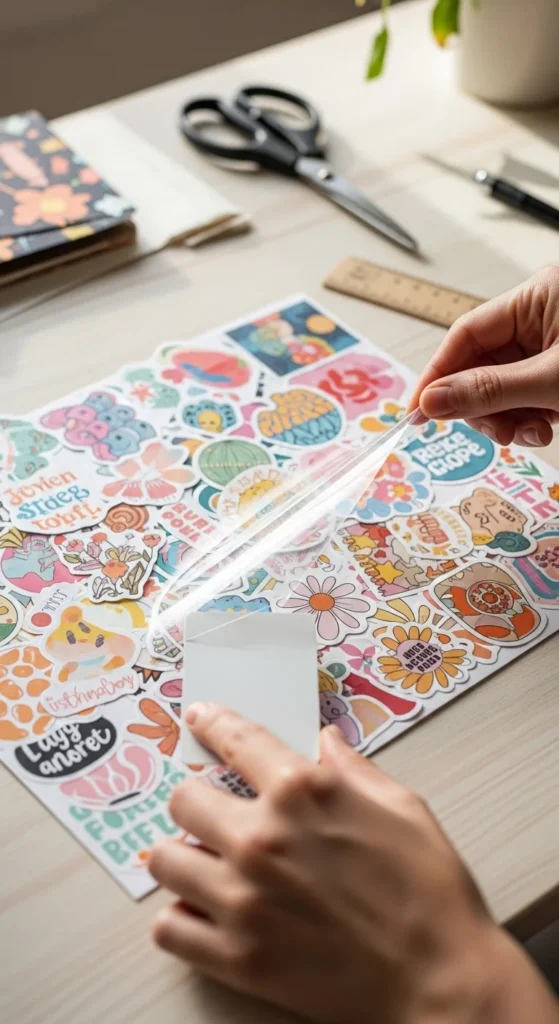
Add the Waterproof Layer
This is the step that transforms regular stickers into waterproof ones.
There are two popular methods.
Method 1: Laminate Sheets (Best Option)
- Cut a piece of clear laminate slightly larger than your sticker sheet.
- Slowly place it over the printed stickers.
- Smooth out bubbles with a card or ruler.
- Press firmly across the entire surface.
Method 2: Clear Packing Tape
If you don’t have laminate sheets, clear tape works surprisingly well.
- Lay tape strips over the printed design.
- Slightly overlap the edges.
- Press down and smooth bubbles.
Laminate sheets give the most professional result, but tape is a great beginner solution.
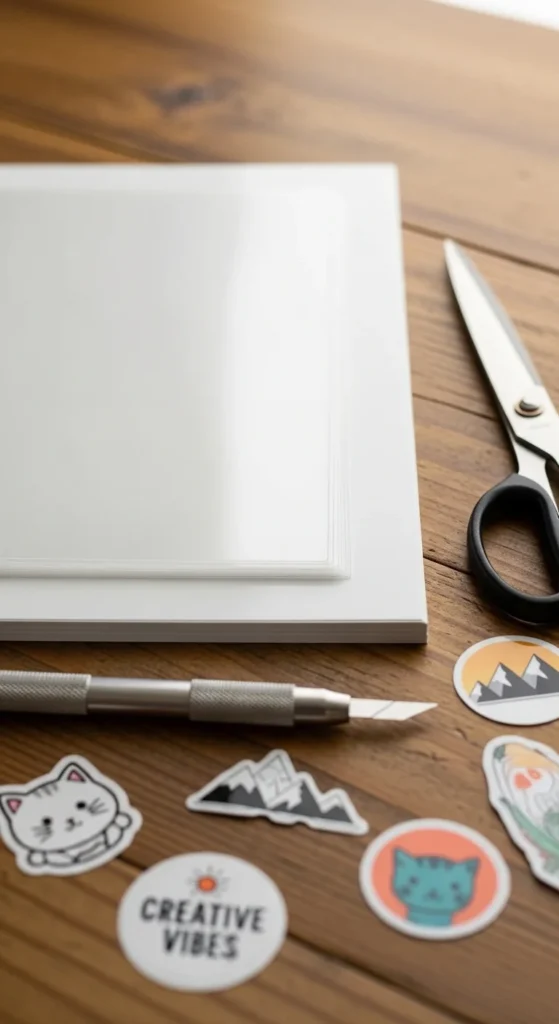
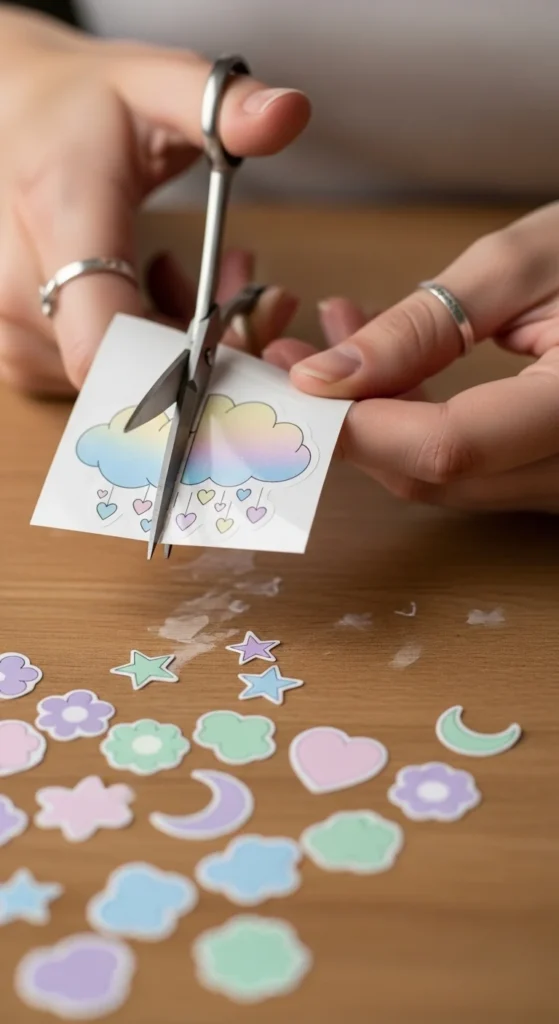
Cut Your Stickers Neatly
Once laminated, it’s time to cut your stickers.
You have two options:
Hand Cutting
Great for beginners.
Tips:
- Use small sharp scissors
- Rotate the paper instead of your hand
- Leave a small white border
Cutting Machine
If you own a Cricut or similar machine, you can create perfectly shaped stickers quickly.
Machines allow you to:
- Cut intricate shapes
- Make full sticker sheets
- Maintain consistent borders
Test the Waterproof Quality
Before using your stickers everywhere, do a quick waterproof test.
Try this:
- Place a sticker on a glass or bottle
- Run it briefly under water
- Let it dry naturally
A properly laminated sticker should:
- Stay stuck
- Not smear
- Keep colors vibrant
Keep in mind that “waterproof” doesn’t mean dishwasher-safe, but it should easily handle splashes and light washing.
Extra Tips for Long-Lasting Stickers
Want your stickers to last even longer? Try these tricks:
1. Use UV-resistant laminate
This prevents fading in sunlight.
2. Avoid very thin sticker edges
They can peel faster.
3. Store unused stickers flat
Humidity can warp them.
4. Clean surfaces before applying
Dust and oil reduce adhesion.
5. Press firmly when applying
Especially around edges.
These small details can make your homemade stickers look just like store-bought ones.
Final Thoughts
Making waterproof aesthetic stickers at home is fun, affordable, and incredibly satisfying. Once you learn the process, you can create endless designs for journals, laptops, planners, and gifts.
All it takes is:
- Good vinyl sticker paper
- A protective laminate layer
- Careful cutting
Soon you’ll have a collection of beautiful, durable stickers that truly last.
✨ Your future notebooks, water bottles, and craft projects will thank you!
Save this guide for later and start creating your own waterproof sticker collection today.