Decorating journals, laptops, water bottles, and planners becomes much more fun when you have aesthetic stickers that match your personal style. The best part? You don’t need expensive equipment or complicated tools to make them yourself. With a few simple supplies and a little creativity, you can print beautiful stickers right from your desk.
Home sticker printing also lets you customize designs exactly how you like them. Soft pastel icons, cozy doodles, floral shapes, or minimalist designs can all be printed in minutes.
In this guide, you’ll learn how to print aesthetic stickers at home easily, even if you’ve never done it before.
Choose the Right Sticker Paper
The first step is selecting good sticker paper. This makes a huge difference in how your stickers look and feel.
There are several common options:
- Matte sticker paper – soft, smooth finish perfect for planners and journals
- Glossy sticker paper – shiny surface that makes colors pop
- Transparent sticker paper – great for minimalist designs or layering
- Water-resistant sticker paper – better for water bottles or laptops
Most beginner creators prefer matte paper because it prints clearly and is easy to cut.
You can find sticker paper online or at craft stores. Look for sheets that work with your printer type (inkjet or laser).
Helpful tip:
- Start with a small pack first
- Test print a sheet before making many designs
This avoids wasting paper and helps you find the look you like.
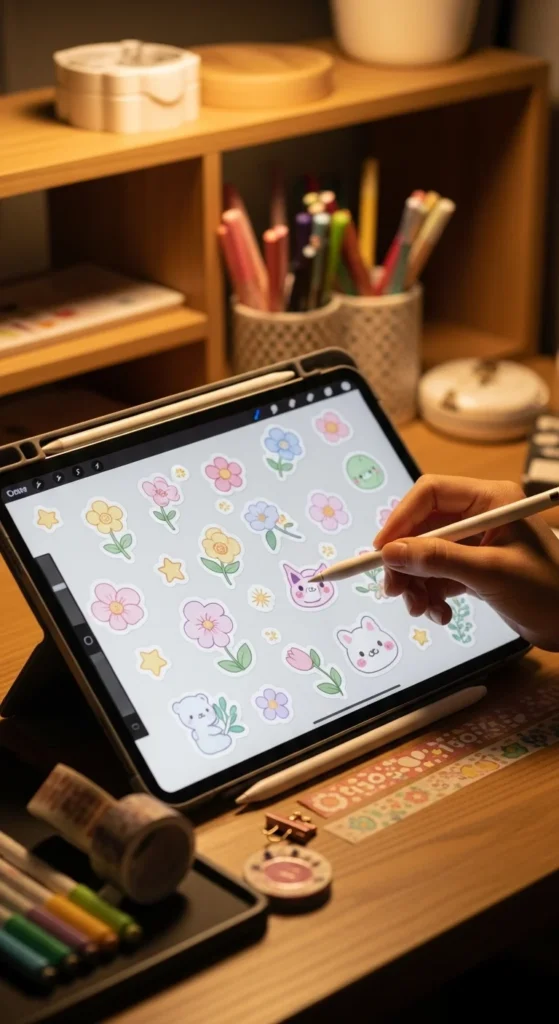
Create or Download Aesthetic Designs
Next comes the fun part: the designs.
You can either create your own stickers or download ready-made graphics.
Many people use simple tools like:
- Canva
- Procreate
- Adobe Illustrator
- Free design apps
Popular aesthetic sticker themes include:
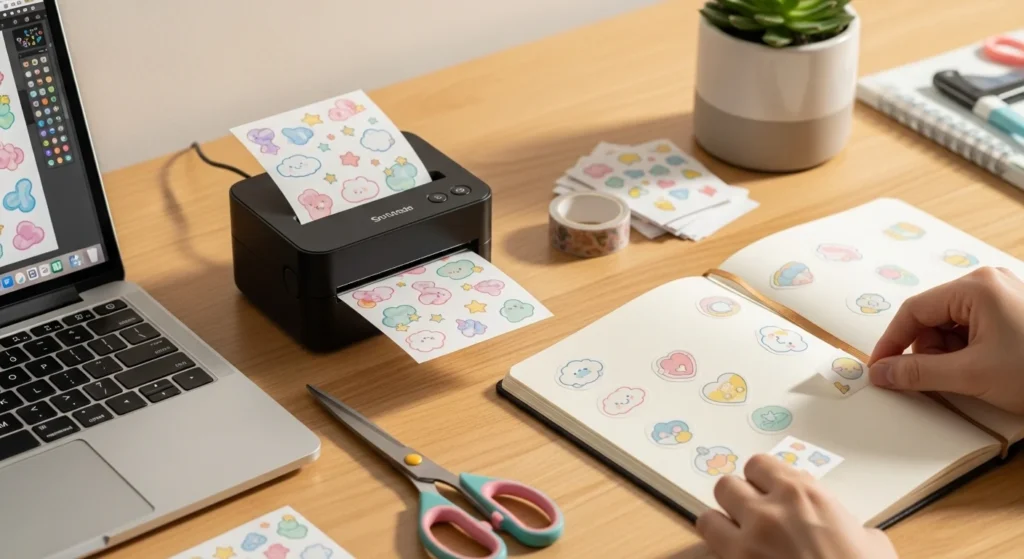
- Pastel stars and hearts
- Minimal flowers
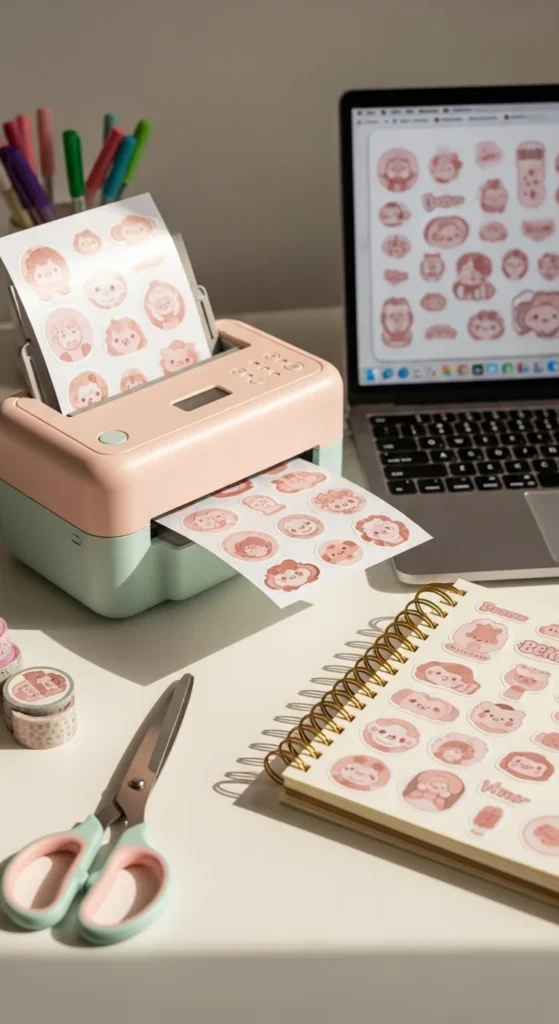
- Cute animals
- Cozy coffee cups
- Plant illustrations
Keep your designs small and simple. Stickers usually look best between 2–3 inches wide.
Tips for better results:
- Use high-resolution images
- Keep colors soft and balanced
- Leave small gaps between stickers on the page
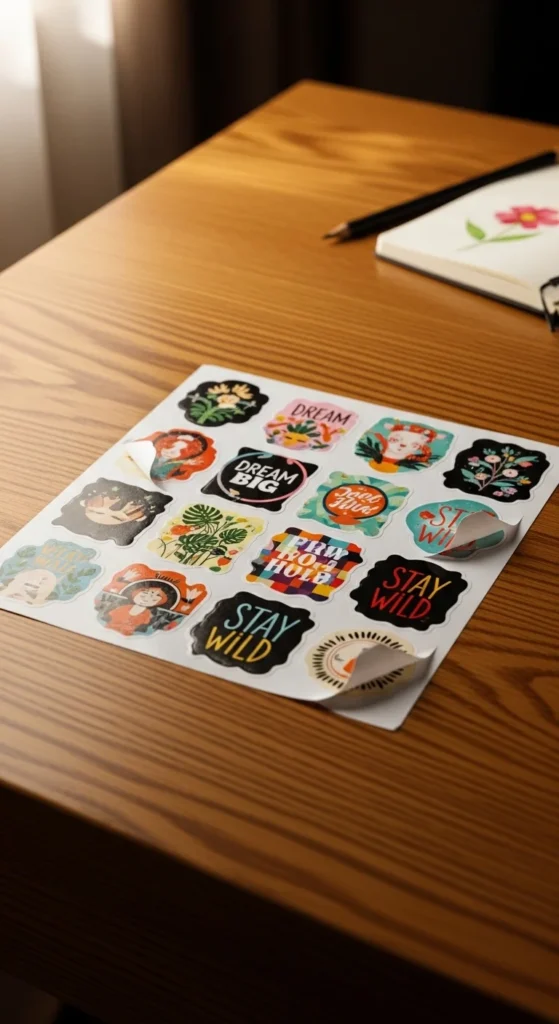
Once your designs are ready, arrange them on a printable sheet.
Set Up Your Printer Correctly
Printer settings play a big role in sticker quality.
Before printing, adjust a few basic settings:
- Select high-quality print mode
- Choose the correct paper type
- Use the best resolution available
Also make sure:
- Your printer has enough ink
- The paper is loaded correctly
- The sheet is facing the right direction

If colors look faded, try switching to photo quality printing.
Test prints are helpful. Print one sheet first and check:
- Color brightness
- Sharpness
- Alignment
Small adjustments can improve results a lot.
Cut Your Stickers Neatly
After printing, it’s time to cut.
You can do this in two ways:
Hand Cutting
This works well for beginners.
Tools that help:
- Small craft scissors
- Precision knife
- Cutting mat
Slow, careful cuts help keep edges smooth.
Using a Cutting Machine
If you make many stickers, machines like Cricut or Silhouette can speed things up. These devices cut shapes automatically using digital outlines.
Either method works fine. Many sticker creators start with scissors and upgrade later.
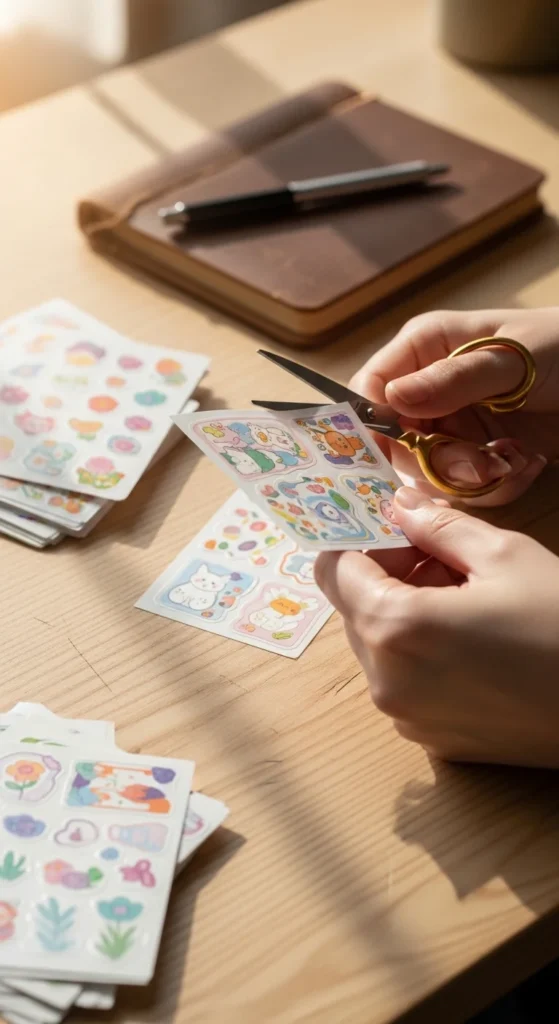
Helpful cutting tips:
- Leave a small white border
- Turn the paper while cutting
- Work slowly around curves
These little details make stickers look polished.
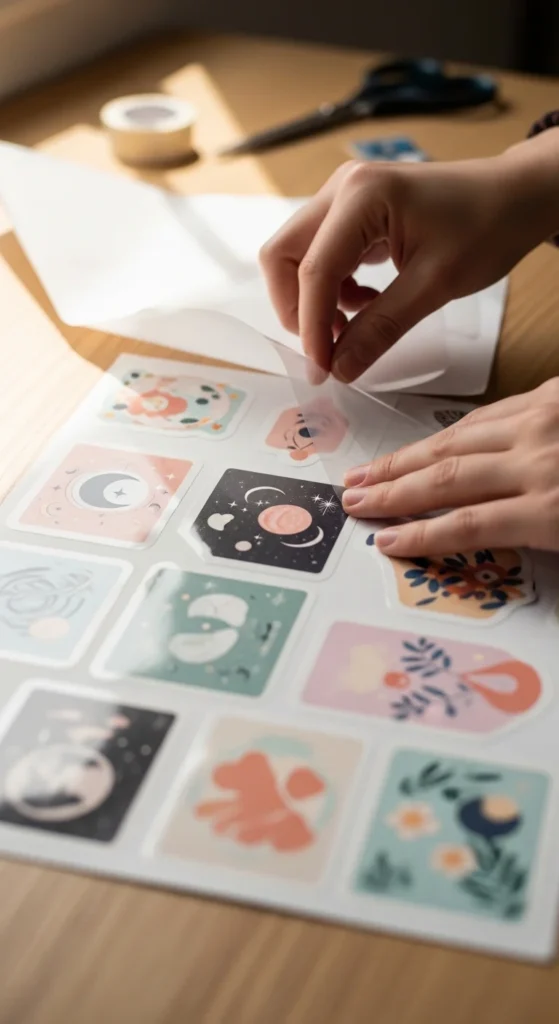
Make Stickers Last Longer
Homemade stickers can last a long time with a few simple tricks.
Try these easy upgrades:
Add Lamination
Clear laminate sheets protect stickers from scratches and water. Just place the sheet over your printed stickers before cutting.
Use Waterproof Paper
For bottles or outdoor surfaces, waterproof paper holds up better.
Seal with Clear Tape
A budget-friendly option is placing clear tape over smaller stickers.
These methods help your stickers stay vibrant and durable.
Fun Ways to Use Your Stickers
Once your stickers are ready, the possibilities are endless.
Here are popular places to use them:
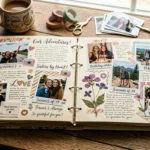
- Journals and planners
- Laptop covers
- Phone cases
- Scrapbooks
- Gift wrapping
- Notebooks
You can also organize them into sticker sheets for easy storage.
Many people even turn home-printed stickers into small creative projects like:
- Pen pal packages
- DIY stationery sets
- Planner decoration kits
Making stickers becomes addictive once you see your designs come to life.
Conclusion
Printing aesthetic stickers at home is easier than most people expect. With a simple printer, quality sticker paper, and a few creative designs, you can make beautiful custom stickers in minutes.
Start small, test different papers, and experiment with styles until you find your favorite look.
Soon you’ll have a growing collection of handmade aesthetic stickers ready to decorate everything from journals to laptops.
Save this idea for later and try printing your first sticker sheet today!