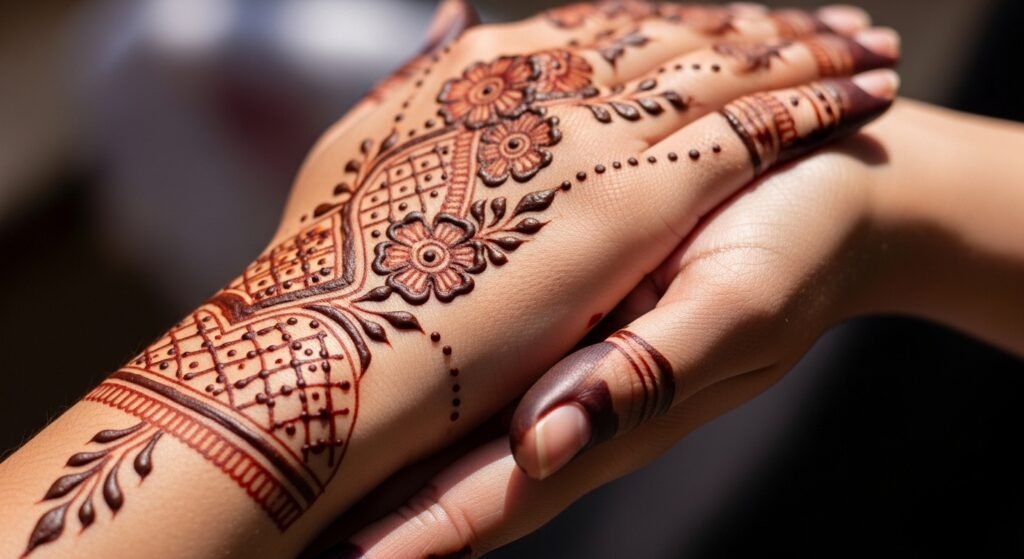
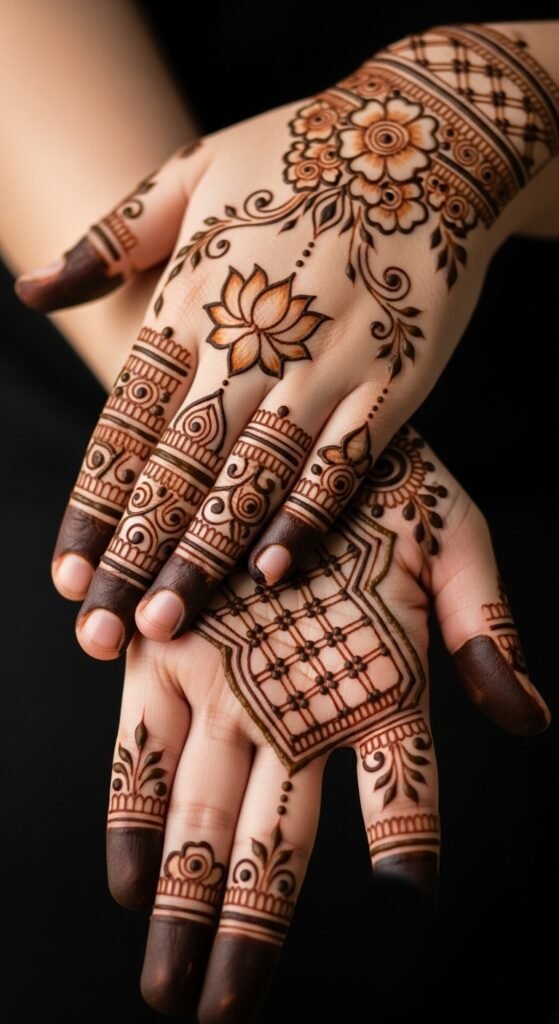
Mehndi is one of the easiest and most beautiful ways to decorate your hands without spending much. If you’re just starting, simple designs are the best way to build confidence and improve control. This guide shares easy mehndi ideas that you can practice at home using basic tools. Each design focuses on clean lines, repeat patterns, and small details that are beginner-friendly. You don’t need professional skills—just a steady hand, a cone, and a little patience. Let’s explore designs you can try today.
1. Basic Floral Circle
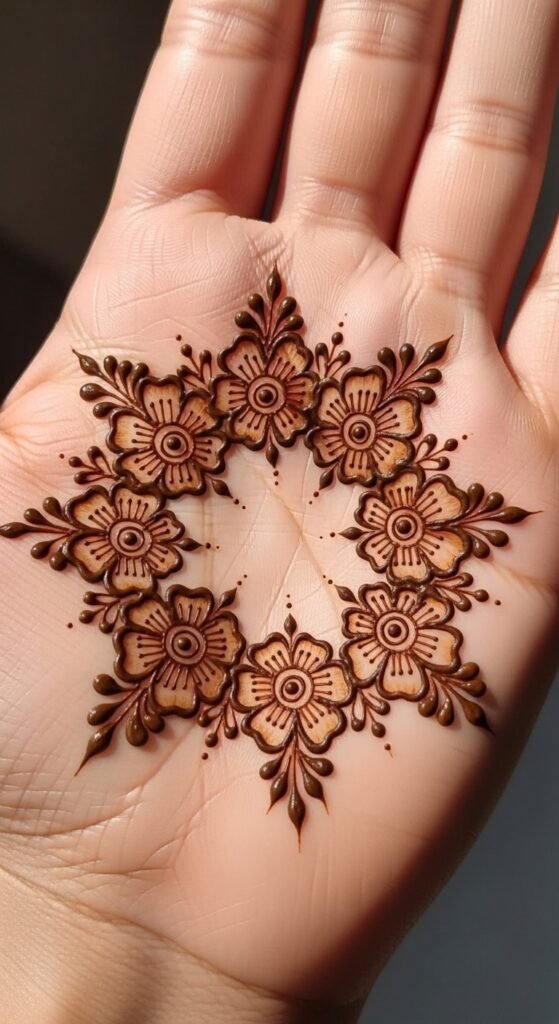
Start with a small dot in the center of your palm. Build around it using tiny petals. Keep each petal evenly spaced. This creates a neat circular flower. Add a second layer of larger petals for depth.
This design is great for practice. It helps you control pressure on the cone. If the lines come out thick, slow down your hand.
Use this for quick events. It looks complete even without filling the whole hand. You can extend it with small vines later.
Tip: Practice circles on paper first. It helps build confidence.
You don’t need expensive cones. Local henna cones work fine. Just cut a very small tip for better control.
2. Simple Leaf Trail
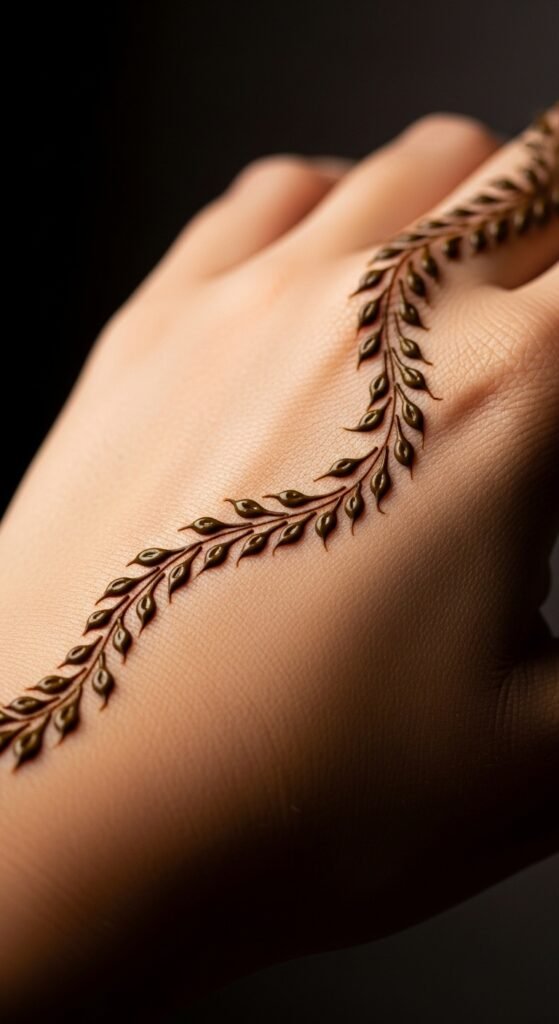
Draw a curved line from your wrist to a finger. Add small leaves along both sides. Keep the leaves pointed and consistent.
This design looks elegant and takes little time. It’s perfect if you’re in a hurry.
You can stop halfway or extend it fully. It still looks balanced.
DIY idea: Try different leaf shapes. Round or sharp edges both work.
Use light pressure for thin lines. Press slightly more for leaf tips.
3. Finger Tip Fill Design
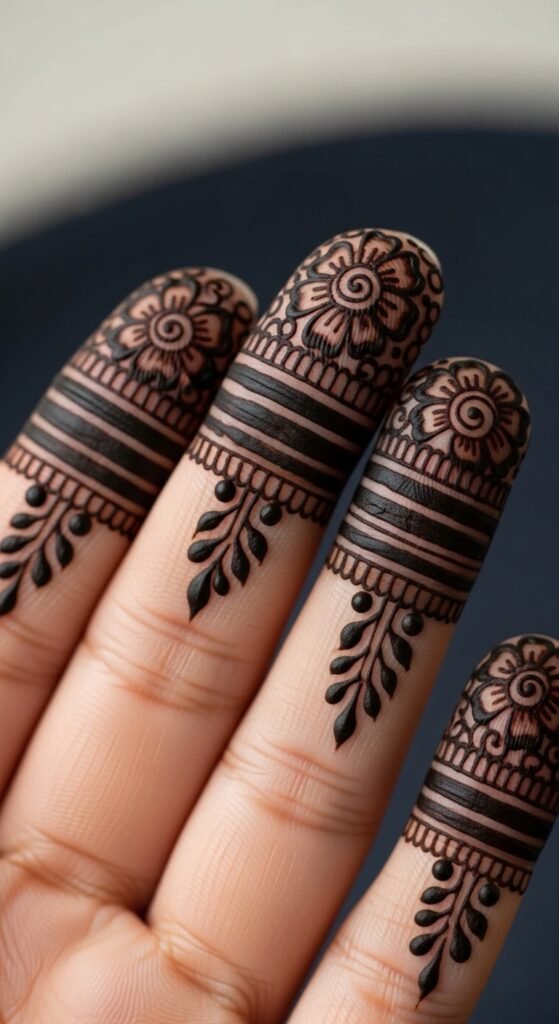
Fill just the fingertips with henna. Keep the edges clean and smooth.
This style is very easy. No complex drawing required.
It works well for beginners who struggle with patterns.
You can combine it with a small wrist design later.
Budget tip: Use leftover henna for this style. No waste.
4. Dotted Bracelet Pattern
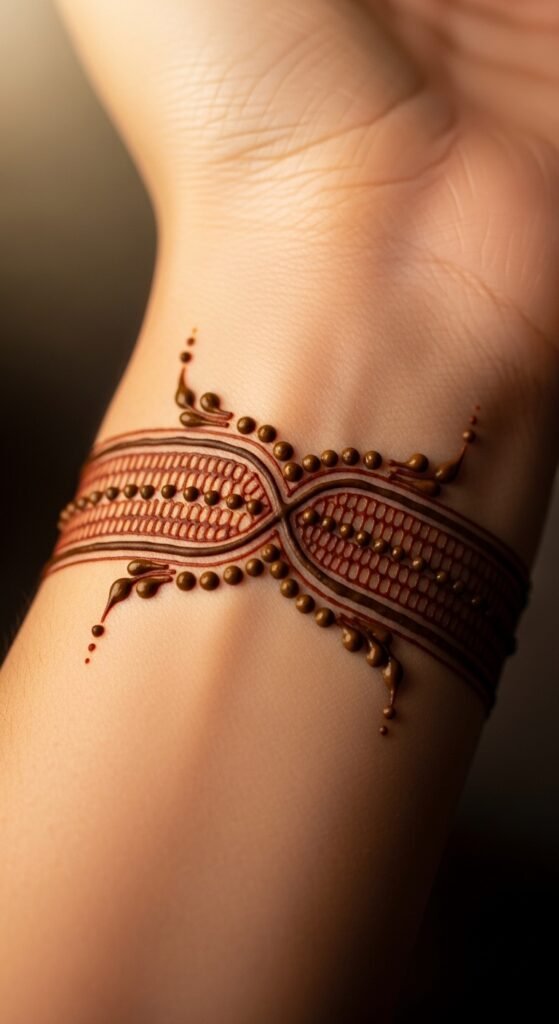
Draw a straight band across your wrist. Add dots above and below the line.
This gives a bracelet-like look. Very simple and neat.
You can add tiny flowers between dots.
Practice tip: Keep dot size consistent.
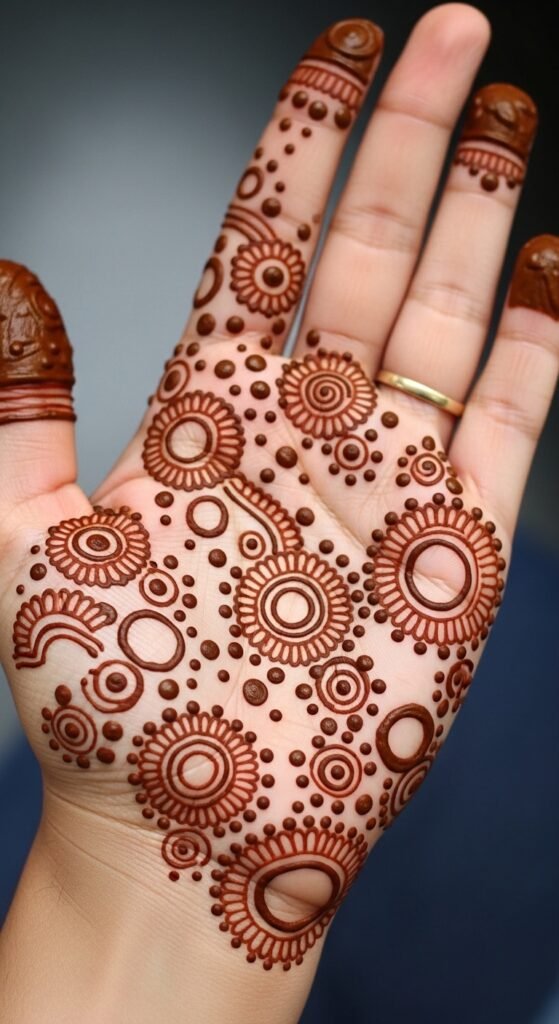
5. Minimal Mandala Design
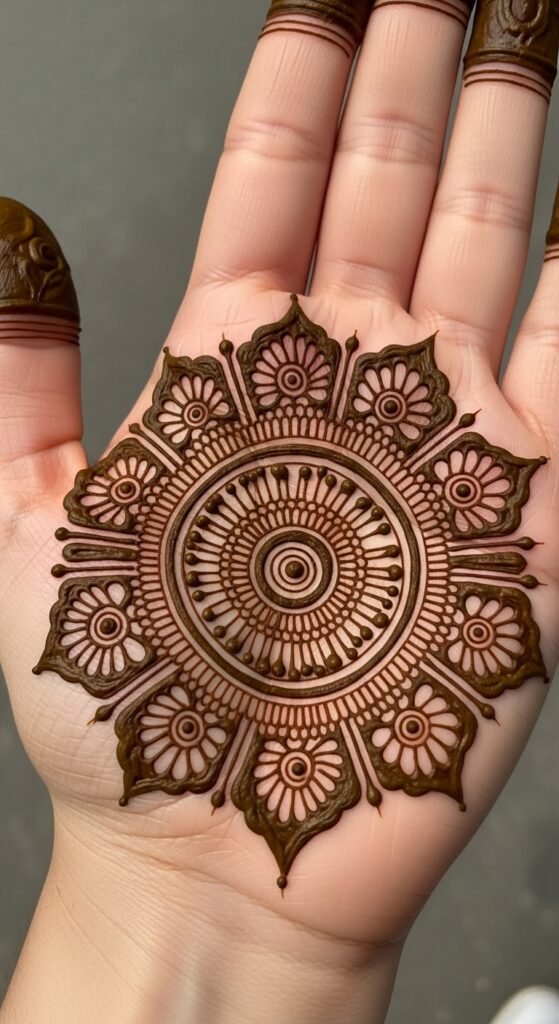
Start with a dot. Build small shapes around it in layers.
Keep each layer simple. Circles, petals, and dots.
Mandala designs help improve symmetry.
Take your time. No rush.
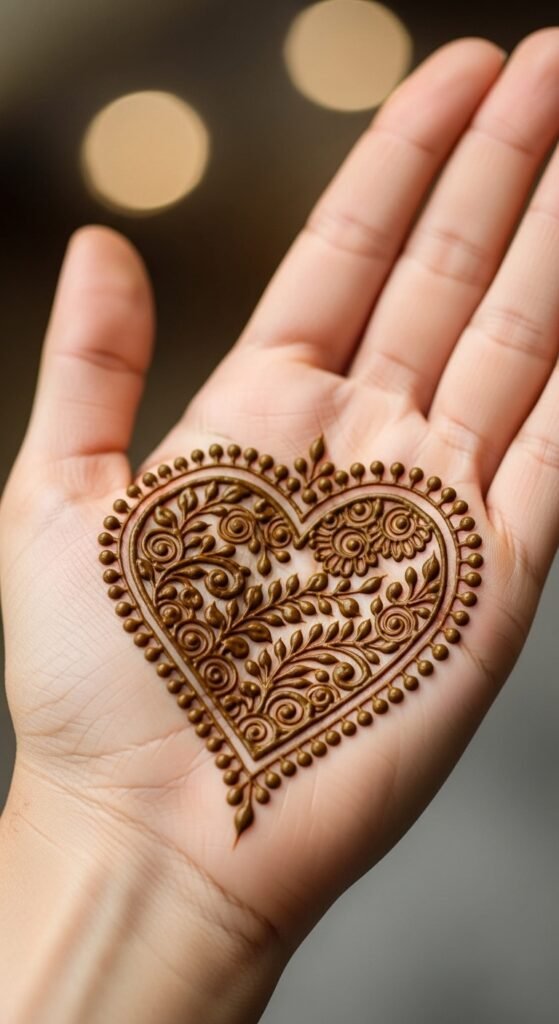
6. Easy Heart Motif
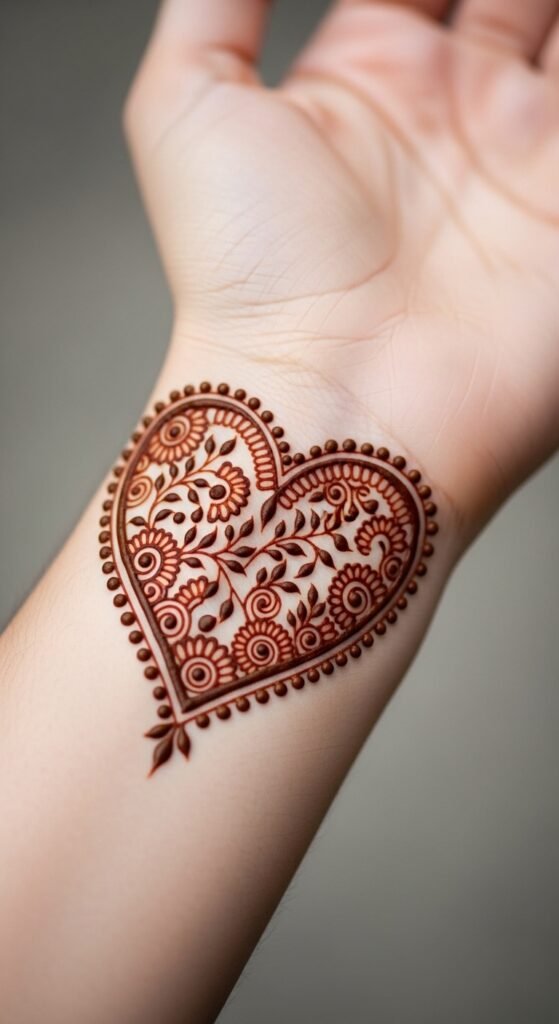
Draw a small heart. Outline it again for boldness.
Add dots or tiny leaves around it.
This design is playful and quick.
Perfect for casual events.
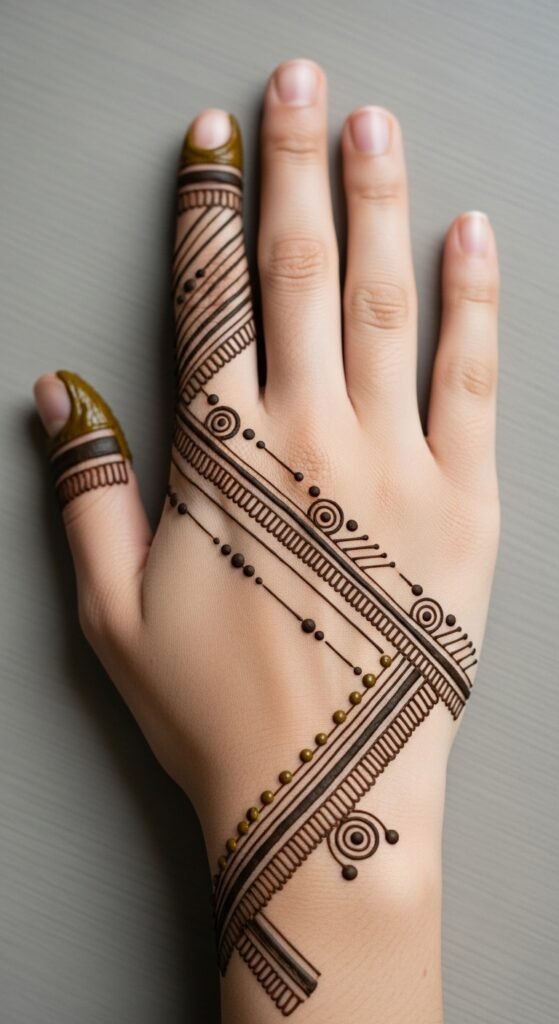
7. Straight Line Patterns
Draw 2–3 parallel lines. Add small shapes between them.
Lines must be steady. Practice helps.
This style looks modern and clean.
8. Simple Paisley Design
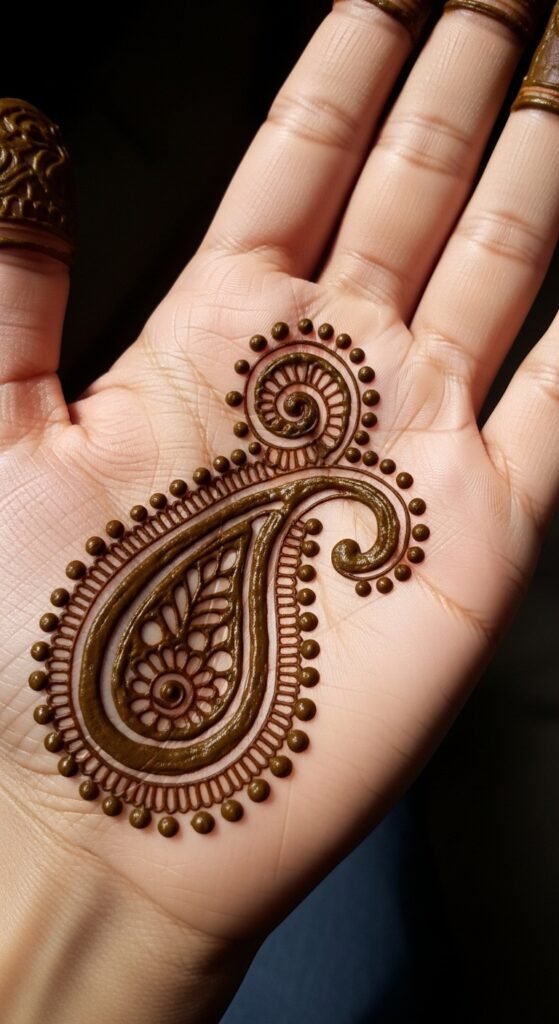
Draw a curved mango shape. Fill it with dots or lines.
Paisley is a classic mehndi shape.
Keep it simple at first.
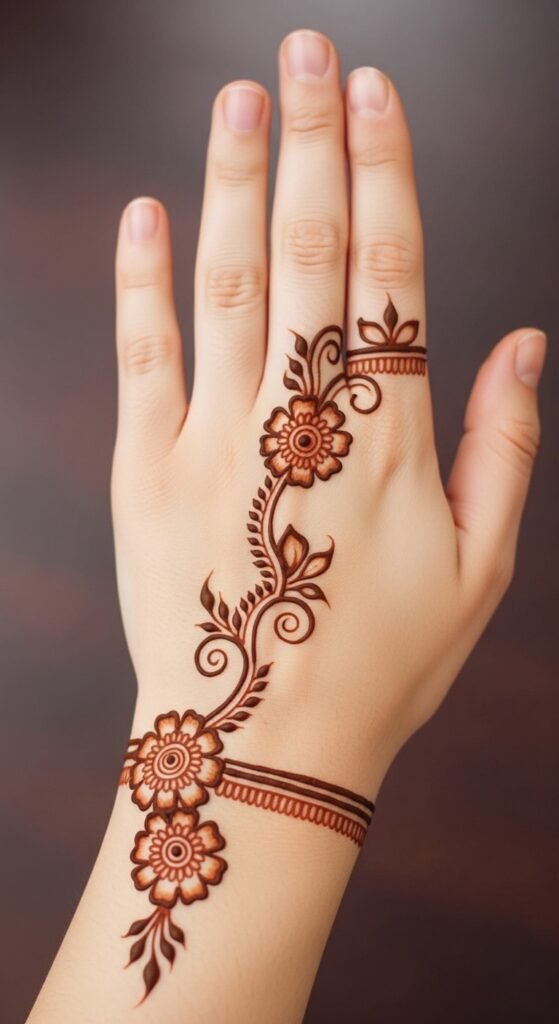
9. Small Flower Chain
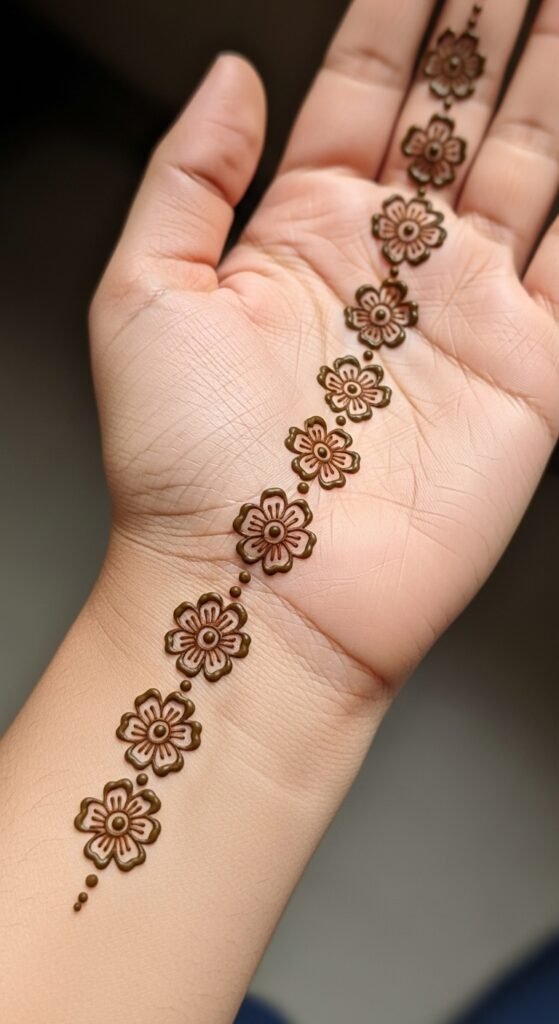
Draw small flowers in a line. Connect them with thin stems.
This looks soft and elegant.
You can wrap it around the wrist.
10. Diagonal Mehndi Pattern
Draw a diagonal line. Fill one side with patterns.
Leave the other side empty.
This creates contrast.
11. Basic Grid Pattern
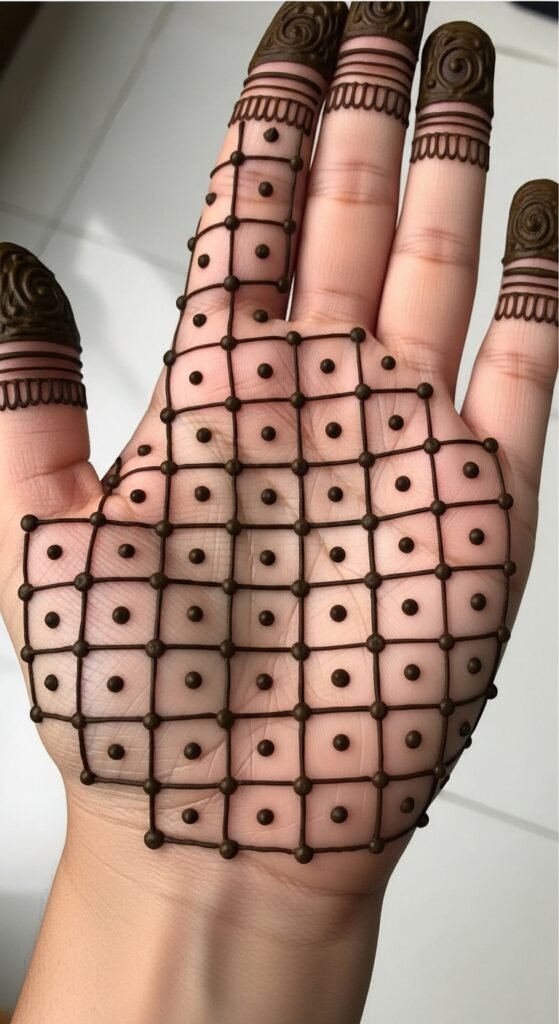
Draw crisscross lines to form squares.
Add dots inside each square.
Very easy and neat.
12. Wrist Band Design
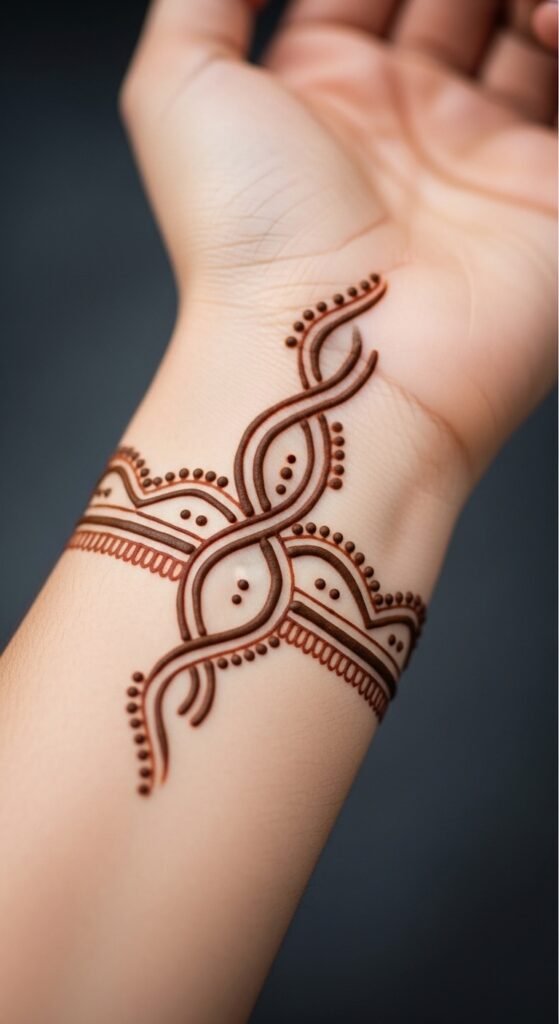
Create a thick band. Add small designs inside.
Looks like jewelry.
Great for quick styling.
13. Tiny Star Accents
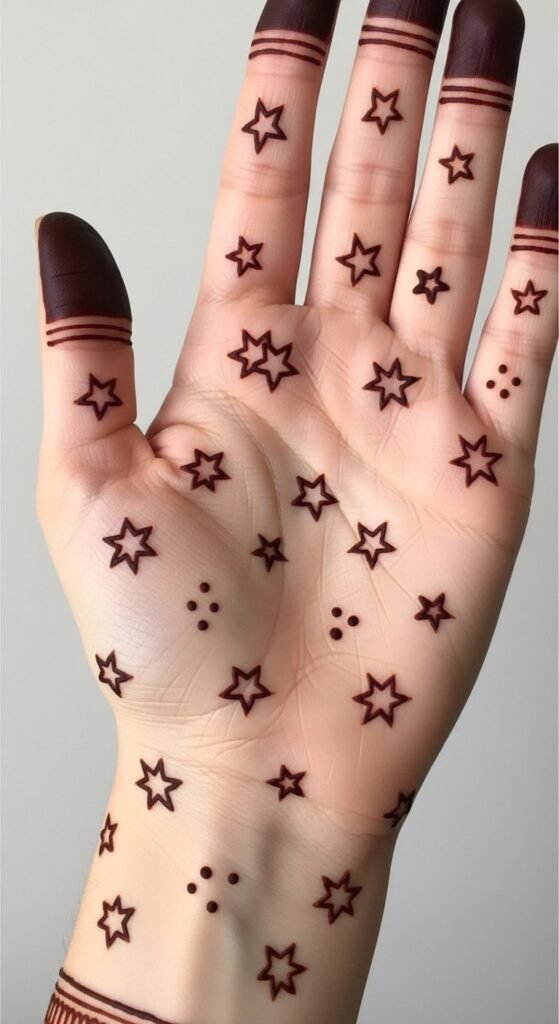
Draw small star shapes randomly.
Keep spacing even.
Simple but eye-catching.
14. Finger Ring Style
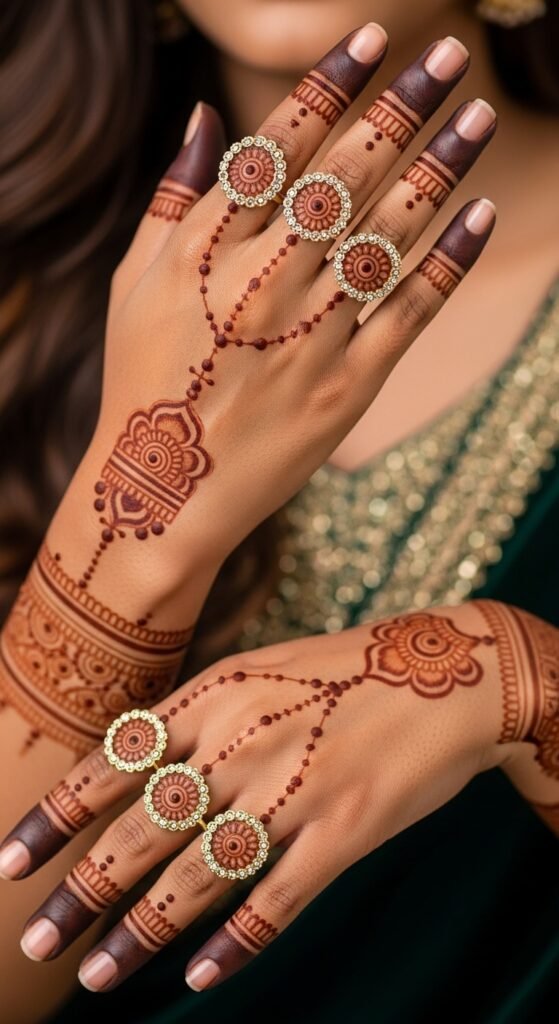
Draw rings on fingers. Connect with a line to the wrist.
Looks stylish.
Very beginner-friendly.
15. Half Palm Design

Fill only half the palm.
Use simple shapes.
This saves time and still looks full.
16. Spiral Pattern
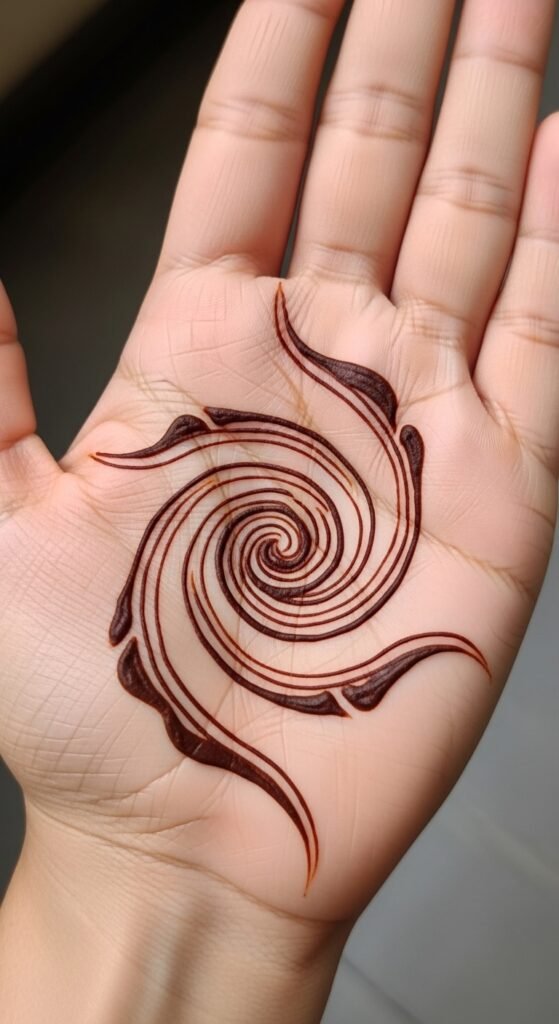
Draw a spiral from the center outward.
Add dots along the curve.
Very easy to control.
17. Simple Checkered Fill
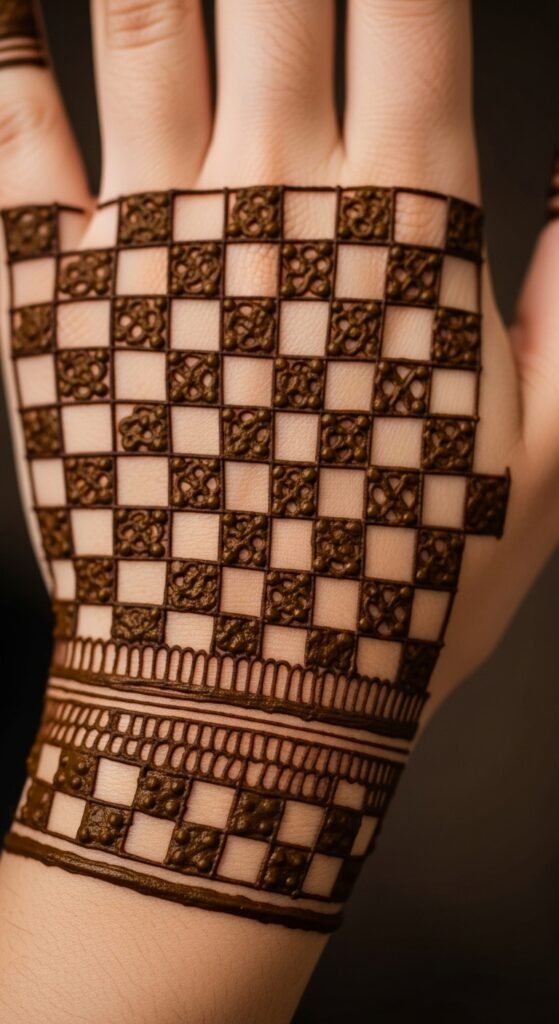
Make small boxes and fill alternate ones.
Creates a bold look.
Quick to do.
18. Floral Vine Design
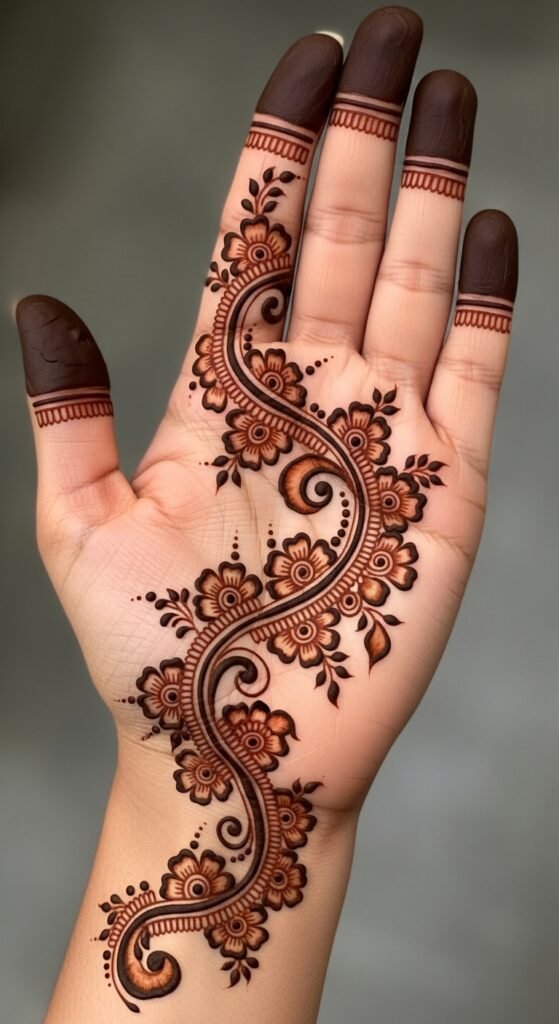
Draw a curved vine. Add tiny flowers.
Keep it light and simple.
Perfect for beginners.
19. Basic Arabic Style
Use bold flowers with gaps in between.
No need to fill everything.
Looks stylish with less effort.
20. Simple Anklet Mehndi
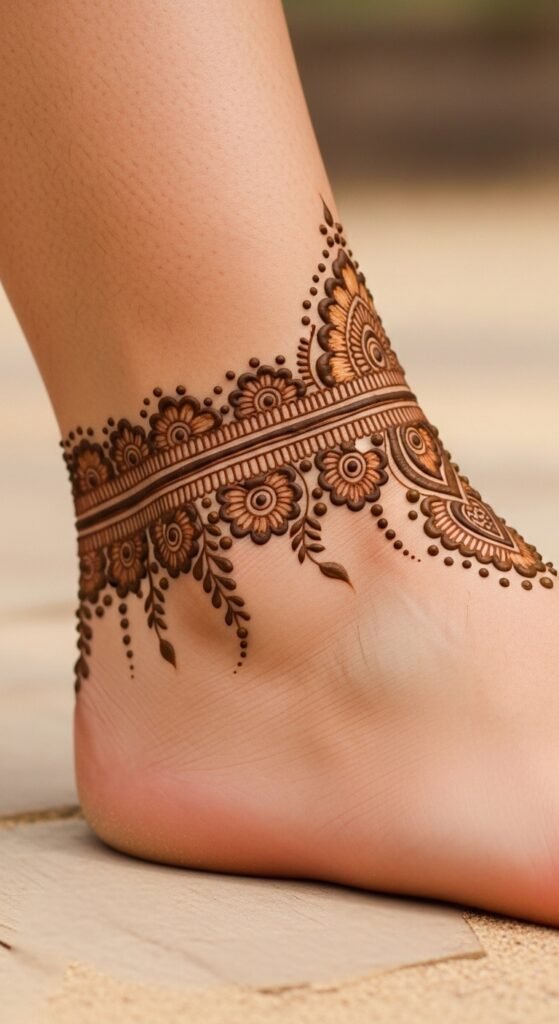
Draw a band around the ankle.
Add tiny hanging shapes.
Easy and pretty.
21. Single Finger Design
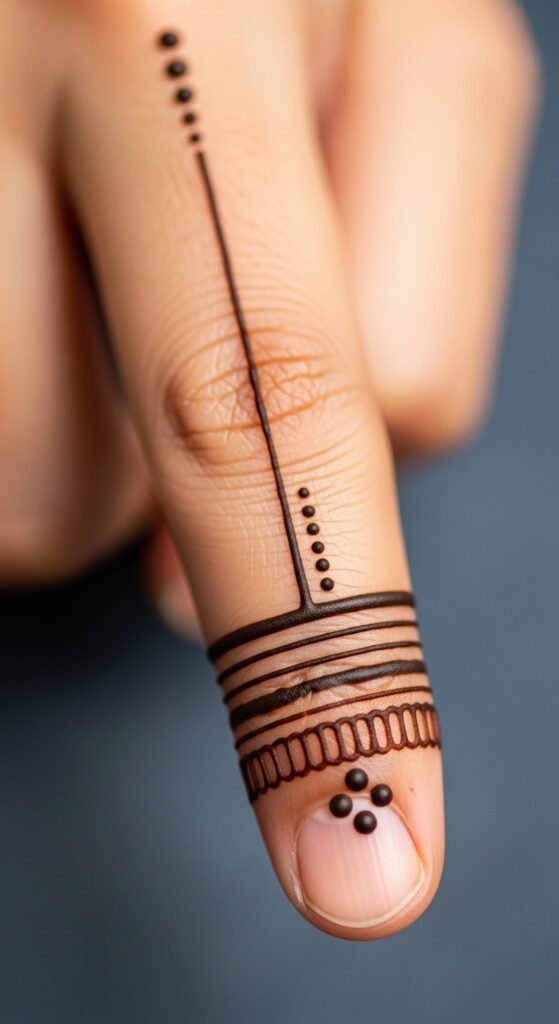
Decorate only one finger.
Keep the rest plain.
Minimal and modern.
22. Circle and Dot Combo
Draw circles and fill with dots.
Repeat pattern.
Very beginner-friendly.
23. Quick Backhand Design
Use a small central design.
Extend with lines toward fingers.
Fast and easy.
24. Bracelet with Hanging Chains
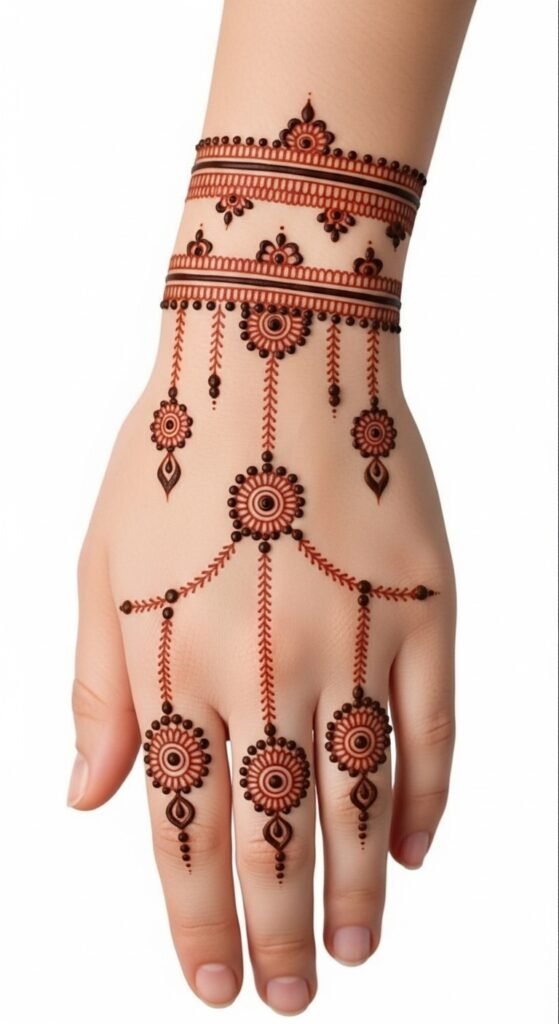
Draw a wrist band.
Add small chain drops.
Looks detailed but simple.
25. Minimal Dot Art
Use only dots to create shapes.
No lines needed.
Great for practice.
Conclusion
Simple mehndi designs are the best starting point when learning this art. They help you build control, understand spacing, and gain confidence without feeling stuck. You don’t need expensive tools or hours of time. Start small, practice daily, and try new patterns step by step. Even the easiest designs can look beautiful when done neatly. Grab a cone and begin—your skills will improve faster than you expect.