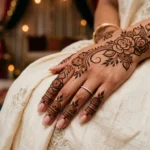
Finger mehndi designs are perfect when you want something stylish without covering your entire hand. They’re quick to apply, easy to maintain, and ideal for both everyday wear and special events. Whether you’re getting ready for a wedding, festival, or just want a little creative touch, these designs focus on fine details that make a big difference. From minimal lines to intricate fingertip art, there’s something here for every style and skill level.
1. Minimal Line Accents
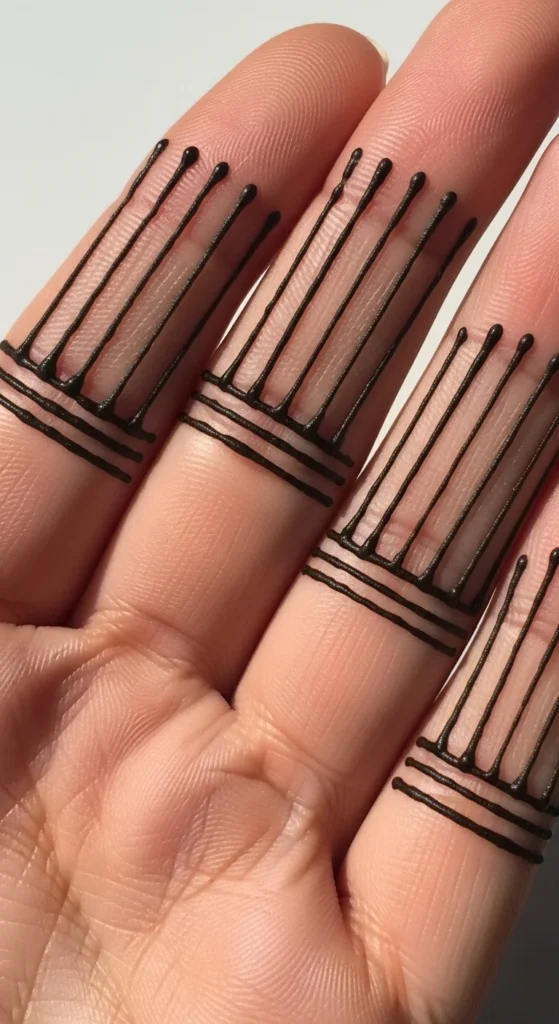
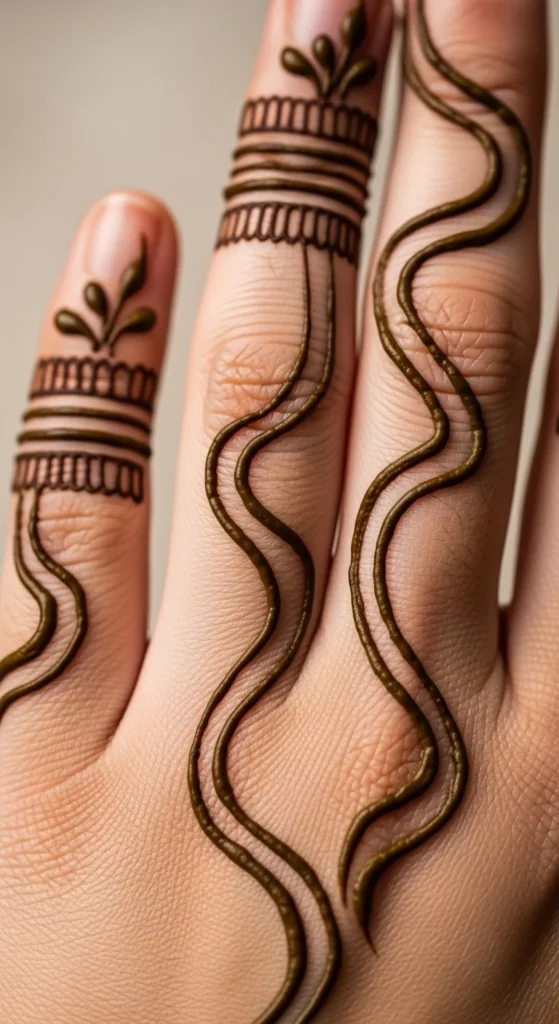
This design is all about simplicity. Thin lines run from the base to the tip of each finger. You can keep them straight or slightly curved. It takes just a few minutes to apply.
Use a fine-tip cone for better control. Practice on paper first if you’re new. This style works great for casual days or quick events.
You can also add tiny dots between the lines for a little extra detail. Stick to one or two fingers if you want a super subtle look.
Budget tip: One small mehndi cone is enough for both hands. No need for multiple tools.
2. Fingertip Fill Design
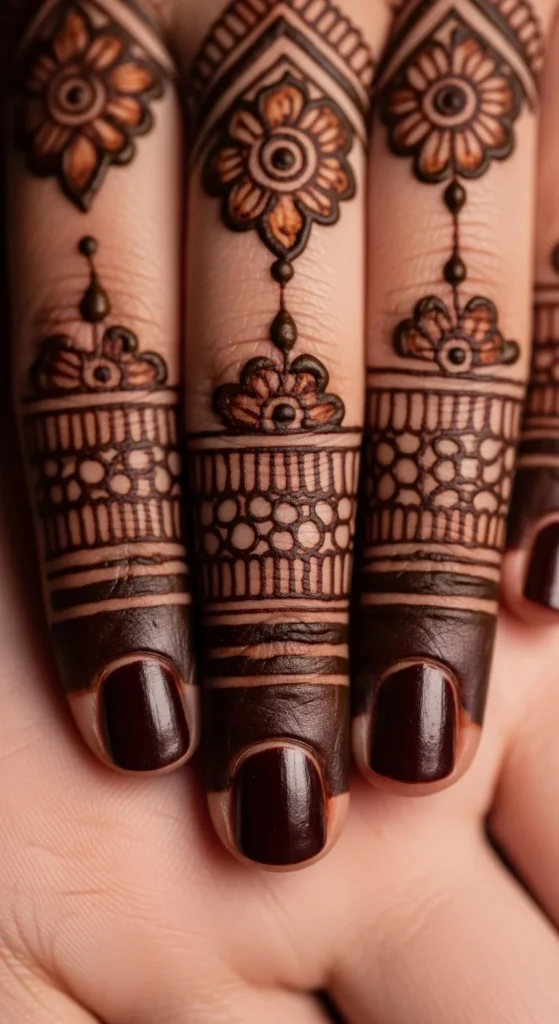
This style focuses only on the fingertips. The tips are filled completely with henna, creating a bold contrast.
It’s one of the easiest designs to try at home. Just carefully fill the top section of each finger. No complex patterns needed.
You can leave the rest of the finger bare or add a tiny dot below the filled tip. It looks clean and modern.
Budget tip: Since it uses more paste in one area, apply a thin layer to save product while still getting a deep stain.
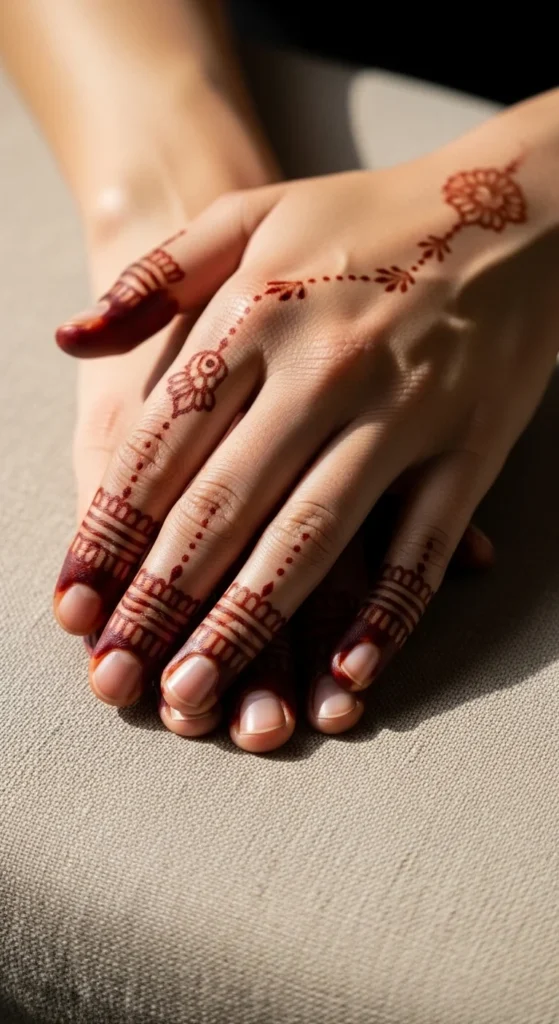
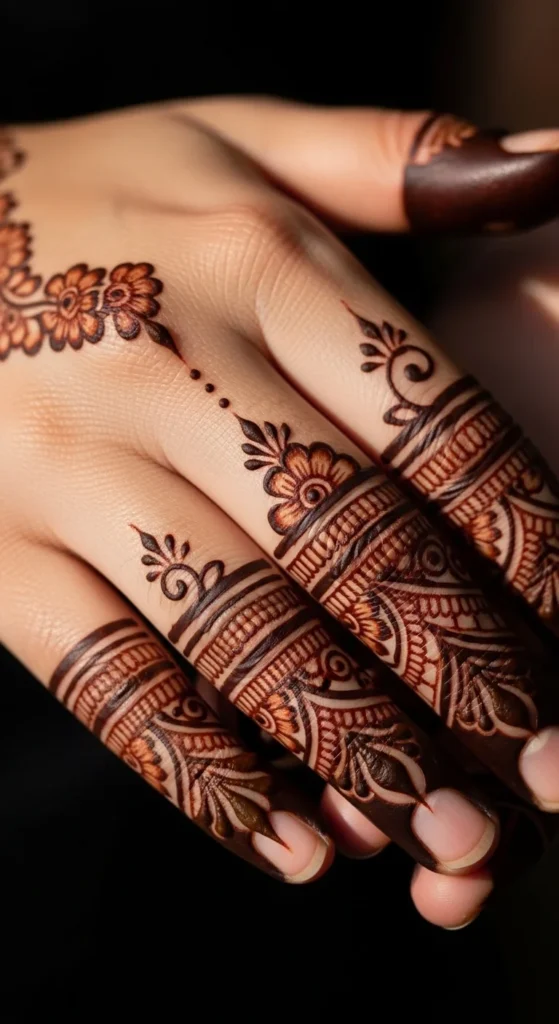
3. Ring Style Bands
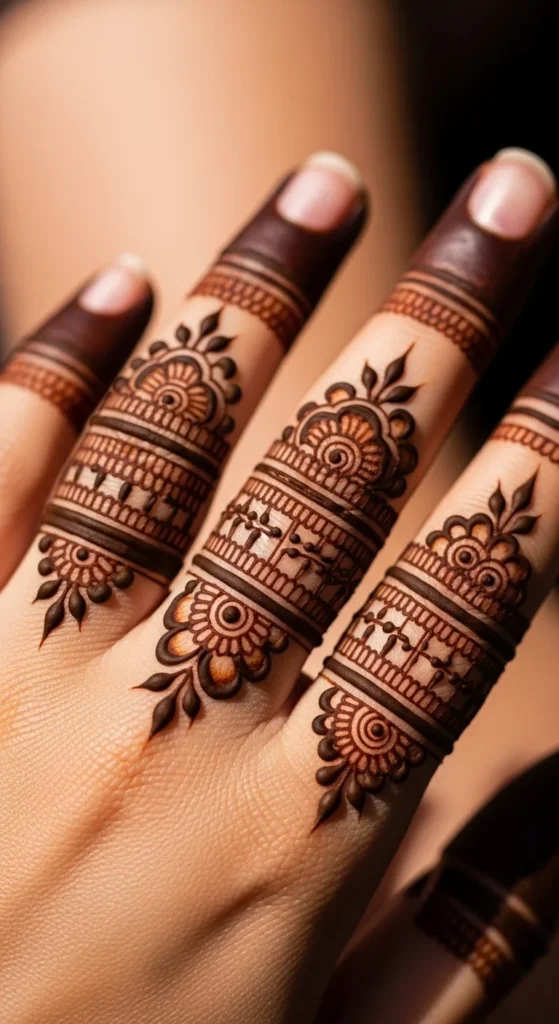
Create small bands around your fingers to mimic rings. These can be thick, thin, or patterned.
This design pairs well with real jewelry. You can match the placement to your actual rings.
Try adding tiny lines or dots within each band. It gives a more detailed look without making it complicated.
Budget tip: Focus on just two or three fingers to save time and effort.
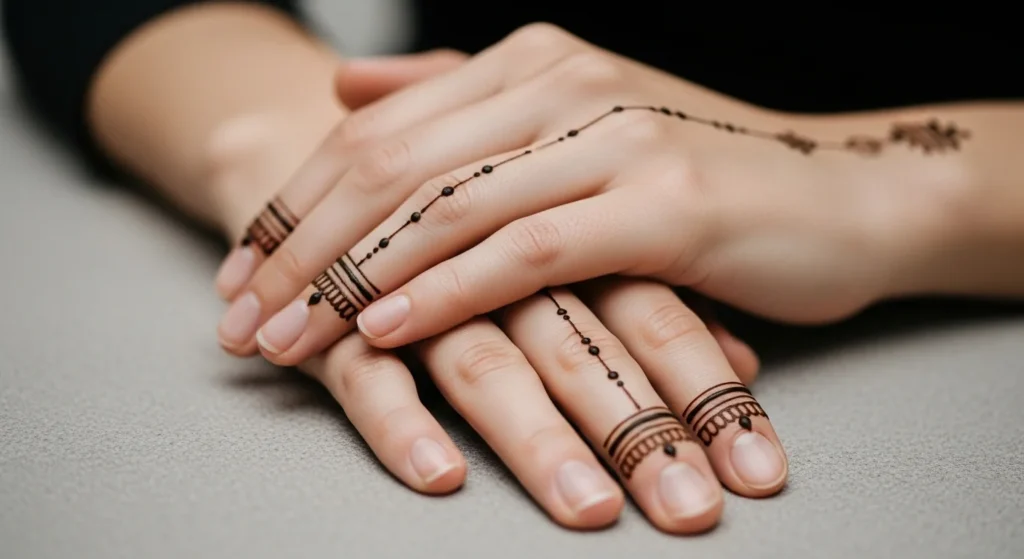
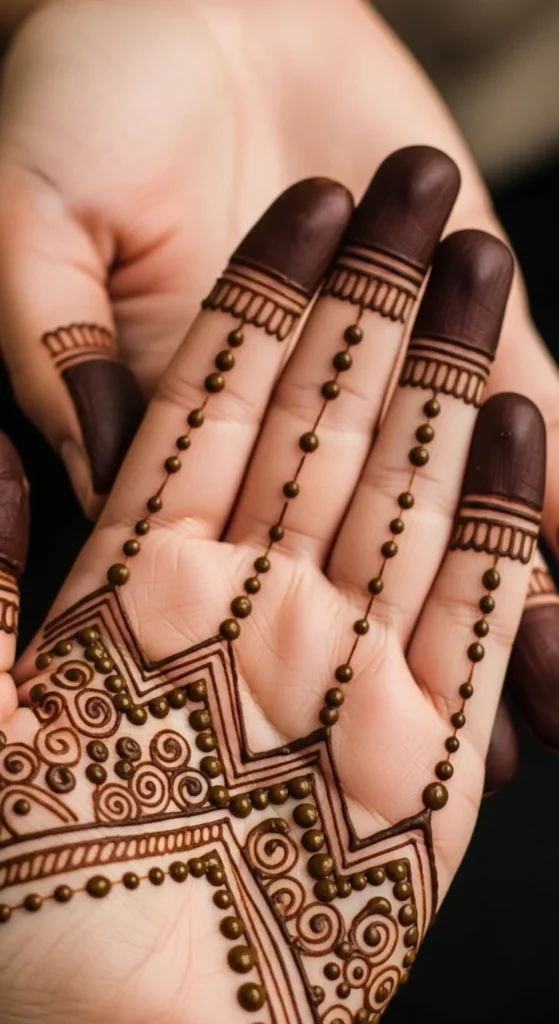
4. Dot Chain Patterns
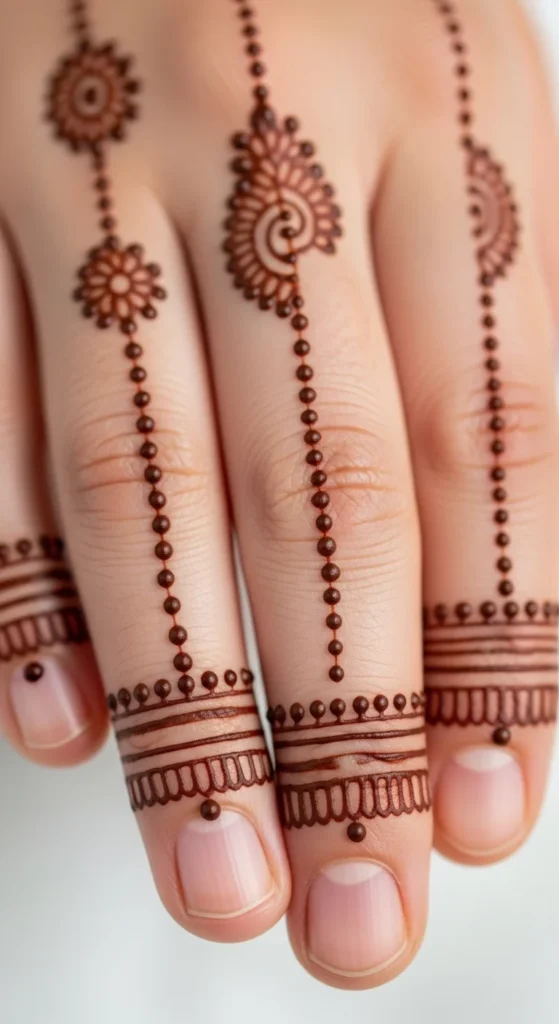
Dot chains are simple yet eye-catching. Small dots are placed in a line along the finger.
You can keep them centered or move them to the side for a different look. Consistency is key here.
This design is beginner-friendly and quick to fix if mistakes happen.
Budget tip: Use leftover mehndi from other designs to create these dots instead of opening a new cone.
5. Leaf Trail Design
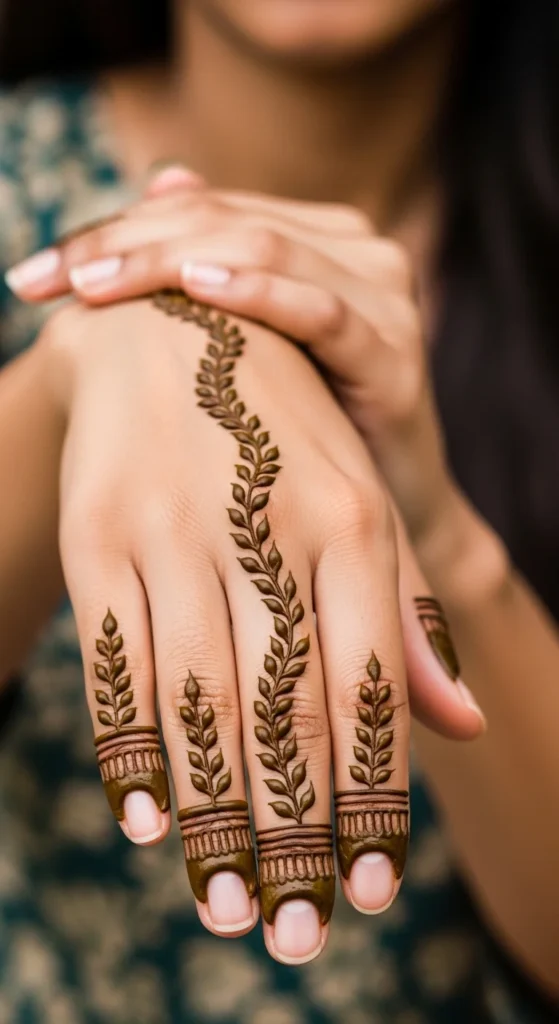
Tiny leaves arranged in a line create a soft and natural vibe. Each leaf connects to the next.
This design works well on one or two fingers as a highlight. Keep the shapes small for better detail.
You can curve the trail slightly to follow the finger’s shape.
Budget tip: Practice leaf shapes once, then repeat the same pattern to save time.
6. Half Finger Coverage
Only the upper half of each finger is decorated. The lower half stays clean.
This creates a balanced look without too much detail. You can mix lines, dots, and small shapes.
It’s perfect if you want something noticeable but not overwhelming.
Budget tip: Less coverage means less mehndi used, making it cost-effective.
7. Criss-Cross Lines
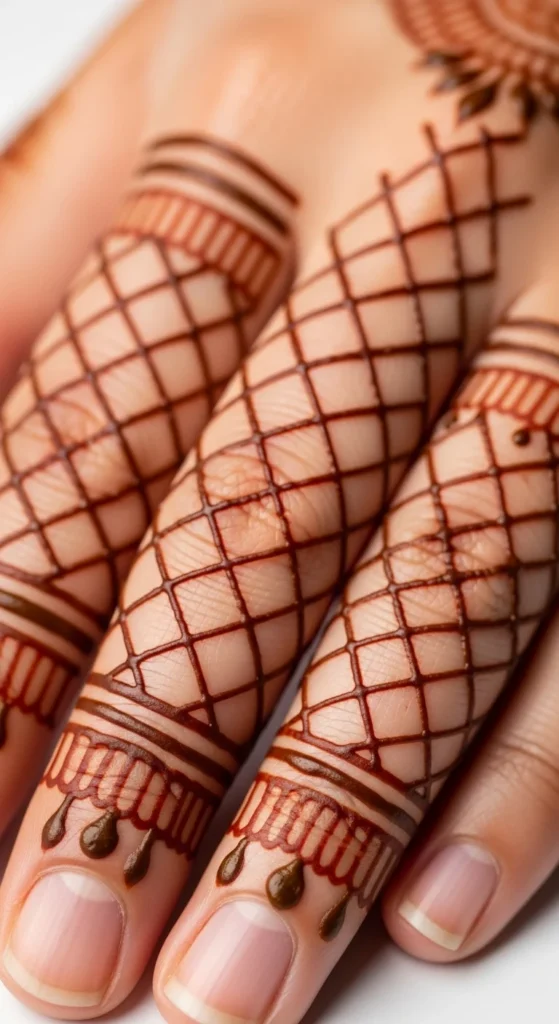
Thin lines cross over each other to form a grid pattern. It looks structured and neat.
Keep the spacing even for the best result. You can stop halfway or go all the way to the tip.
This style dries quickly since it uses less paste.
Budget tip: Great for quick applications before last-minute events.
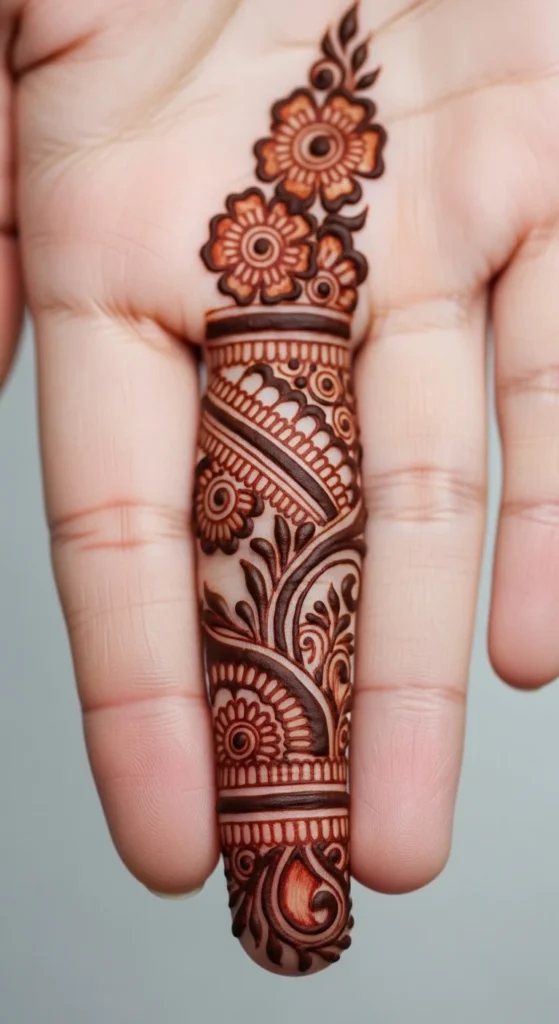
8. Tiny Floral Motifs
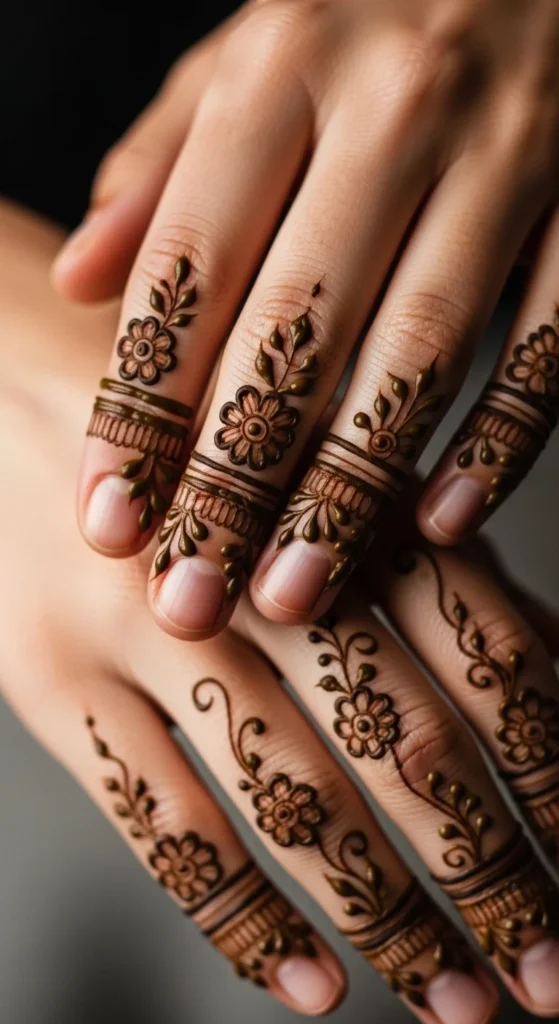
Small flowers placed along the finger create a soft, feminine look. Each flower can be just a few strokes.
You don’t need perfect symmetry. Slight variations make it look more natural.
Add a dot in the center of each flower for a finished touch.
Budget tip: Focus on one statement finger if you’re short on time.
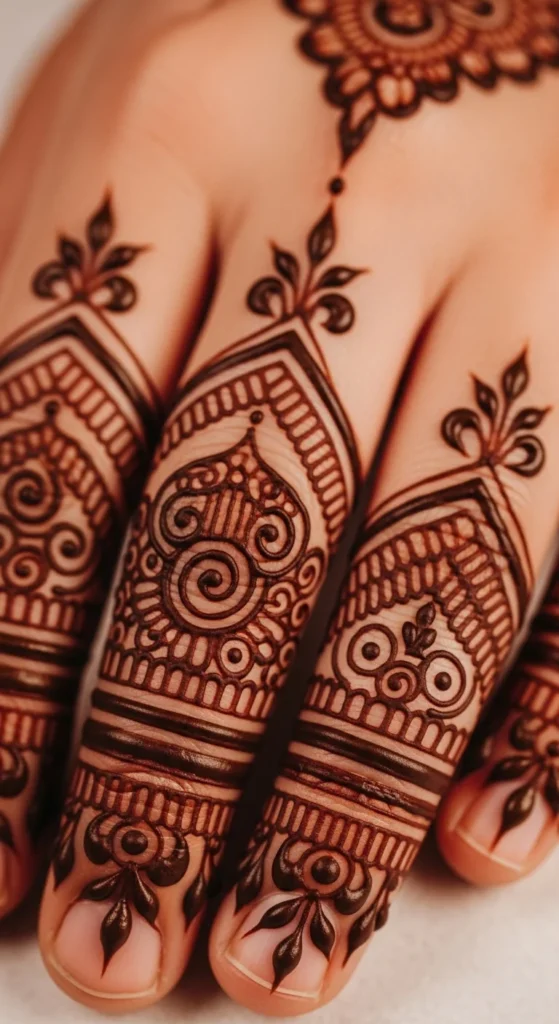
9. Spiral Finger Art
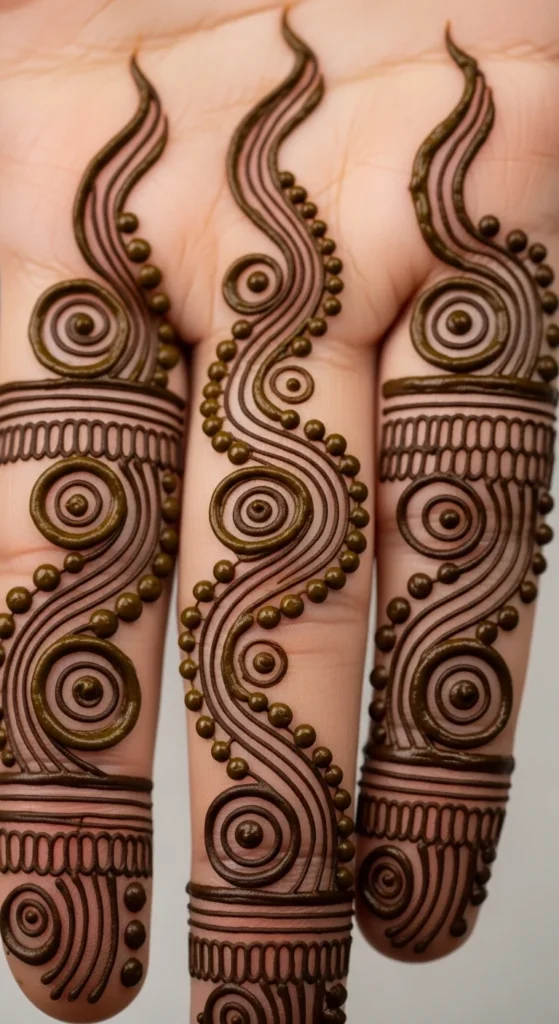
Spirals add movement and flow. They start at the base and wind upward.
Keep the spacing even and the lines smooth. It may take a little practice.
This design stands out without being too heavy.
Budget tip: Practice spirals on paper first to avoid wasting mehndi.
10. Side Finger Design
Instead of decorating the front, apply designs along the sides of the fingers.
This gives a subtle and unexpected look. Perfect for minimal styles.
Use small dots, lines, or tiny leaves.
Budget tip: Uses very little mehndi while still looking stylish.
11. Geometric Shapes

Triangles, squares, and lines create a modern pattern. Keep shapes small and evenly spaced.
This design works well for a clean and structured look.
You can mix shapes or stick to one for consistency.
Budget tip: Simple shapes are quick to apply and don’t require advanced skills.
12. Finger Tip Lines
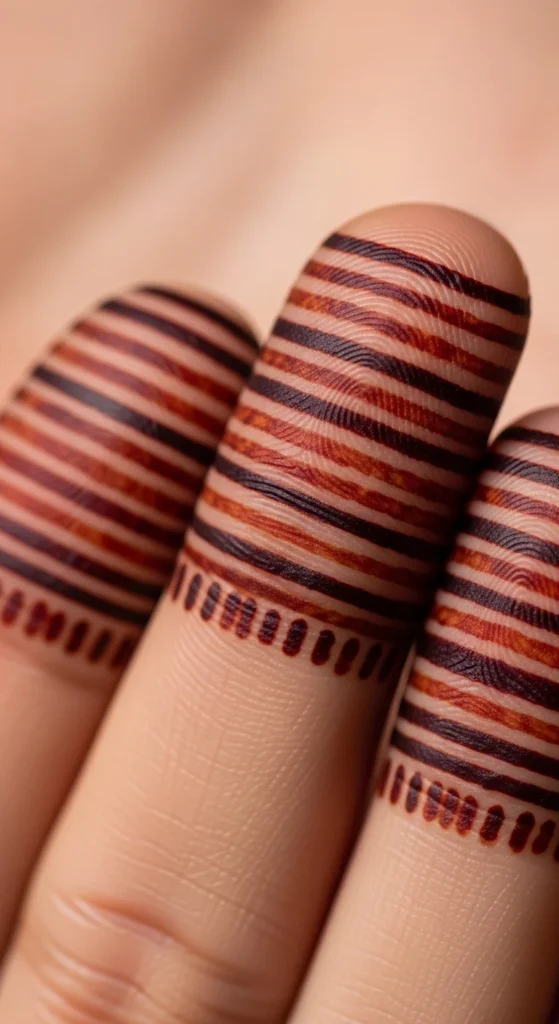
Thin horizontal lines near the tips create a layered effect.
Keep each line parallel for a neat finish. You can add two or three lines per finger.
It’s quick and easy to apply.
Budget tip: Ideal for last-minute styling with minimal effort.
13. Lace-Inspired Patterns
This design mimics lace fabric. Fine lines and loops create a delicate pattern.
It looks detailed but can be broken into simple steps.
Start with a base line, then add loops and dots.
Budget tip: Focus on one finger as a statement piece.
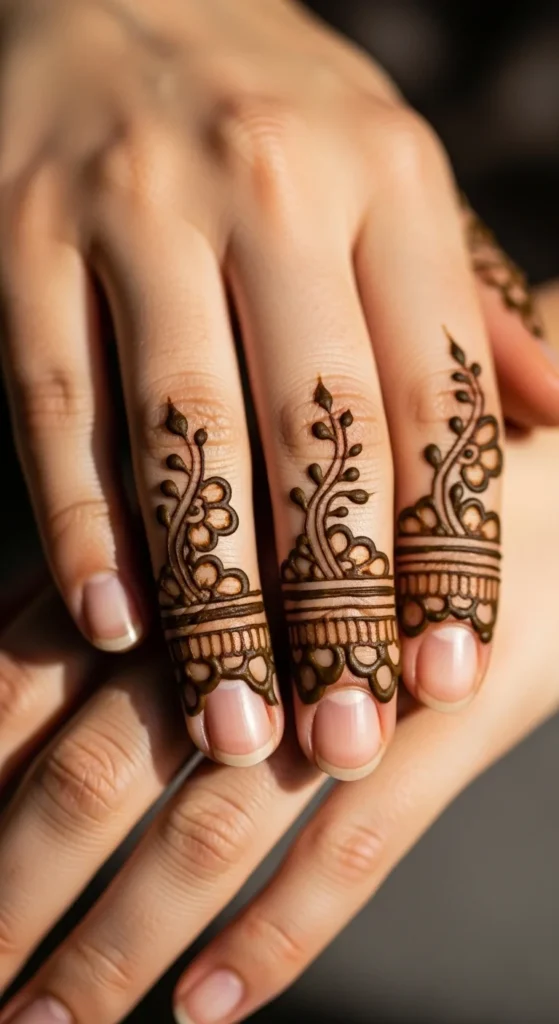
14. Vertical Vine Design
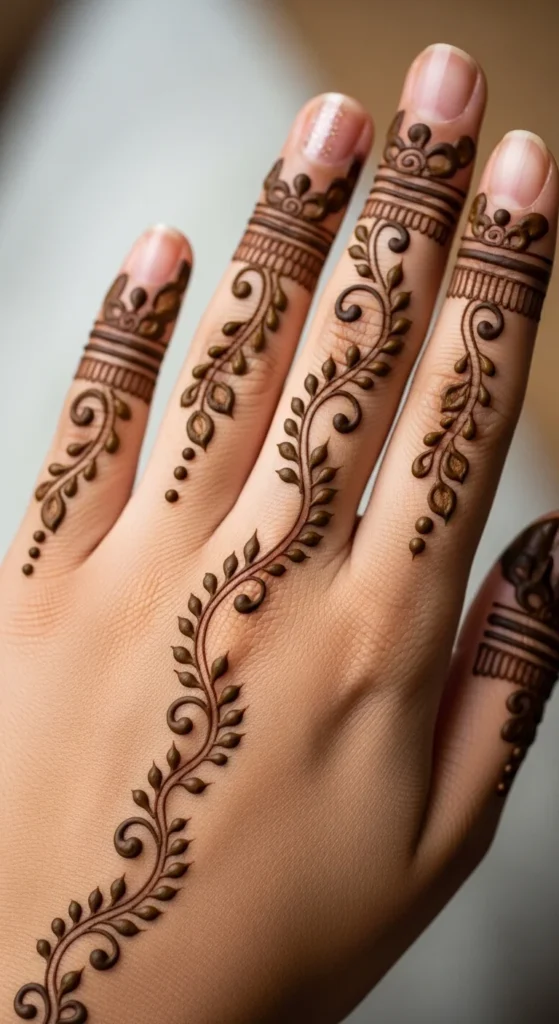
A thin vine runs along the finger with tiny leaves branching out.
It follows the natural shape of the finger.
Keep the leaves small and spaced evenly.
Budget tip: Repeat the same vine pattern on each finger for quick application.
15. Single Statement Finger
Instead of decorating all fingers, focus on one.
Make it detailed and eye-catching. Leave the rest simple or bare.
This creates contrast and saves time.
Budget tip: Use leftover mehndi to build a detailed look on one finger.
16. Dotted Tips with Lines
Combine filled dots at the tips with thin lines below.
This mix creates balance between bold and minimal.
It’s easy to customize based on your style.
Budget tip: Great way to use small amounts of mehndi creatively.
17. Chain and Charm Style
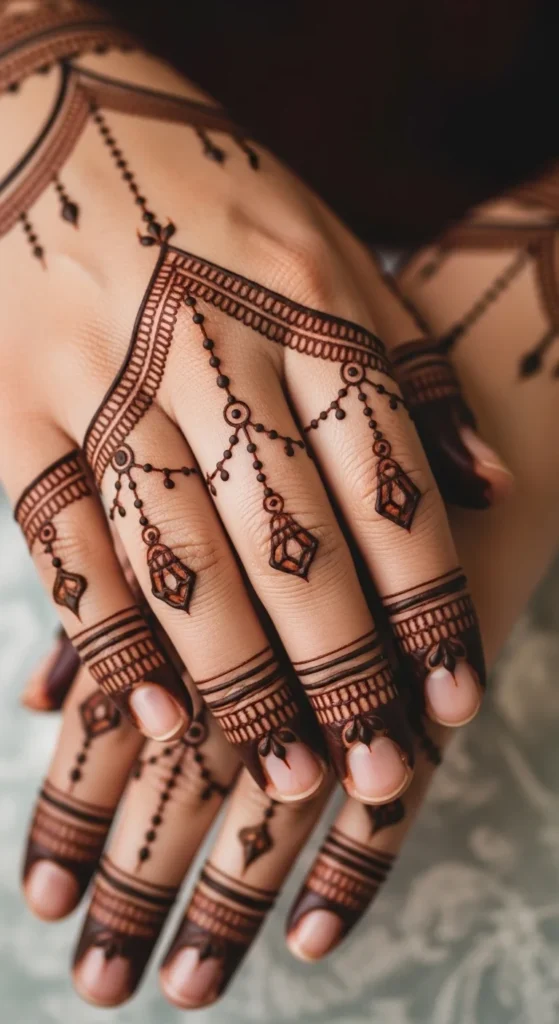
This design looks like jewelry. Chains run along the finger with tiny shapes hanging.
Use dots and short lines to build the chain effect.
It pairs well with real accessories.
Budget tip: Keep charms small to save paste.
19. Abstract Lines
Abstract designs are freeform. Lines can curve, cross, or stop suddenly.
There are no strict rules here. It’s all about creativity.
This style is perfect for experimenting.
Budget tip: Great for beginners since perfection isn’t required.
20. Tiny Heart Details
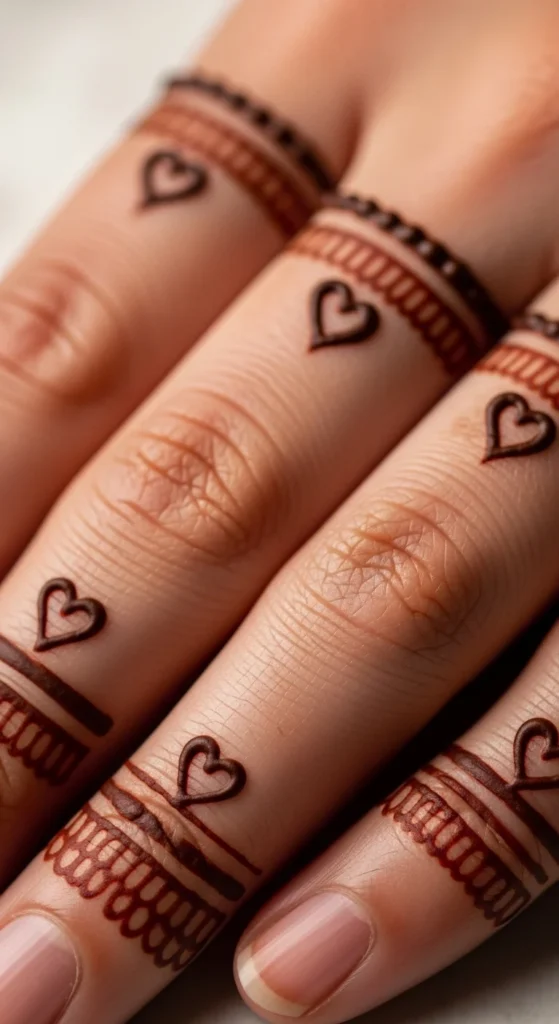
Small hearts add a cute touch. Place them along the finger or near the tips.
Keep them tiny for a neat look.
You can pair them with dots or lines.
Budget tip: Simple shapes like hearts are quick and easy.
21. Double Line Borders
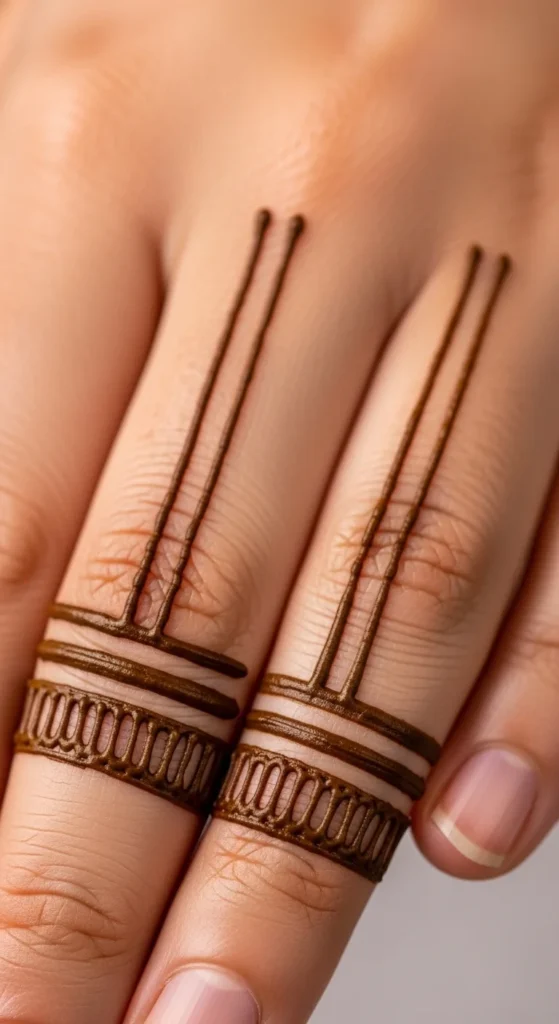
Two parallel lines create a clean border effect.
You can run them along the length or just near the tips.
Add tiny dots between the lines for extra detail.
Budget tip: Uses very little mehndi while still looking polished.
Conclusion
Finger mehndi designs are all about small details that stand out without taking too much time or effort. Whether you prefer simple lines, tiny motifs, or slightly detailed patterns, there’s plenty you can try at home without spending much. Start with easy styles, practice a bit, and mix ideas to create something that feels personal. Even the smallest design can make your hands look styled and complete.