Ever stepped on a stray crayon or found glitter in places glitter should never be? 😅 You’re not alone. Kids’ craft supplies have a magical way of spreading everywhere—turning creative time into cleanup chaos. But here’s the good news: with a little organization, you can transform that mess into a calm, inspiring space where creativity flows freely (and cleanup doesn’t feel like a battle).
Let’s dive into simple, practical ways to organize craft supplies so your kids can create happily—and you can breathe easier.
Start with a Clean Slate
Before organizing, you need to see what you’re working with. That means one thing: take everything out.
Lay all supplies on a table or floor and sort through them together.
What to do:
- Toss dried-out markers and broken crayons
- Set aside duplicates
- Group similar items (paper, paints, glue, etc.)
This step helps you avoid overbuying and makes the next steps way easier.
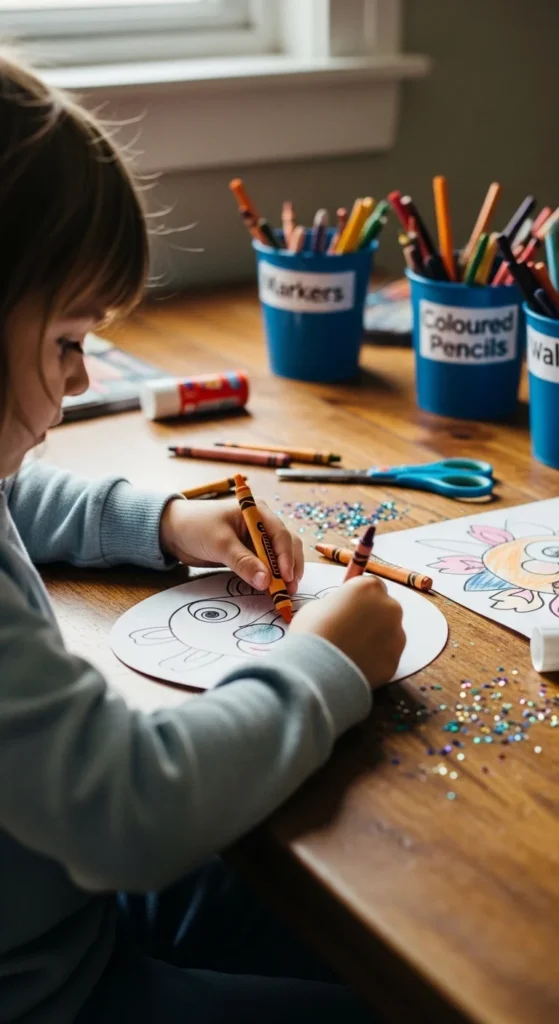
Categorize Like a Pro
Once everything is sorted, it’s time to group items into clear categories. This is where the magic begins ✨
Common categories:
- Drawing tools (crayons, markers, pencils)
- Paper supplies (construction paper, sketchbooks)
- Painting materials (paints, brushes)
- Craft extras (stickers, beads, pipe cleaners)
- Tools (scissors, glue sticks)
Keeping similar items together makes it easier for kids to find what they need—and put it back later.
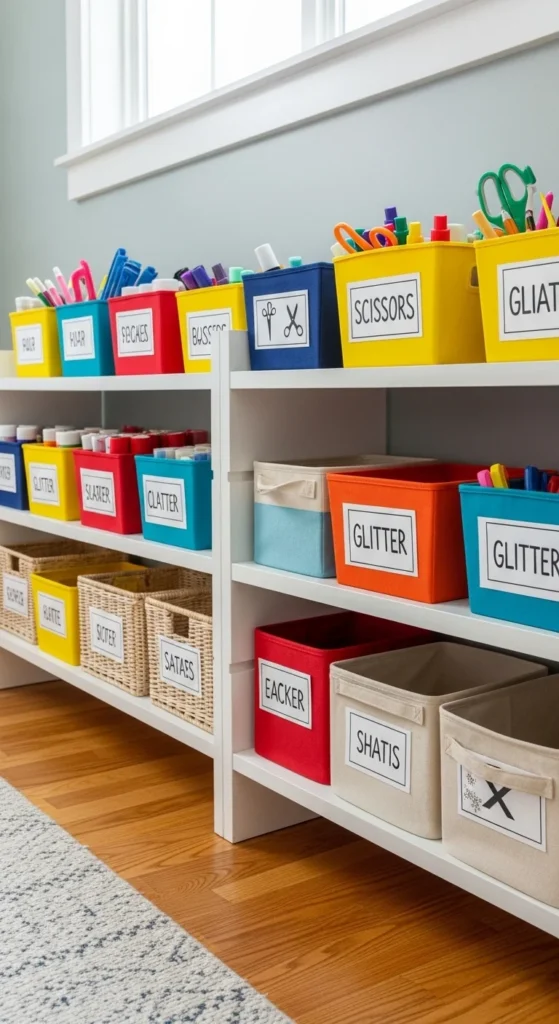
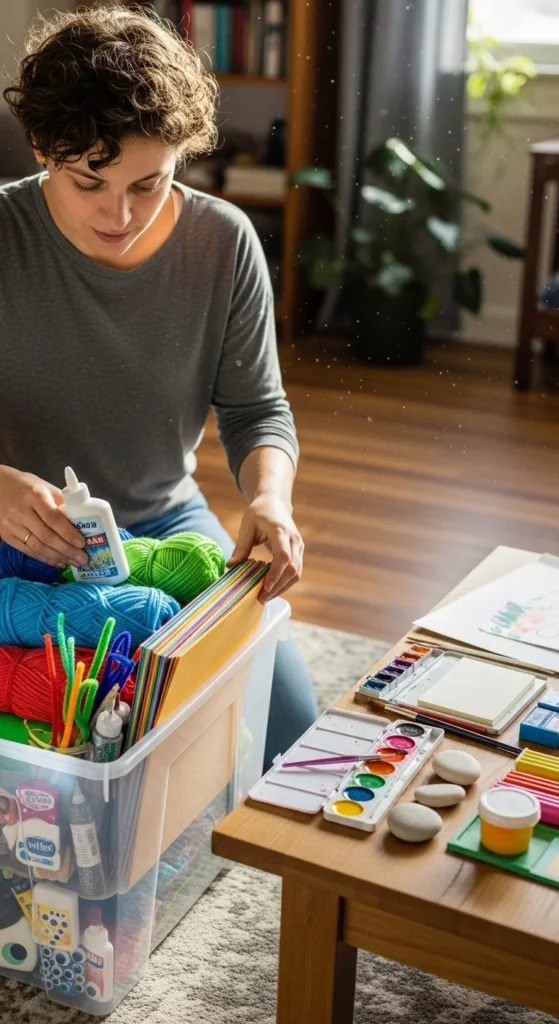
Choose Kid-Friendly Storage Solutions
The key here? Make everything accessible for little hands.
Best storage ideas:
- Clear plastic bins so kids can see what’s inside
- Small baskets for frequently used items
- Drawer units for different categories
- Rotating caddies for table use
Labeling helps too—even simple picture labels for younger kids!
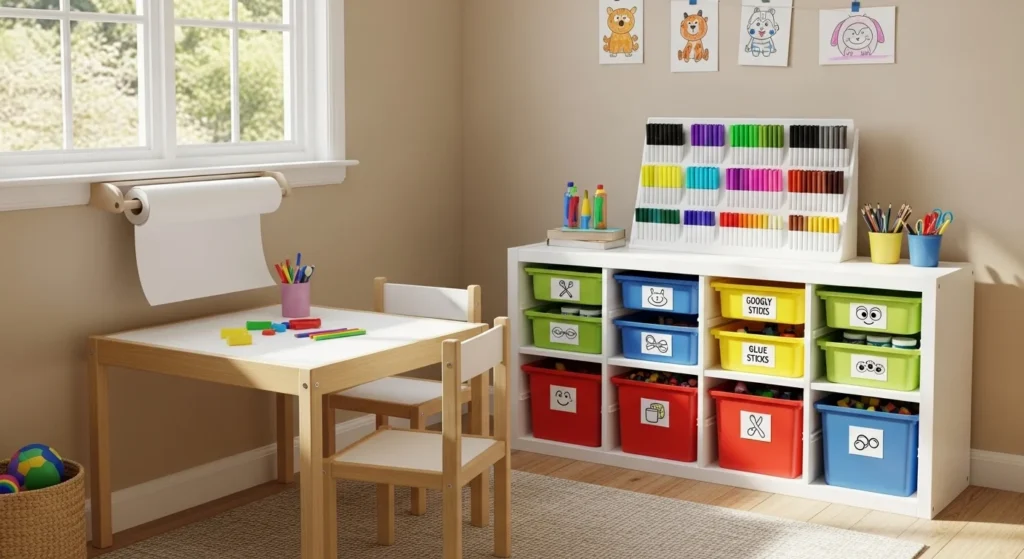
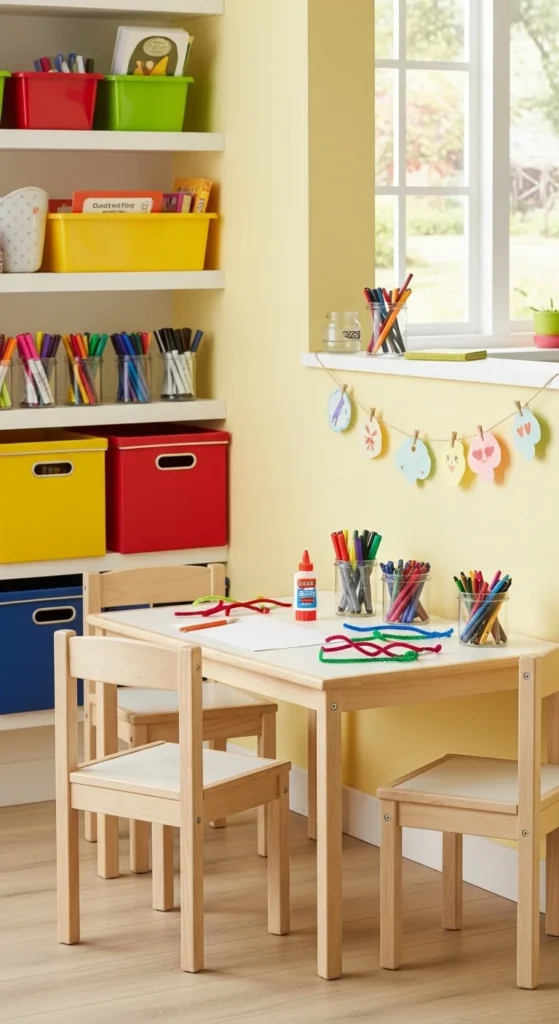
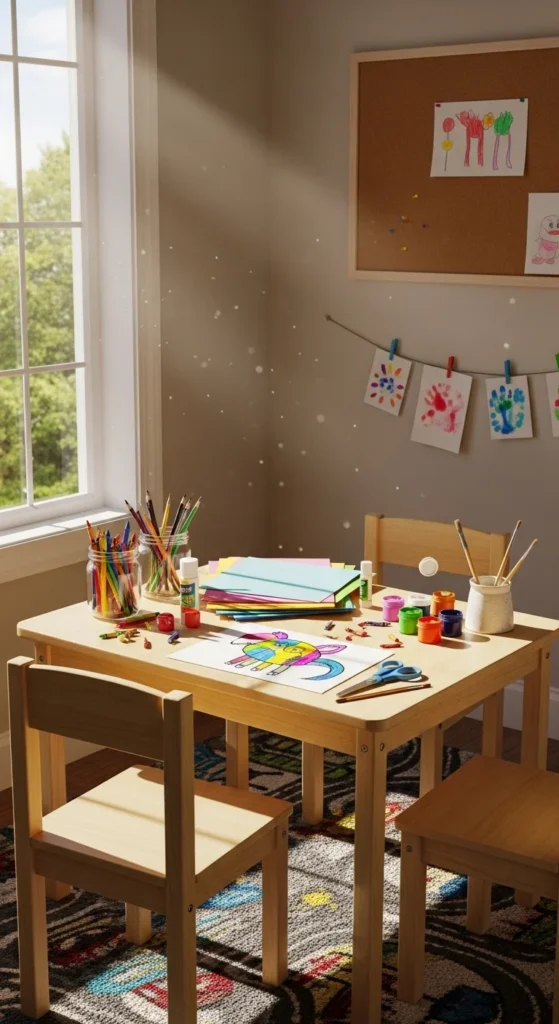
Create a Dedicated Craft Zone
If possible, set up a specific area just for crafting. It doesn’t have to be a whole room—a corner works perfectly.
Essentials for a craft zone:
- A small table or desk
- Easy-to-clean surface
- Nearby storage
- Good lighting
When kids know where creativity happens, they’re more likely to stay organized.
Make Cleanup Simple (and Fun!)
Let’s be honest—cleanup is the hardest part. But with the right system, kids can handle it themselves.
Try this:
- Use color-coded bins
- Keep a “quick cleanup” basket
- Set a 5-minute cleanup timer
- Turn it into a game or challenge
The easier it is to put things away, the more likely it’ll actually happen.
Rotate Supplies to Keep Things Fresh
Too many options can overwhelm kids (and create bigger messes). Instead, rotate supplies every few weeks.
How it helps:
- Keeps kids excited about “new” materials
- Reduces clutter
- Encourages focused creativity
Store extras in a separate bin and swap them out occasionally.
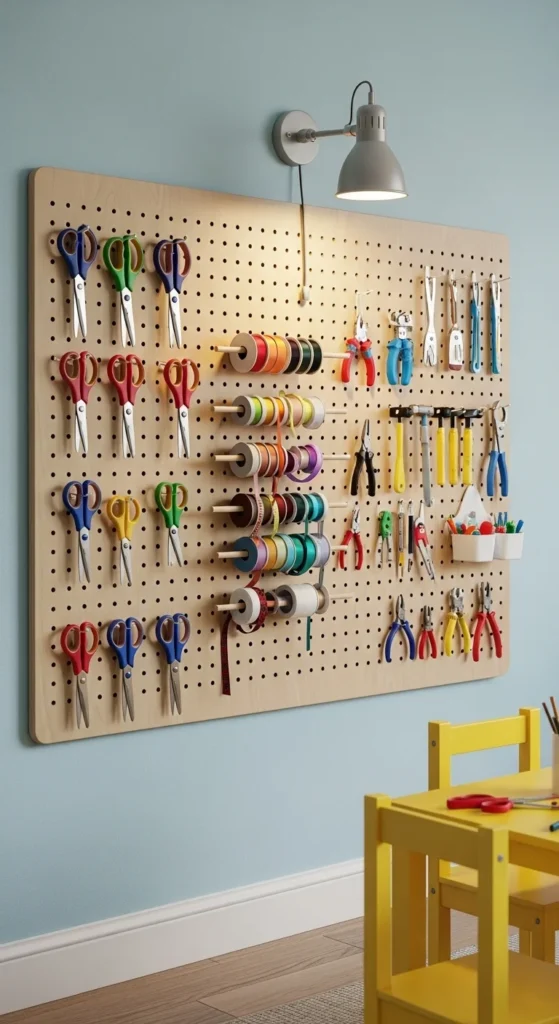
Use Vertical Space Wisely
Running out of space? Look up!
Smart vertical storage ideas:
- Wall-mounted shelves
- Hanging organizers
- Pegboards for tools and supplies
- Hooks for baskets or bags
This keeps surfaces clear while maximizing storage.
Keep Safety in Mind
Organization isn’t just about neatness—it’s also about safety.
Be mindful of:
- Storing sharp tools out of reach
- Keeping small items away from toddlers
- Using non-toxic supplies
A well-organized space should also be a safe one.
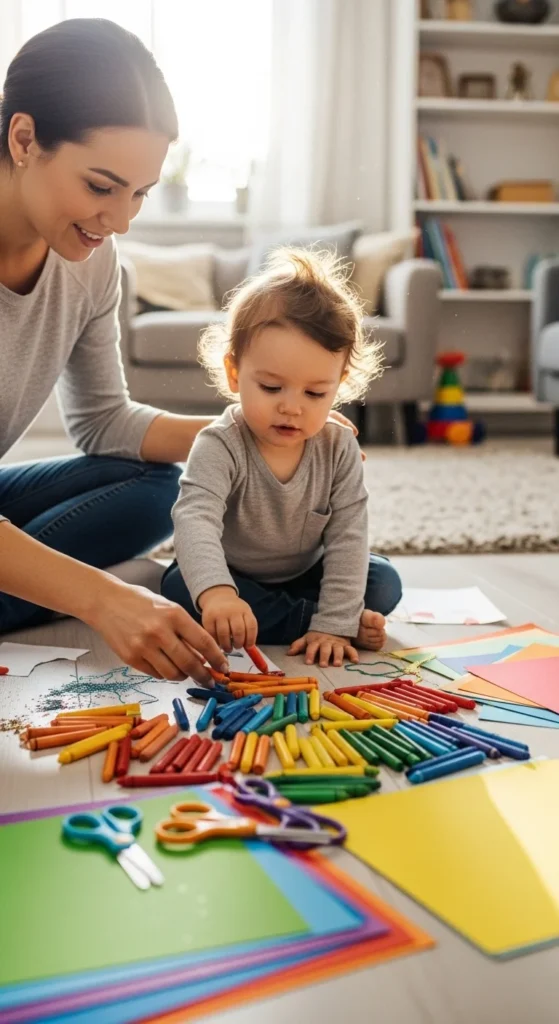
Involve Your Kids in the Process
This might be the most important step of all.
When kids help organize, they:
- Understand where things belong
- Feel ownership over the space
- Are more likely to keep it tidy
Make it a fun activity instead of a chore!
Final Thoughts: Create More, Stress Less
An organized craft space isn’t about perfection—it’s about making creativity easier and more enjoyable for everyone. With simple systems, kid-friendly storage, and a little consistency, you can turn chaos into calm.
And who knows? You might even start enjoying craft time just as much as your kids do. 🎨
Save this idea for later and start creating your stress-free craft zone today!